DIY Dollhouse Wallpaper
When I first started renovating my dollhouse I painted everything with tiny brushes. It looked okay, from a distance, if you squinted a bit. But miniatures aren’t meant to be enjoyed from a distance. So I sanded and painted some more. Still something about the texture of the paint seemed off scale.
That’s when I turned to printed wall coverings. I prefer to design my own and installation is pretty easy. Before you get started, measure your wall, or make a template of it using the steps from this tutorial.
What You Will Need
Printed cardstock
Ruler/measuring tape
Pencil
Tape
Scissors
Spray adhesive
Spray sealant (optional)
1.
Prep your wall. Pretty much just make sure the walls are clean of any dust or debris. It doesn’t hurt to sand down any really big bumps.
I also like to have any trim, crown molding and baseboard finished and painted before I install wallpaper.
2.
Prepare your wallpaper sheets. I recommend printing your design of choice on cardstock. You can try a lighter weight paper, but it is more inclined to wrinkle and show bleed through from the adhesive. Also, the thicker weight of carstock helps even out any little imperfections you might have in your walls.
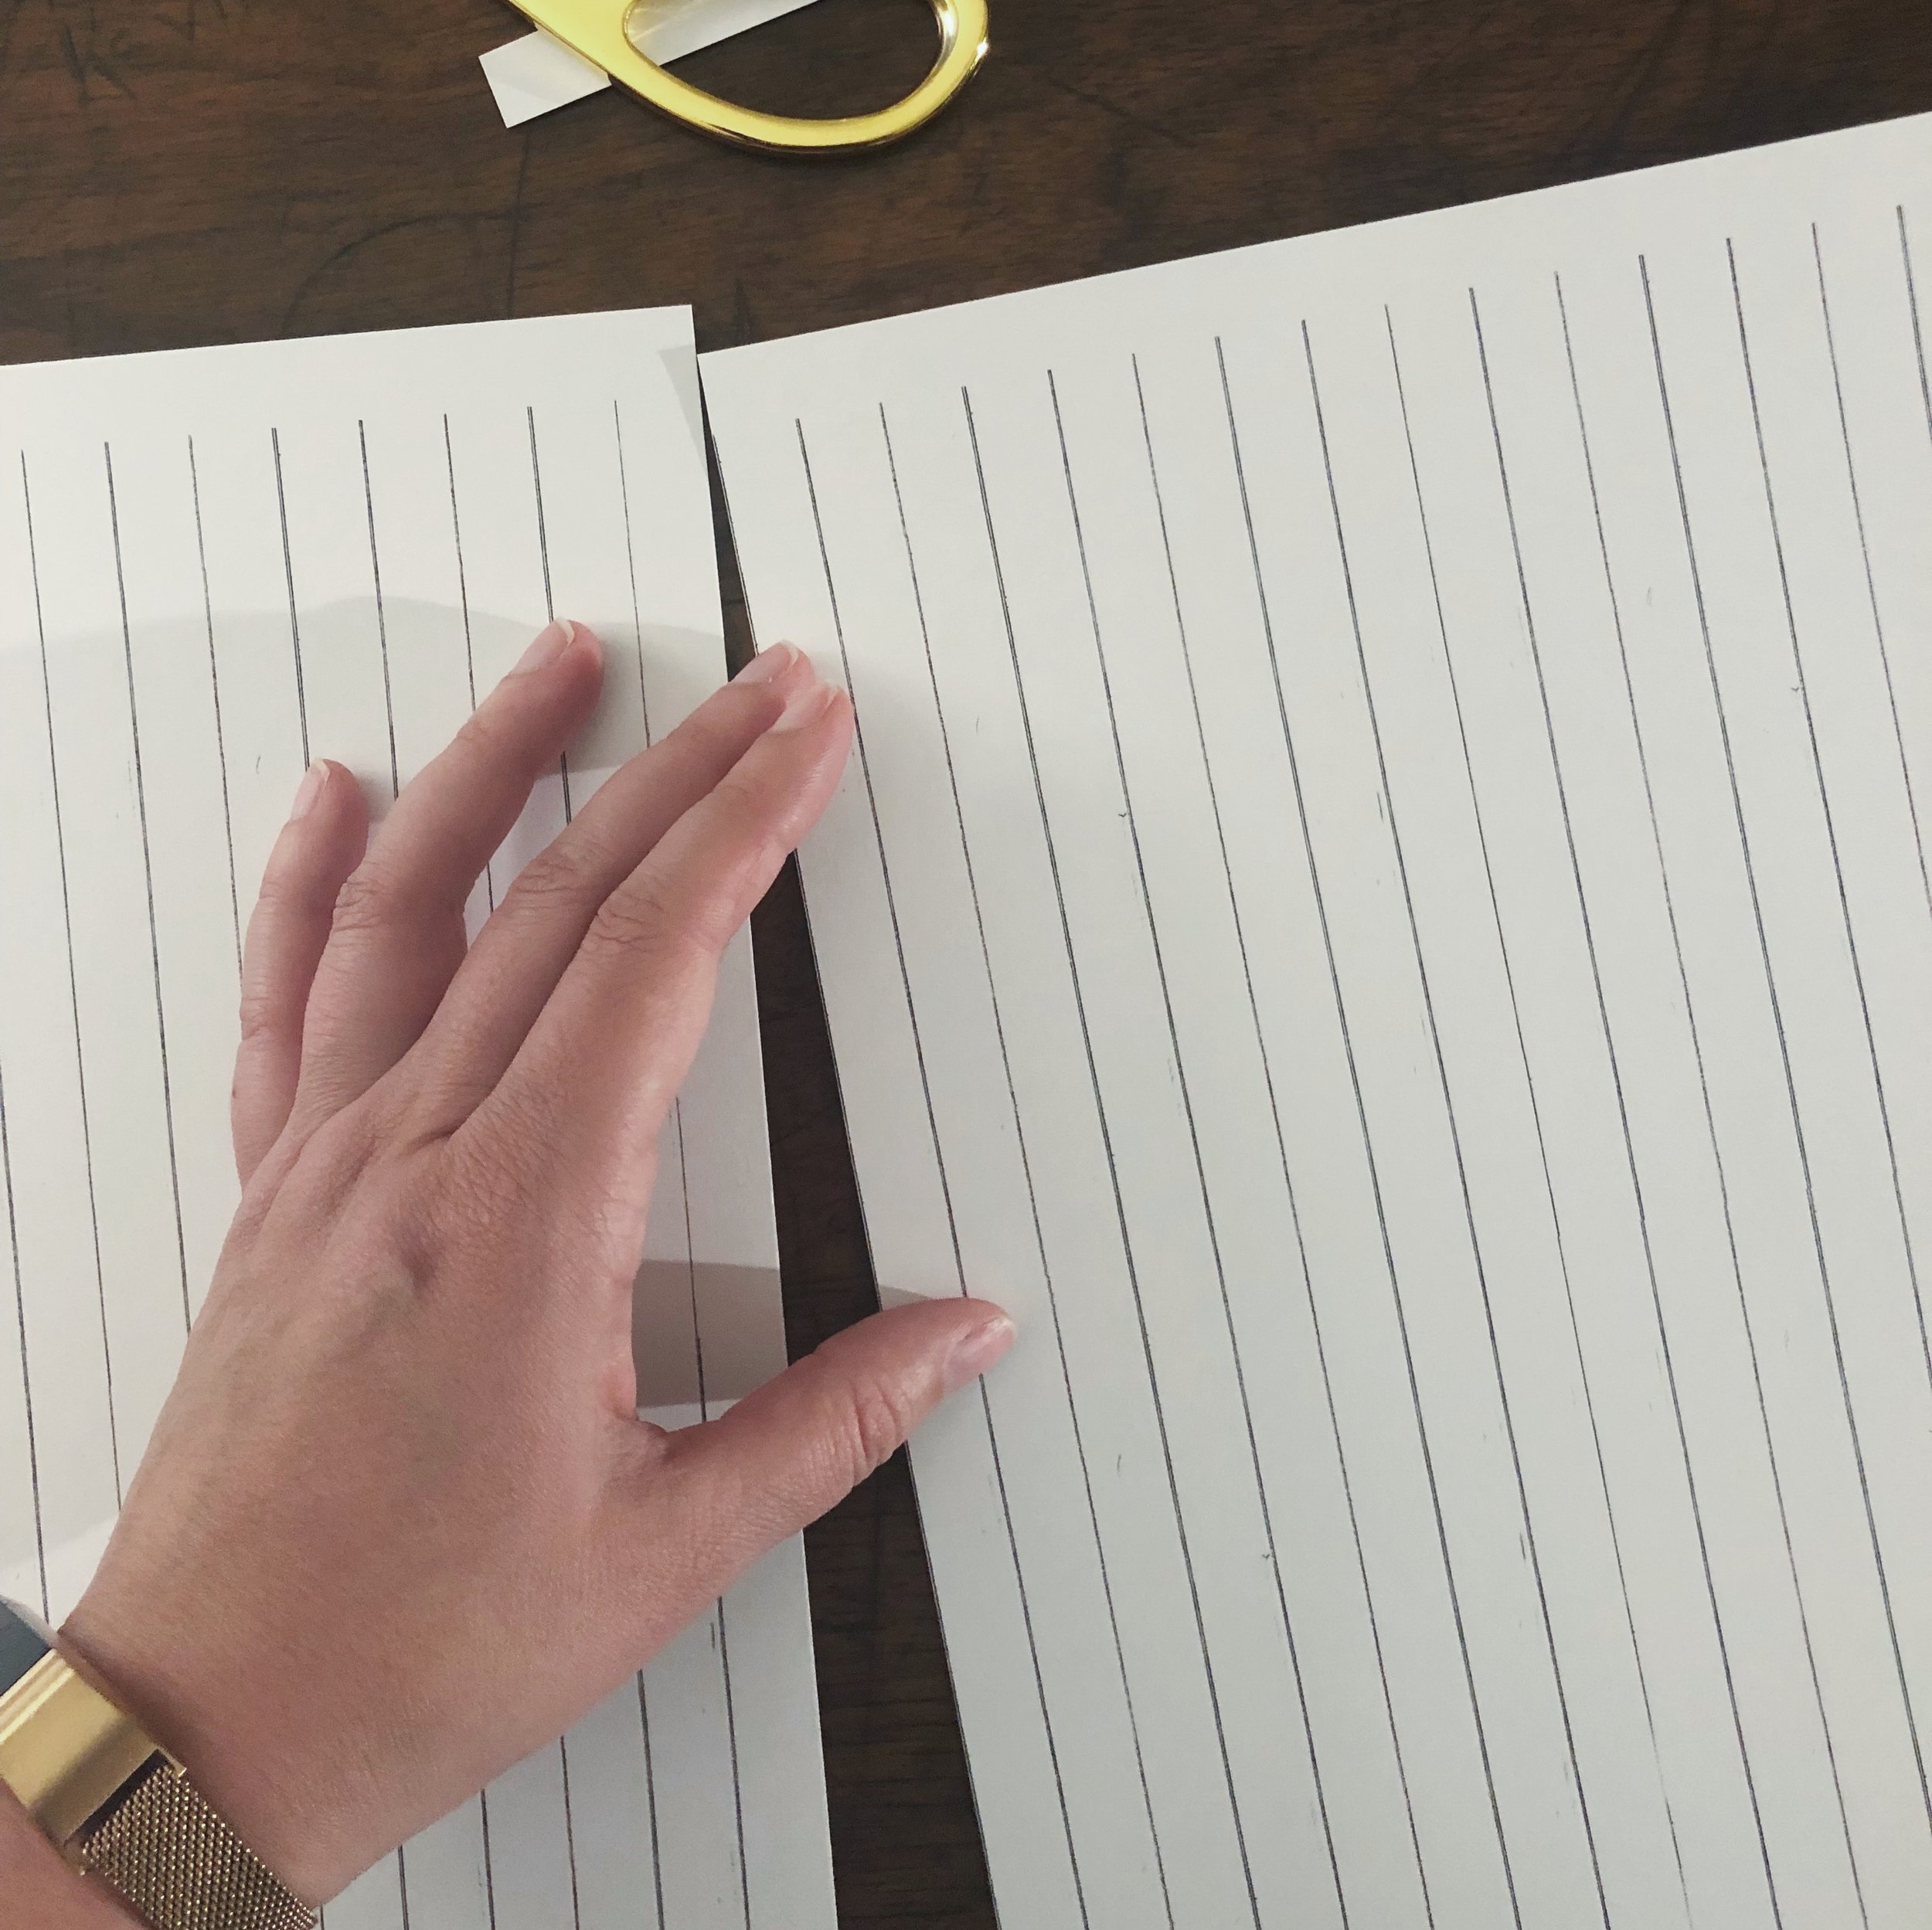
If you are using a patterned design, plan your seams in advance. I’ll be using a shiplap pattern, and am trimming right along one of the “board” edges.
3.
When you are confident that your seam is just right, flip over the two pieces and use clear tape to join them.
4.
Tape together as many pieces as you need to cover your surface.
5.
Now you are ready to draw your cut lines. I prefer using a very fine mechanical pencil, since accuracy gets pretty important at this scale.
6.
Cut out your piece very carefully. Seriously. Take your time.
7.
Take a look at your trimmed out piece and check for any little pencil marks that need to be erased.
8.
Now is the time to do a little dry fitting. Verify that all of the edges are just right. My dollhouse isn’t exactly square, so be prepared to trim anything down that isn’t fitting.
OPTIONAL: If you wanted to seal the wallpaper, now would be the time. You might need to if you are using lighter weight paper instead of cardstock. Or, if you plan to use a liquid adhesive such as Mod Podge. You can find spray sealants in both matte and gloss finishes to suit your needs.
9.
Next, apply your adhesive. I prefer a spray adhesive. Make sure you take this little step outside, as you really don’t want to spray this around indoors. Lay your wallpaper sheet wrong-side-up on a clean surface and make sure to spray adhesive evenly and all the way to the edges.
10.
You’ll need to move quickly to install the paper while the adhesive is still tacky. Press evenly in place. You’re done!


![[Featured] Home is where the heart is](https://images.squarespace-cdn.com/content/v1/595db0b044024313332d1ef8/4d709e00-3324-4310-8fc7-4e12c12235fc/westwind+1.jpg)


![[Featured] House Hunter—Mini Modern Farmhouse](https://images.squarespace-cdn.com/content/v1/595db0b044024313332d1ef8/1635368524954-RFDD3B7IPNN7OTRDWE6Y/Mini+Modern+Farmhouse+Interior+Furnished.jpg)


![[Featured] Meet the ‘cloffice’](https://images.squarespace-cdn.com/content/v1/595db0b044024313332d1ef8/1622420833320-T5FVUAYDEA0ING4B0DRO/Mini+Cloffice+Tall_Phone.jpg)


![[Featured] Making a home](https://images.squarespace-cdn.com/content/v1/595db0b044024313332d1ef8/1619784319429-U4GKIWXVW76OCOH9H4OM/Long+Farmhouse+Living+Room.JPG)


![[Featured] Instagram Identities: Jessica Cloe Miniatures](https://images.squarespace-cdn.com/content/v1/595db0b044024313332d1ef8/1619784478243-8KCI6MIDSXD6ADUM5R1T/Bayview+House+Interior.jpg)

