DIY Dollhouse Pillows
You just can’t have enough dollhouse pillows. I love to layer pillows in different fabrics and textures in rows on tiny beds. No couch or chair is complete without good throw pillows. And my dollhouse has five window seats, so I find myself making a lot of these mini cuties.
Is it hard to make them? Not really. If you take your time and are quite careful, you will have great results.
What You Will Need
Fabric (I’m using grey polka dot cotton.)
Ruler/measuring tape
Fabric scissors
Iron
Straight pins (or safety pins)
Sewing machine (or needle and thread)
Tweezers (these are perfect)
Filler (Weighted stuffing beads or Poly-fil)
Fabric glue (Elmer’s Craft Bond is amazing)
Paper plate and toothpick
Binder clips
1.
Select your fabric. Cotton works well and is readily available, but use whatever you like, so long as its not too coarse. I prefer solids or very tiny print. I often find great fabric in bargin bins, because the amount is so small. I’m using a grey polka dot for this tutorial.
2.
Measure out a section 2 inches wide. I typically use a sewing tape, but my kids have been stretching it out while using it for other creative purposes and I no longer trust it’s measurements. So, a metal ruler will suffice.
3.
Final length should be 4 inches. Trim to size. I’ve tried several sizes, and this seems to be the smallest I can go before the whole process becomes very fiddly.
4.
At this point, I like to give the fabric a quick iron. Seriously, don’t skip the ironing. (I hear a that hair straightener works particularly well.)
5.
You’ll see how the fabric went from a bit wiggly to crisp and ready to go.
6.
Now you’ll want to fold your fabric in half, with the wrong sides out.
7.
Press again to make a crisp fold.
8.
Verify that you have the wrong side out. Not that you would have it backwards. But I find myself crafting late at night and easily get distracted.
9.
Pin the two sides together. It isn’t absolutely necessary, but it can’t hurt to help keep everything perfectly aligned. And just like that, you are ready to sew. I happen to have a sewing machine and enjoy using one. However, you can hand-stitch these as well if you prefer.
10.
Here’s where it gets interesting! You’re going to want to start sewing on the side opposite the fold. Start with the last third of the edge.
Leave 1/8 to 1/4 of an inch seam allowance. If you are working with fabric that has a pretty tight weave, you can definitely get away with a smaller seam allowance. Something like linen might warrant a slightly bigger allowance.
11.
Stop when you get to the corner and lock your needle down.
12.
Lift the presser foot and pivot the fabric to start down the next side.
13.
You should now have 1/3 of the bottom hemmed and be working your way toward the fold.
14.
Pivot again at the next corner and stitch the folded side next.
15.
Finally, stitch 1/3 of the last side. This should leave the middle open for adding filling. Double back and cut your thread.
16.
Check your work. It is very important to have all corners stitched. Reinforce any areas that look like they might pull out as you are turning the piece right side out.
17.
And now for the tweezers. You can try this without tools, but I find it terribly time-consuming and nearly impossible. I use these curved point tweezers that came as a part of my little hobby tool kit.
18.
With your tweezers, reach in through the gap and grab the seam opposite the opening. Pull it through.
19.
I know, I know. This part is annoying. It helps if you watch your favorite show or something.
20.
Once you have it right side out, use your tweezers to poke out the corners. Corners are everything! The more pointy you can get them the better.
21.
Finally, you will start to see your pillow is taking shape.
22.
Back to the ironing board. Start with the three fully-hemmed sides.
23.
Carefully tuck the opening inward and press.
24.
Make sure the opening is perfectly ironed. Now you are ready for filling!
25.
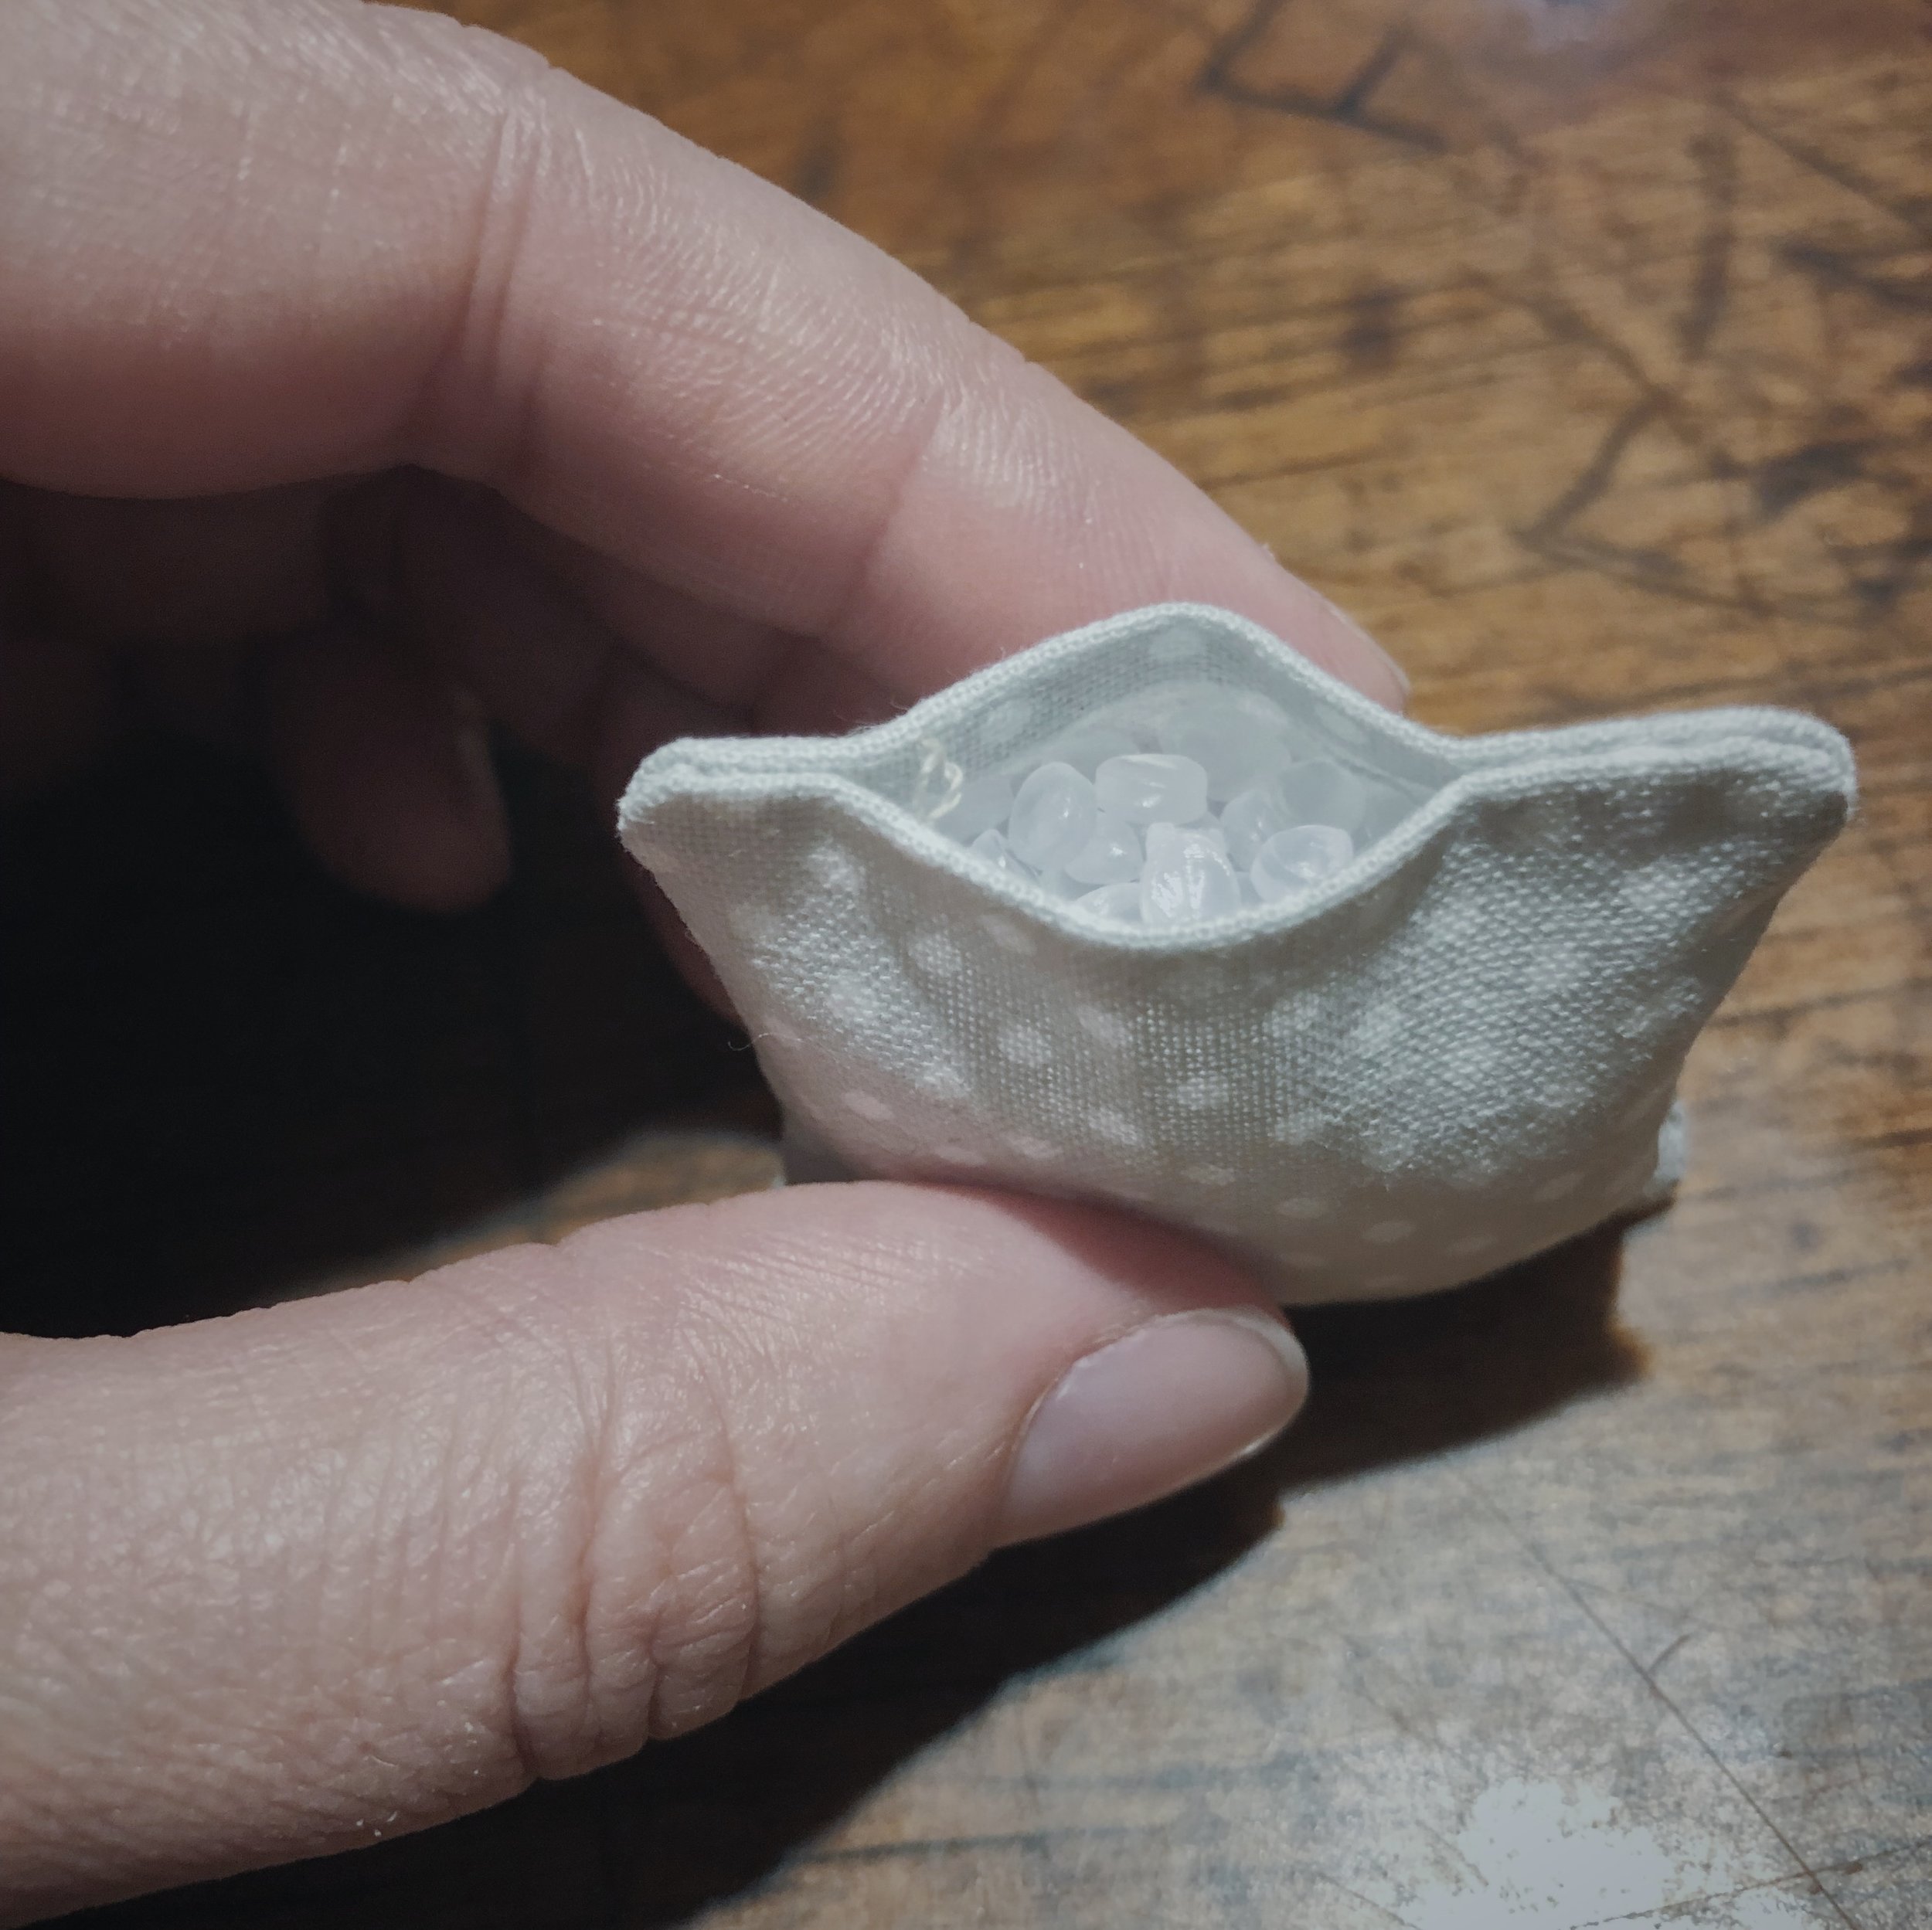
Weighted stuffing beads are great for miniature pillows. I’ve used craft sand before, but don’t like the idea of it sneaking through seams and leaking.
26.
Ideally, I would have a very tiny funnel for this next step. I should have at least made one out of cardstock. But instead, I transferred beads into a cap and poured them from there. It was only the tiniest bit messy.
27.
I like to fill pillows as full as I can. You’ll only need enough space to glue the gap closed.
28.
If you have a favorite fabric glue, use that. If not, I recommend Elmer’s Craft Bond. It doesn’t stain the fabric or stiffen it.
29.
My public service announcement:
Take the time to find a paper plate or a scrap of paper for the glue. My husband has been really confused as to why there is fully-hardened craft glue on our dinner plates recently. I have vowed to stop using the dinner plates.
30.
And ALWAYS use the toothpick method for applying glue to anything tiny. I am frequently tempted to apply the glue directly from the bottle, but I generally end up with a gloppy mess.
31.
Get a nice line of glue on one side of the opening.
32.
Press the sides together firmly.
33.
And add a small binder clip! I adore binder clips for all manner of miniature projects. I order them in assorted sizes and they come in handy for everything.
34.
If you’re not into the weighted bead method, you can grab some Poly-fil here. You might also just sacrifice an old pillow that no longer brings you joy. A cotton ball will also work, as long as you pull it apart a bit.
35.
Is it easier to stuff poly-fil than pour weighted beads? Probably not. Maybe a tiny bit tidier though. Your tweezers might come in handy again here.
36.
Again, stuff it right up to the top. Make sure to get into the corners.
37.
Apply glue. You will, no doubt, get some fibers in the glue. Try to leave them alone. Once dry, you can pluck them out of the seam.
38.
Press closed and hold with a small binder clip. Allow to dry.
39.
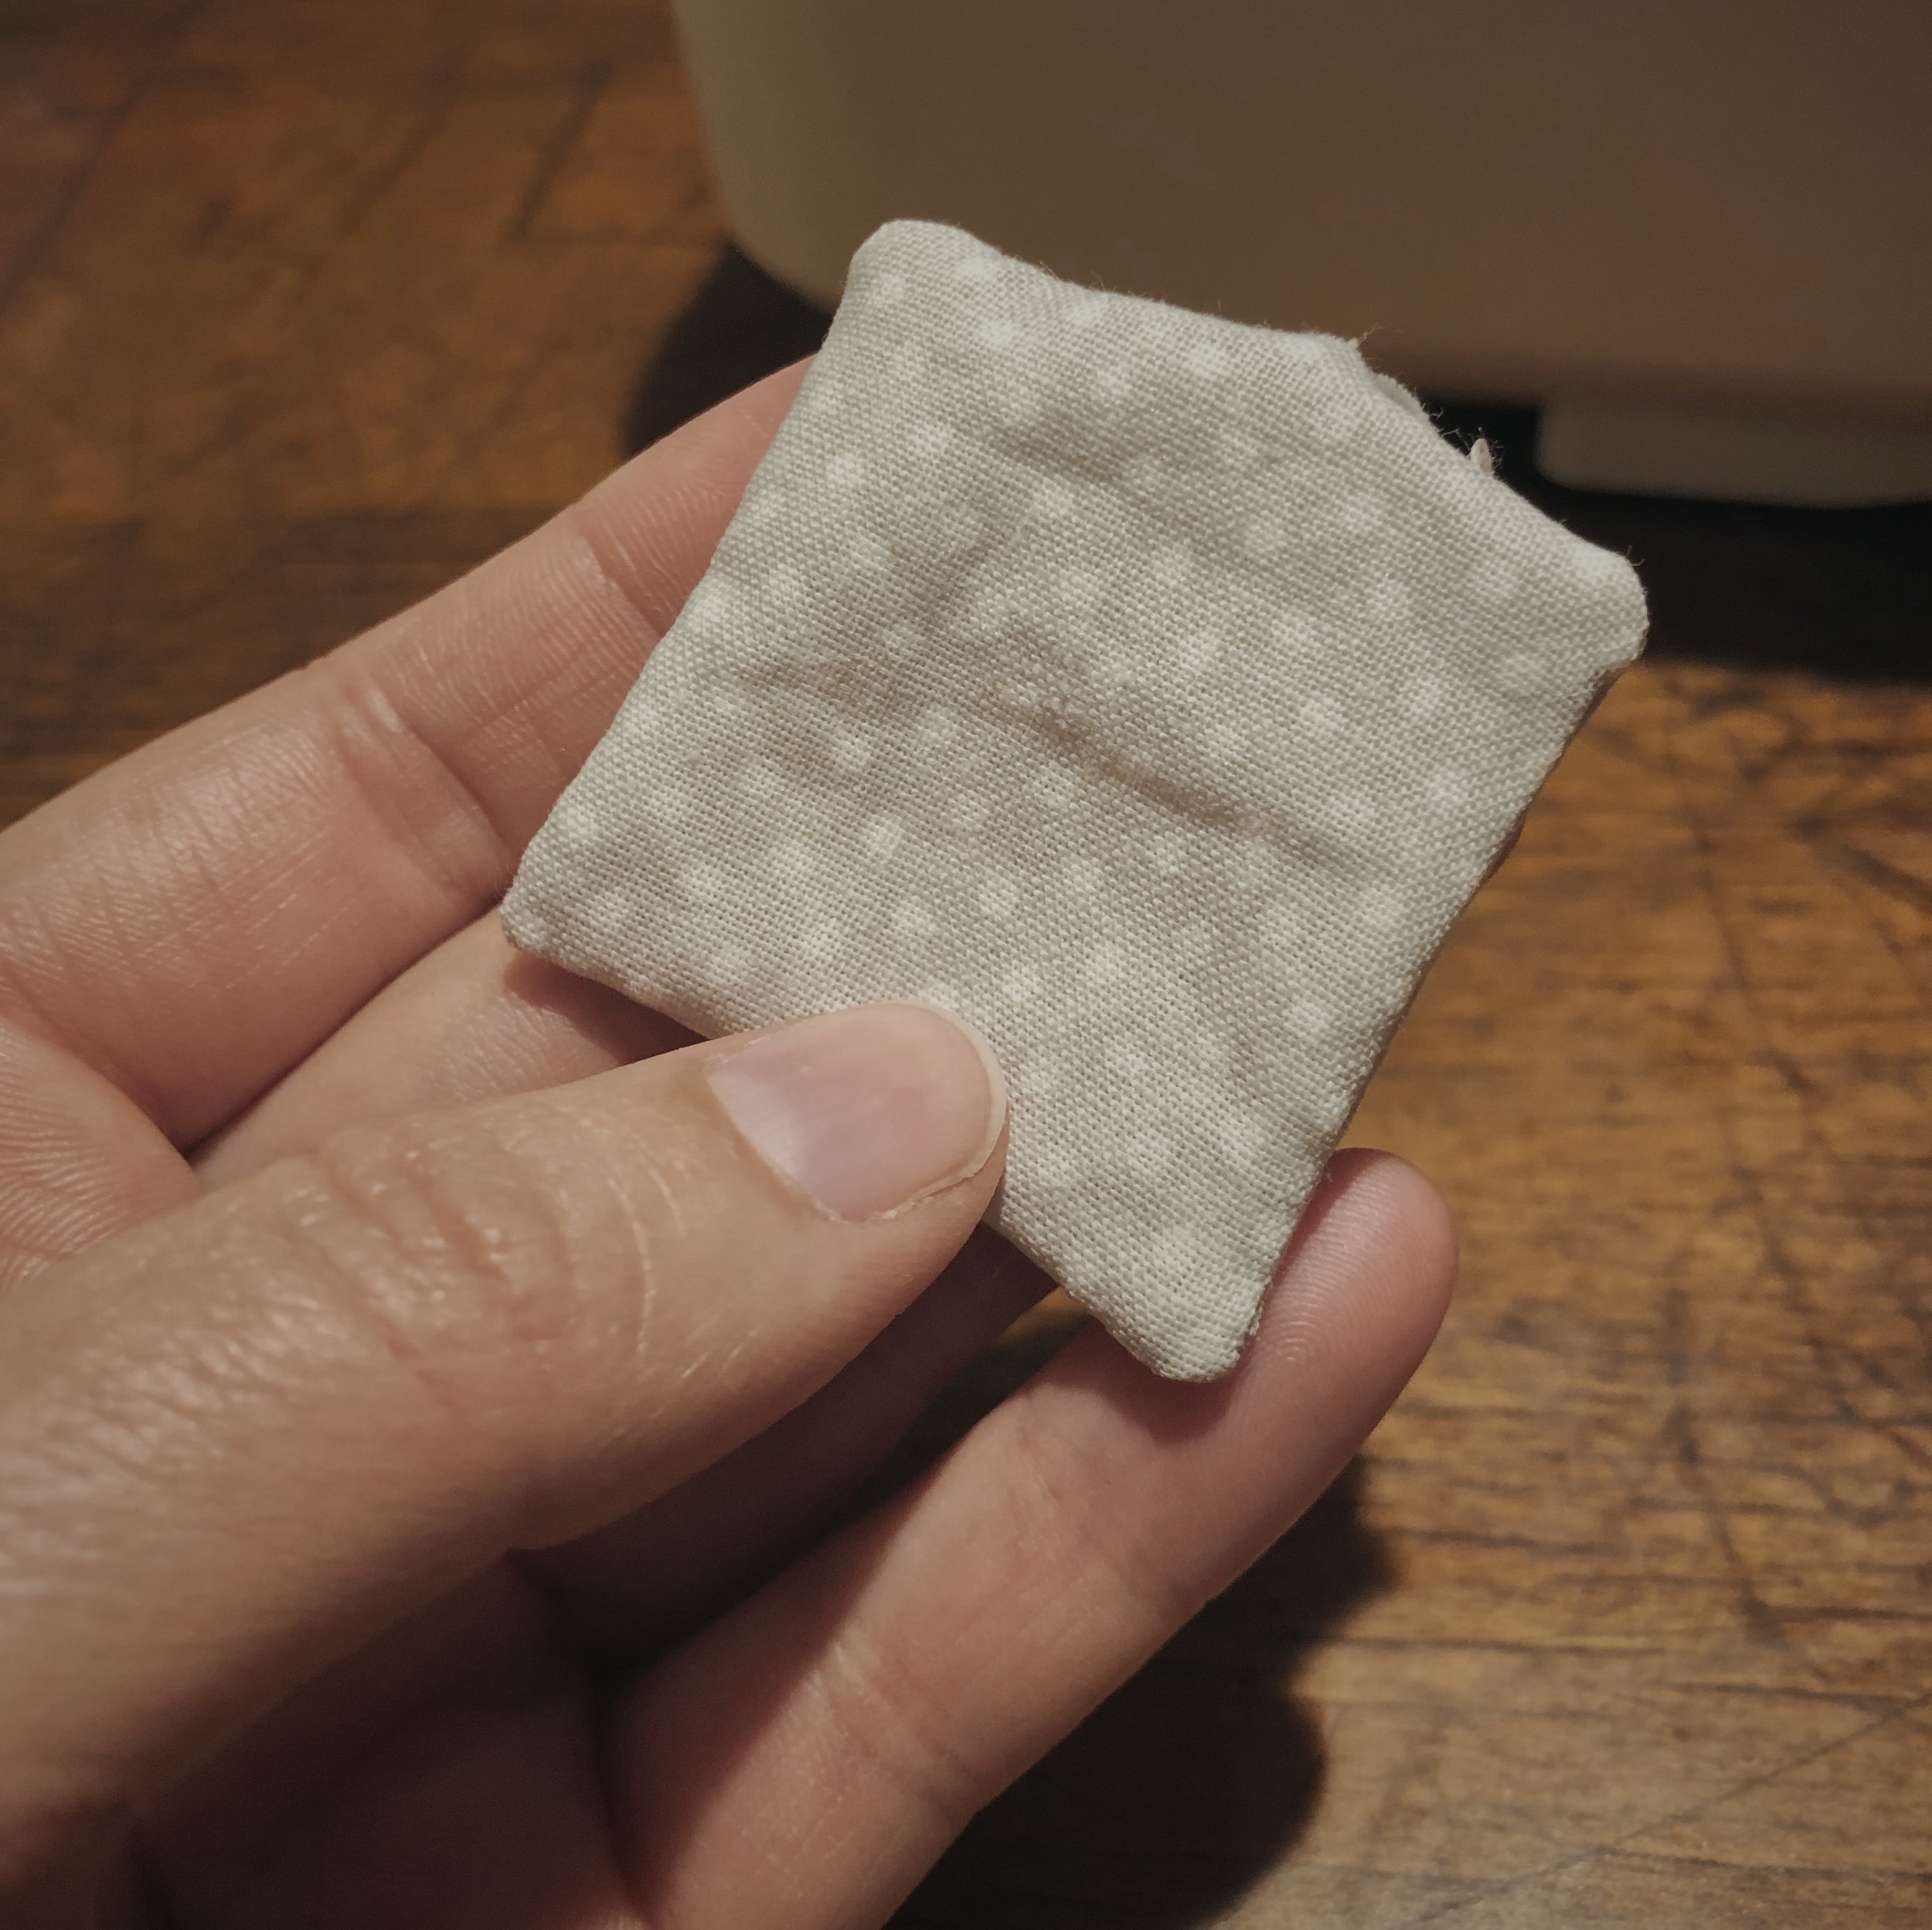
When the glue is completely dry, you may remove the binder clip. You may notice a bit of a hard crease.
40.
Flatten out the seam and tug gently at the fabric on the outsides to release the glue there.
41.
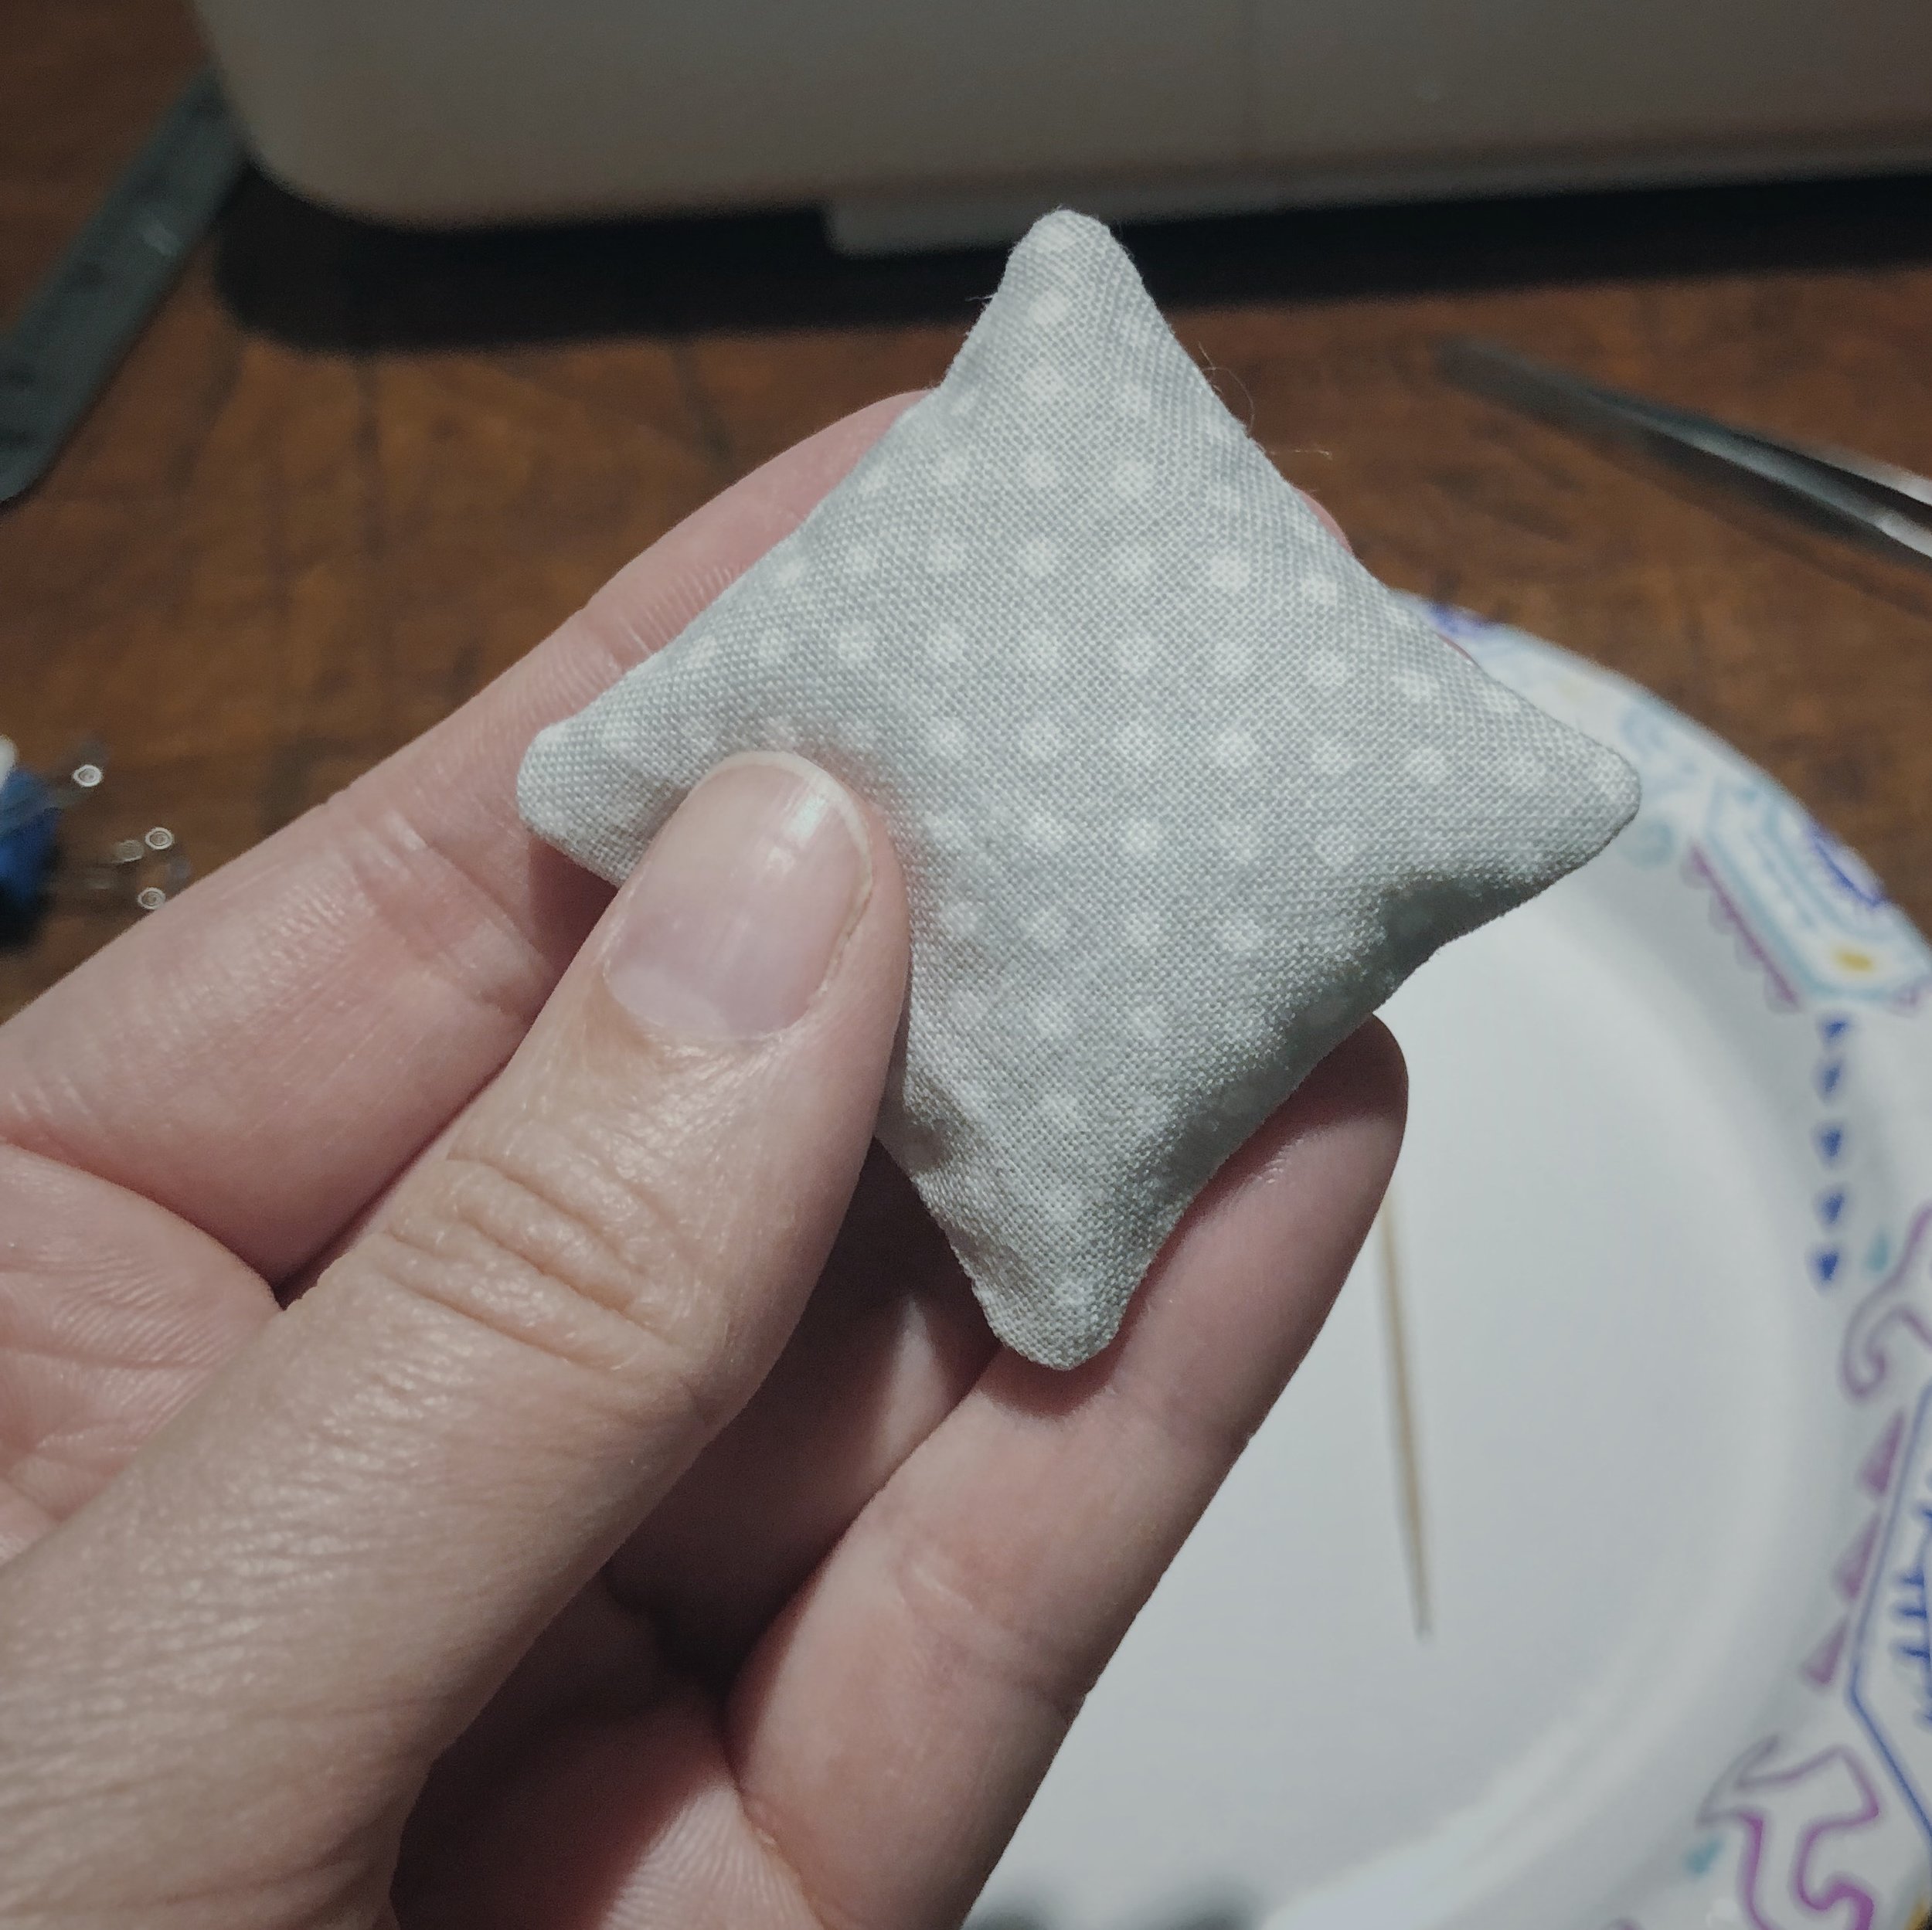
You will be left with a strong internal seam, and a smooth external surface.
And done!


