
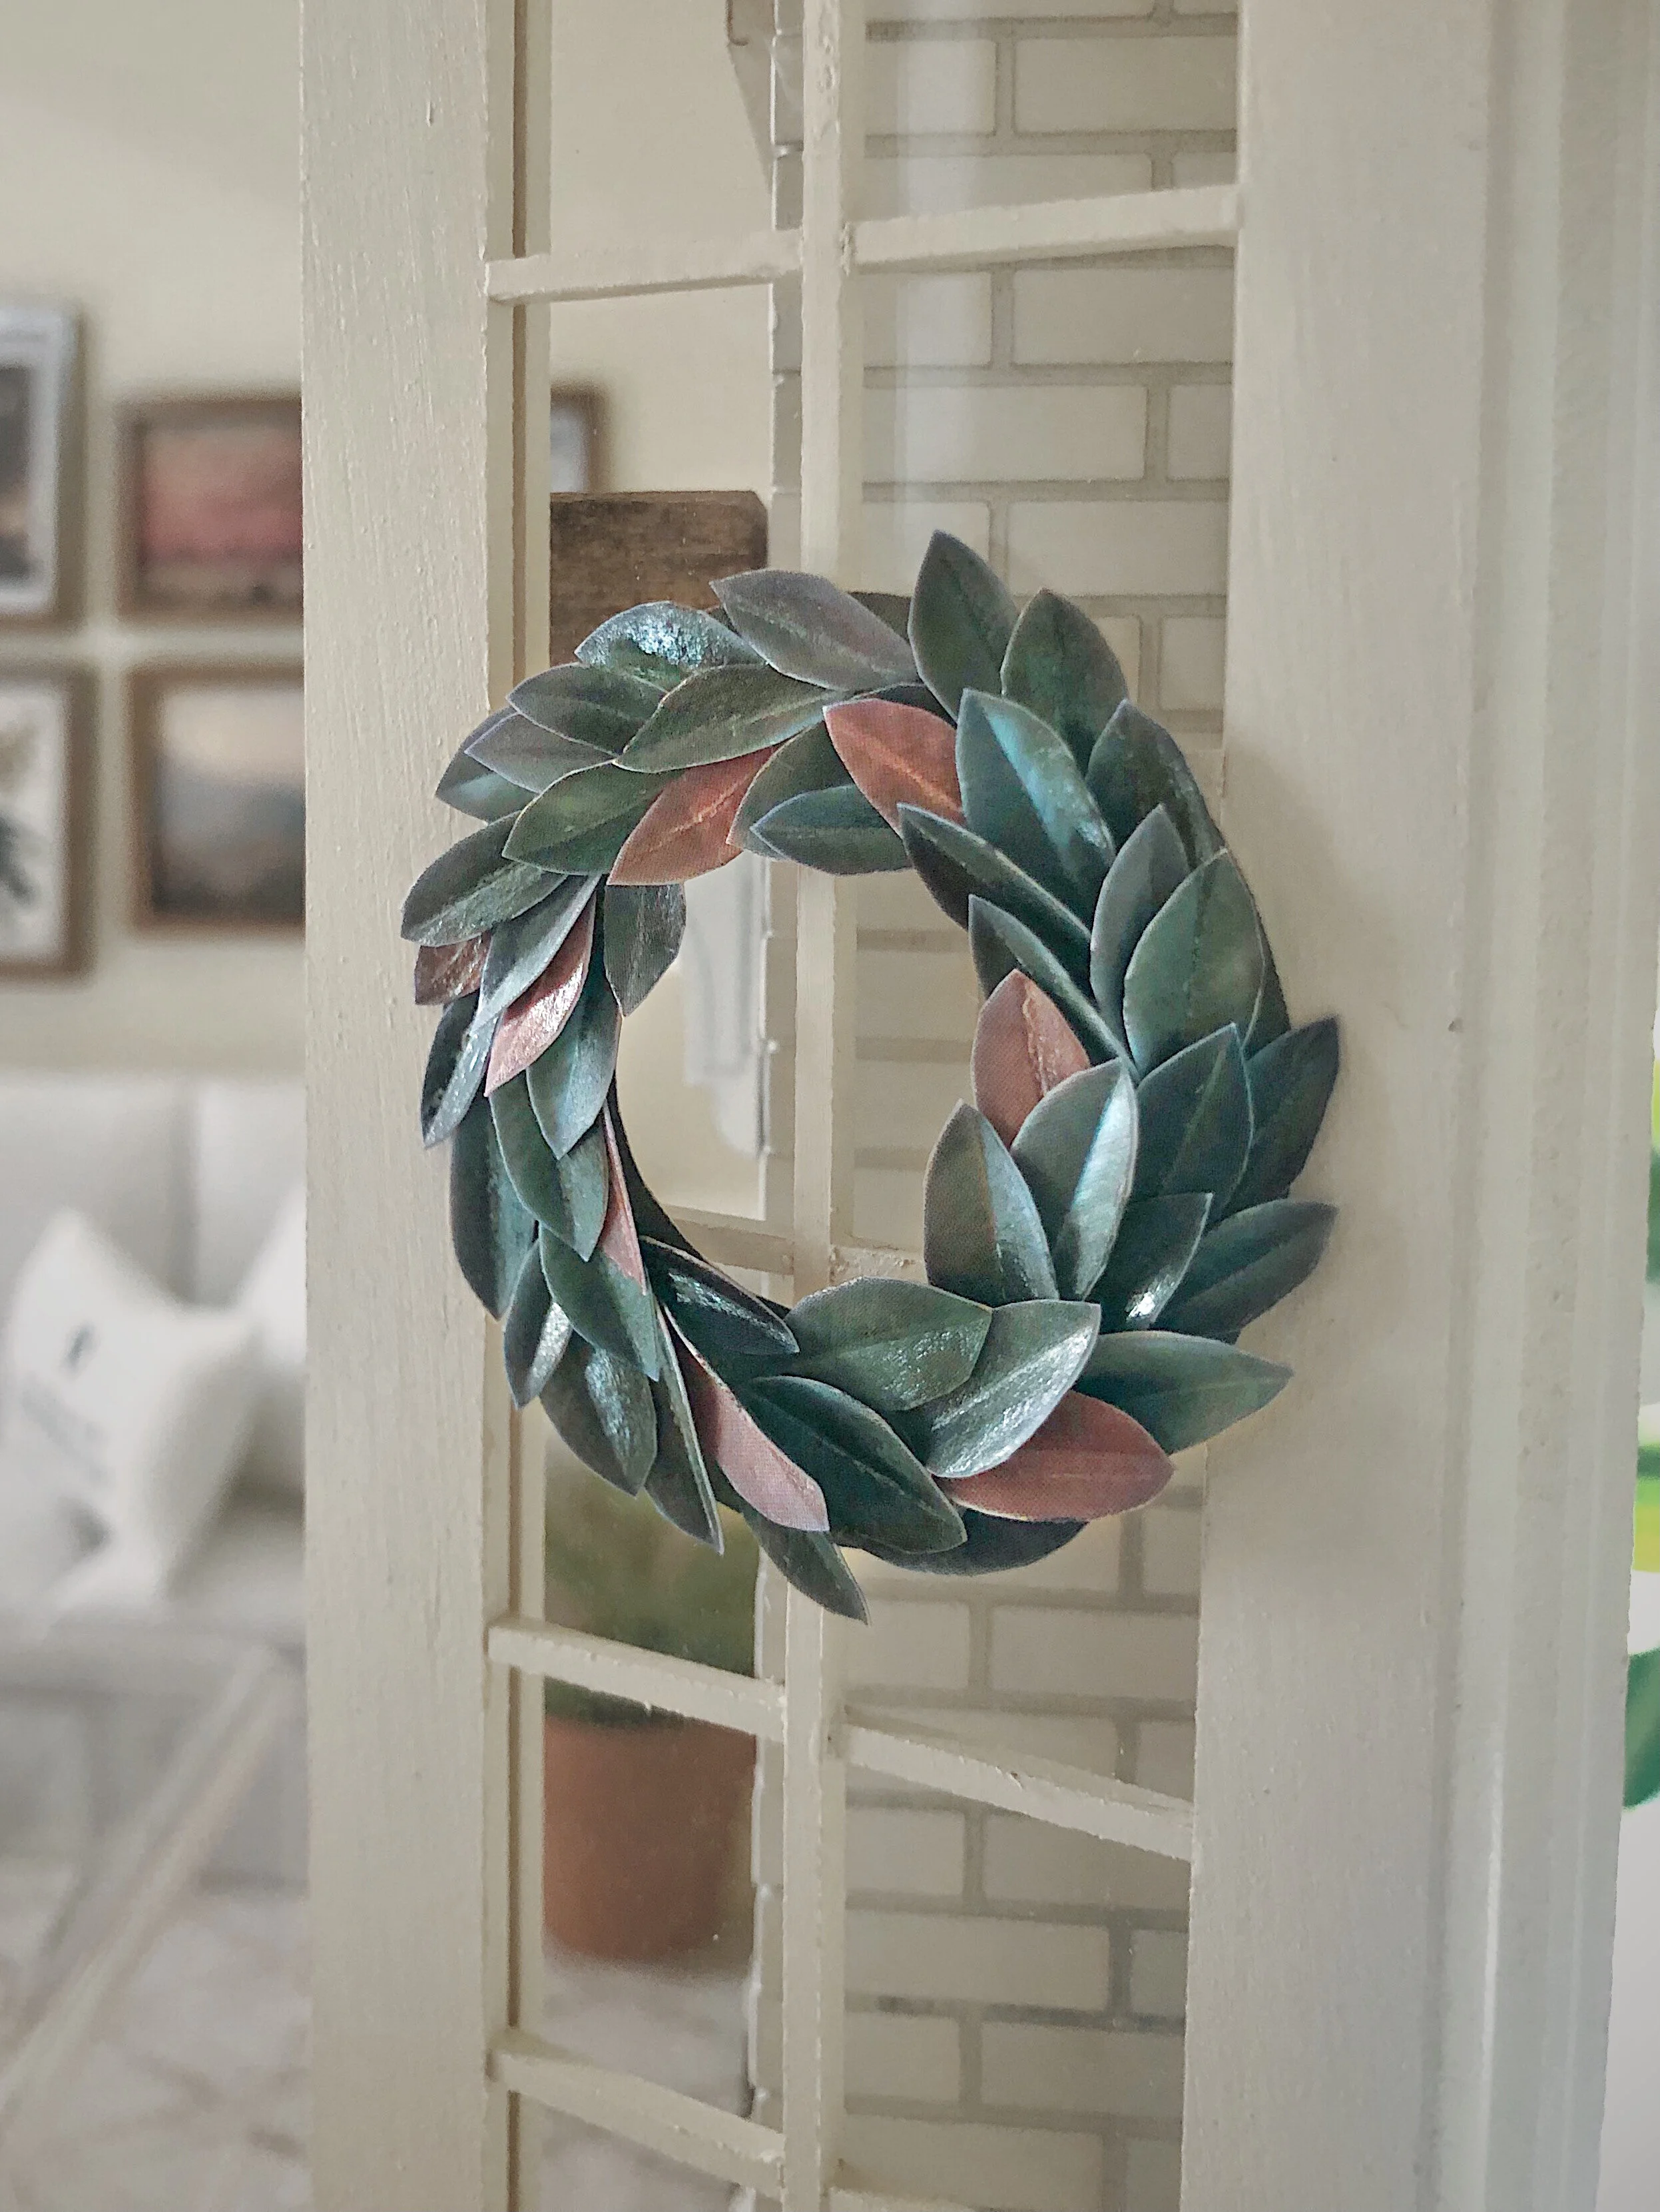
DIY Magnolia Wreath

We’re loving so many things about our new home town, and the magnolia trees are definitely a highlight. While traipsing with the family through our neighborhood this week, I spotted a broken magnolia branch on the ground. It may have been sort of in a neighbor’s yard. Did I carry that branch around for the rest of our walk? You bet. And when we got back, I photographed each leaf, front and back to recreate them in 1/12. Yes, I am that nerd, but I really wanted a mini magnolia wreath.
You want one too? Start by downloading this free printable.

What You Will Need
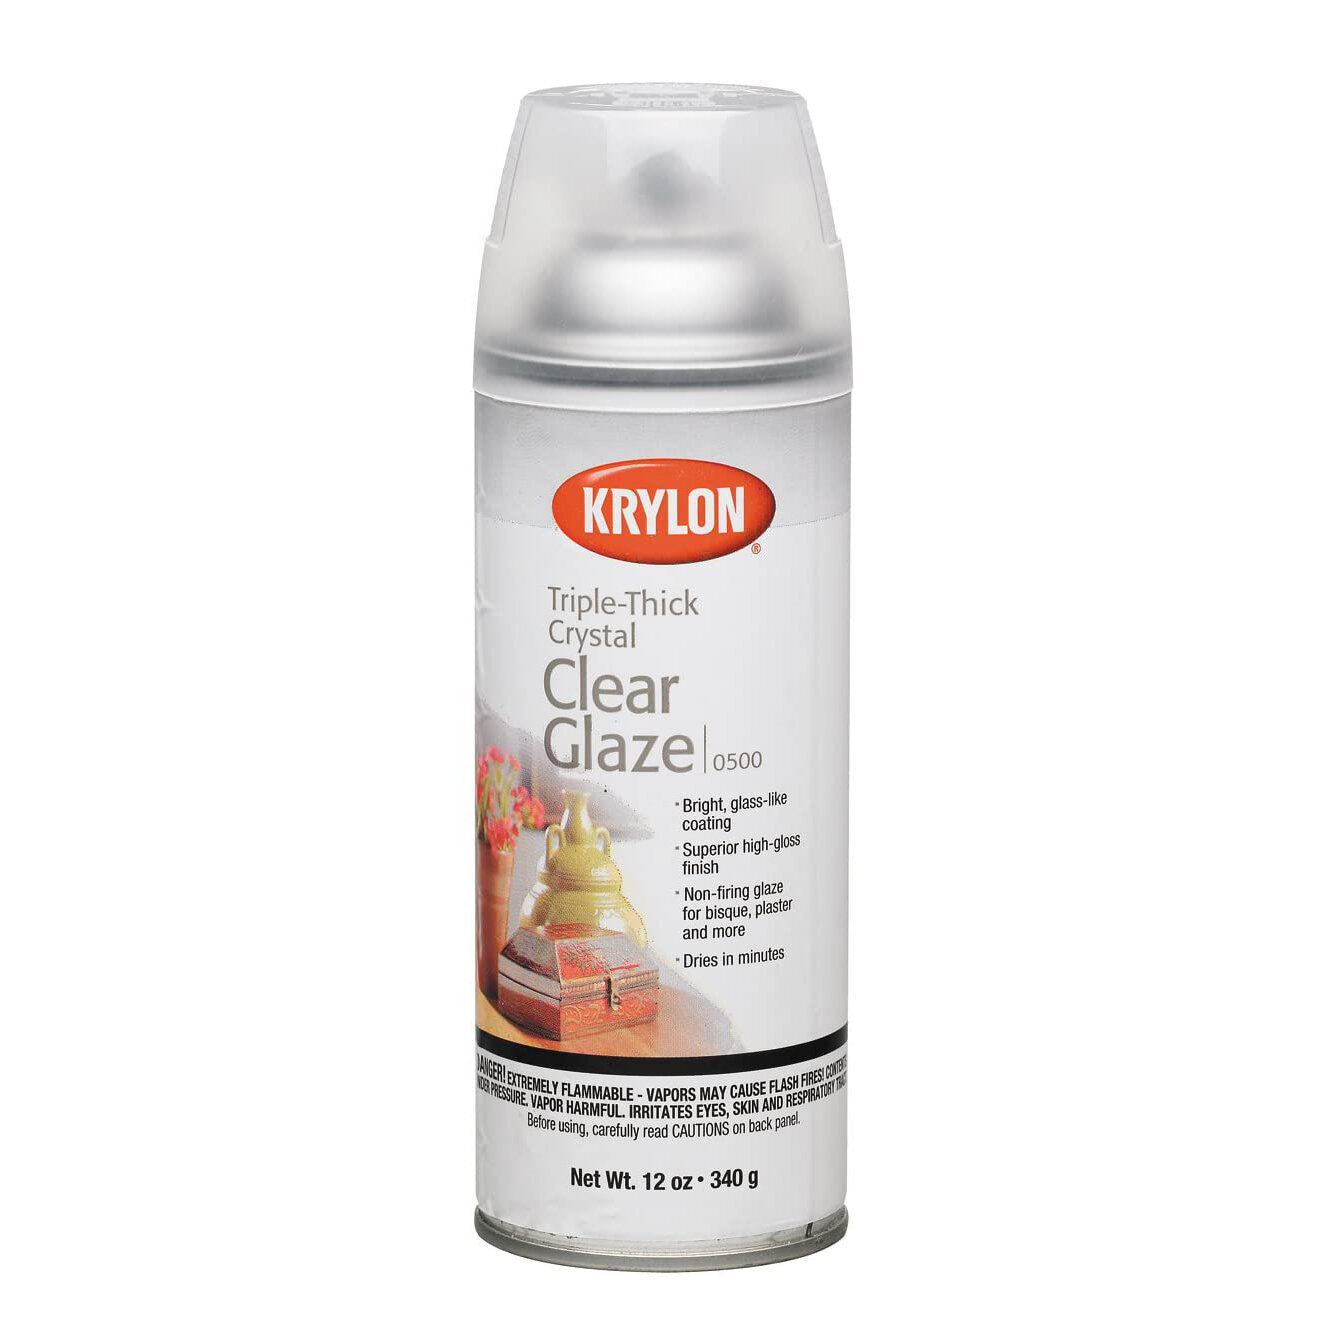
Clear Gloss Spray (we used Krylon Clear Glaze)
Craft Glue (Elmers CraftBond is a great option)
Scissors (Micro-Tip works best)
Tweezers
DIY Magnolia Wreath Printable

1.
Give the leaves printout a good coat of Clear Glaze. Best to do this outside with plenty of ventilation. Allow to dry.

2.
Cut off the wreath template and save for later. Cut between each strip of leaves so that you have five separate strips.
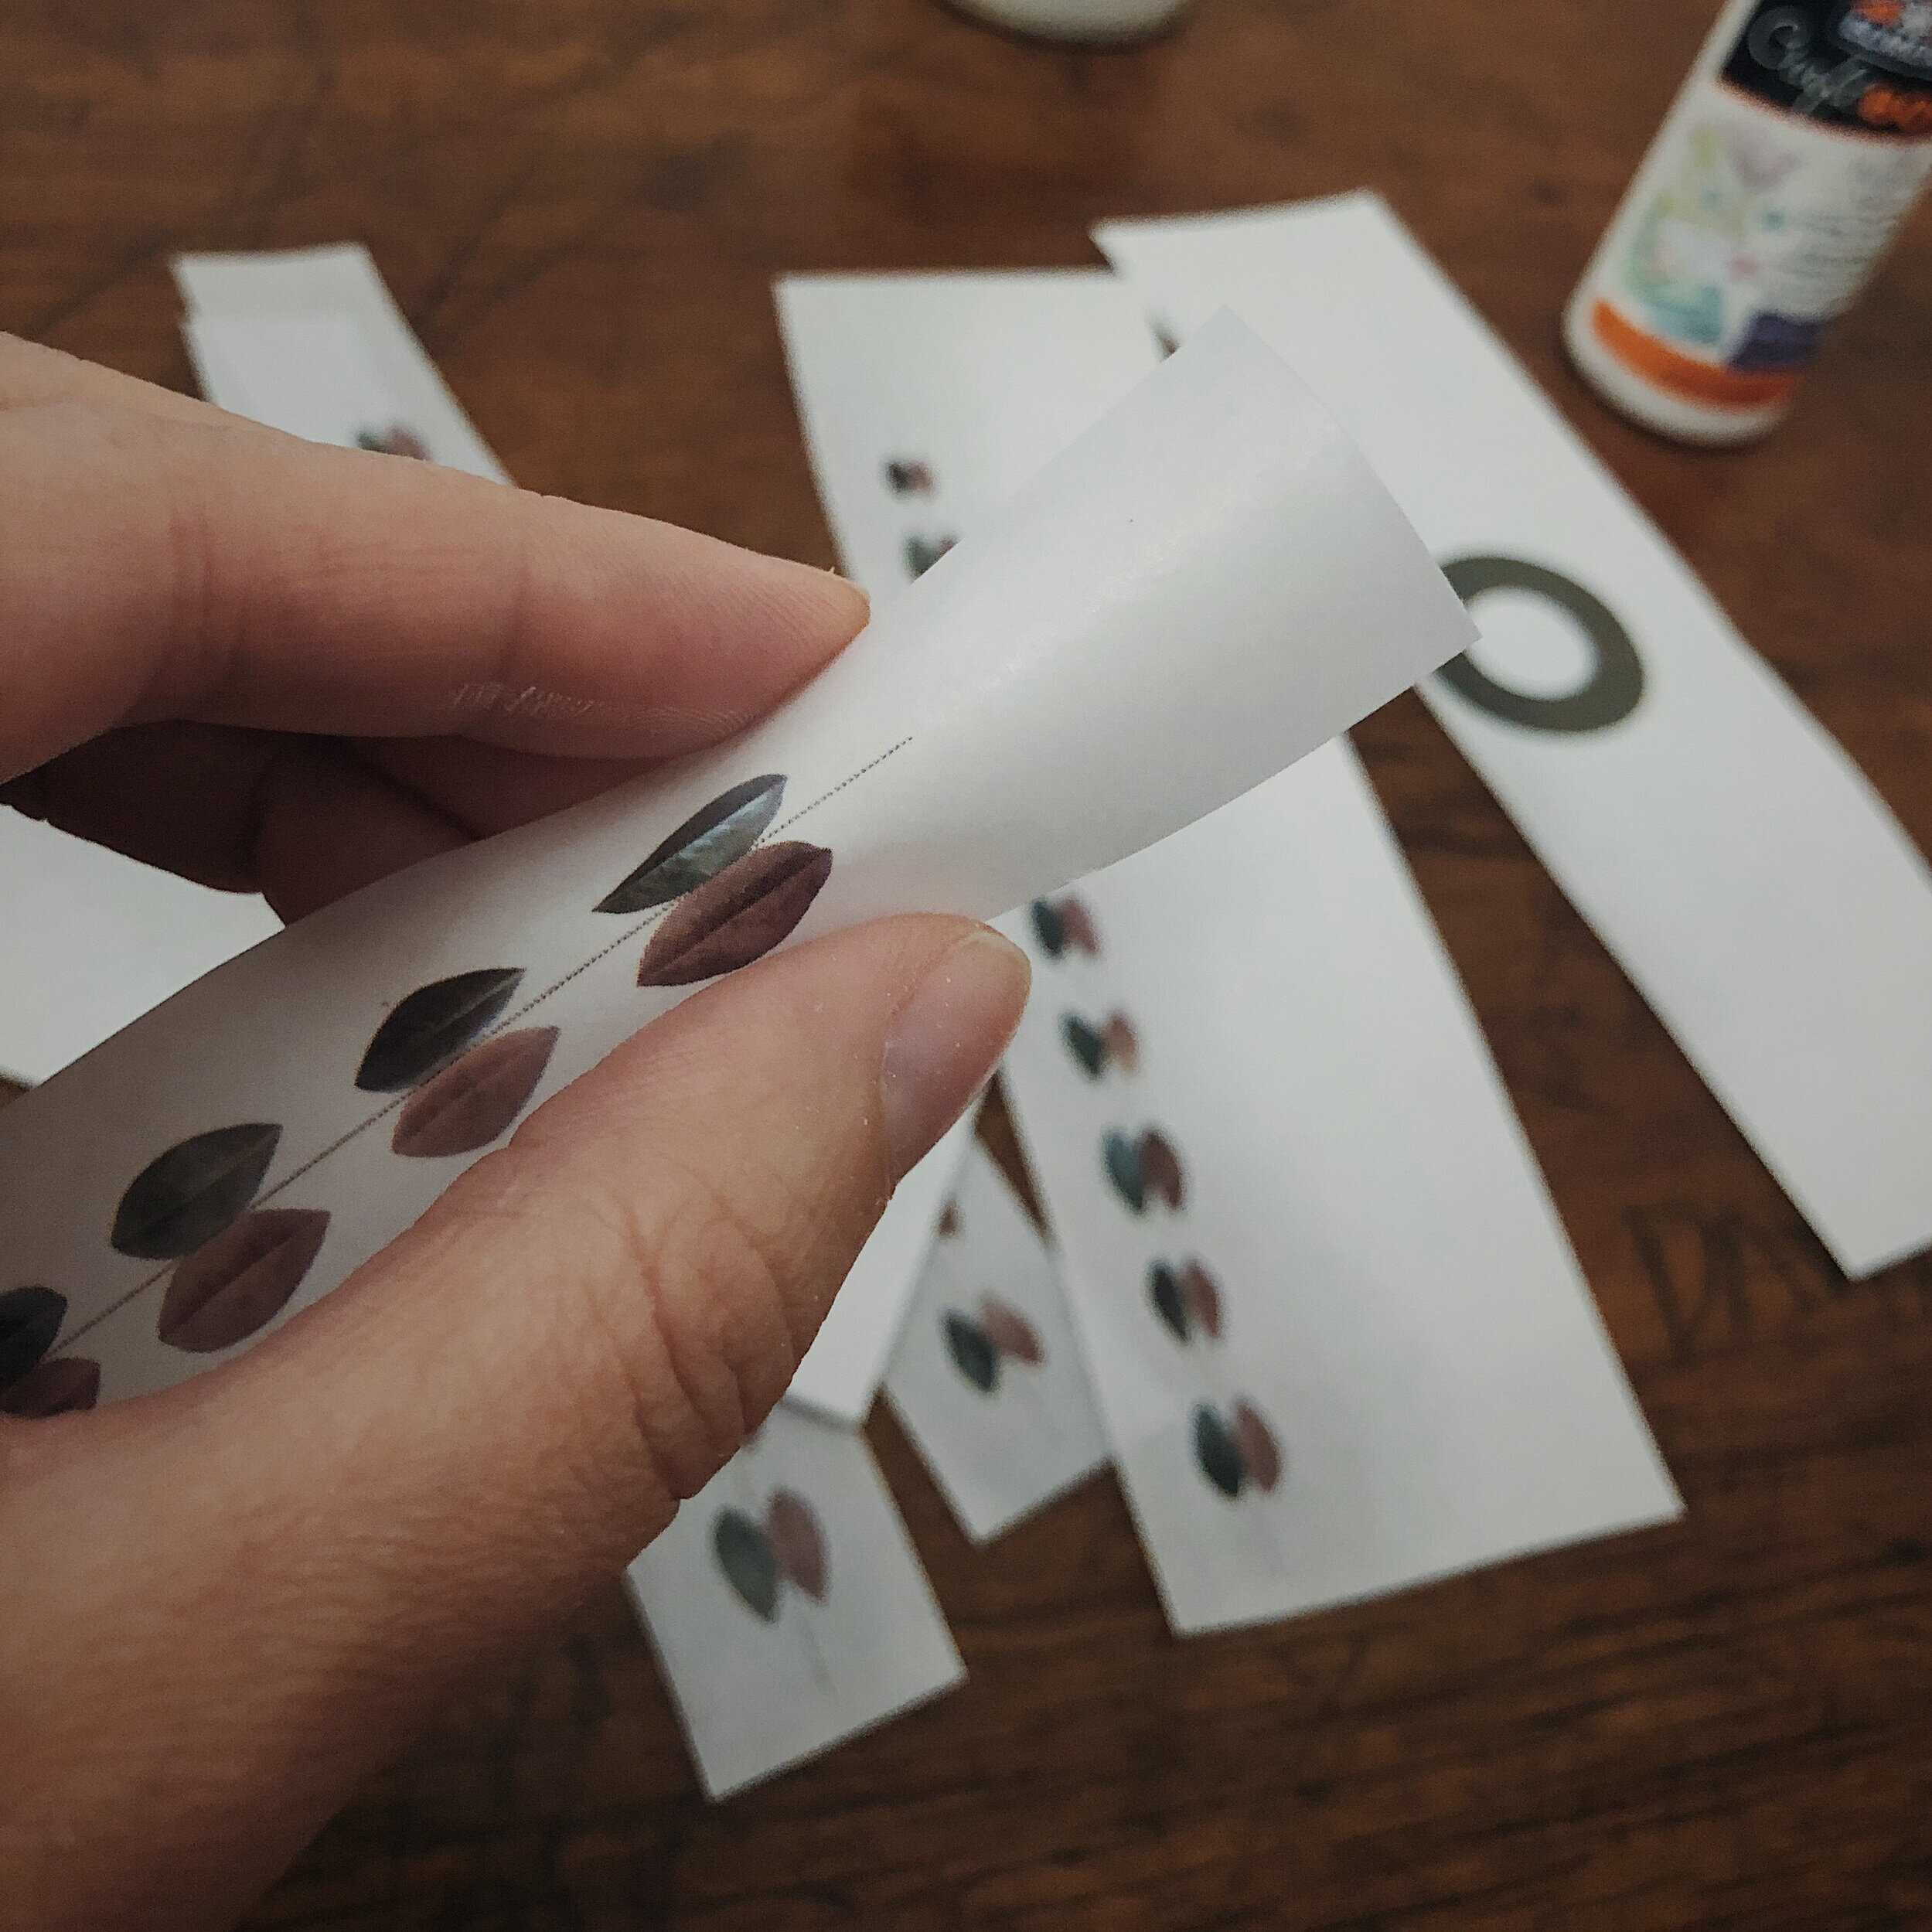
3.
You’ll now fold each strip along the fold line.

4.
Make sure to give each fold a good crease.
(Also, good grief! Why are my hands always covered in paint spatter?!)

5.
Open up the fold and add a dot of glue between each leaf front and back. Press together and allow to dry.
(Because you’ll be creasing/folding the leaves later, you’ll want to use a liquid glue as opposed to a glue stick.)
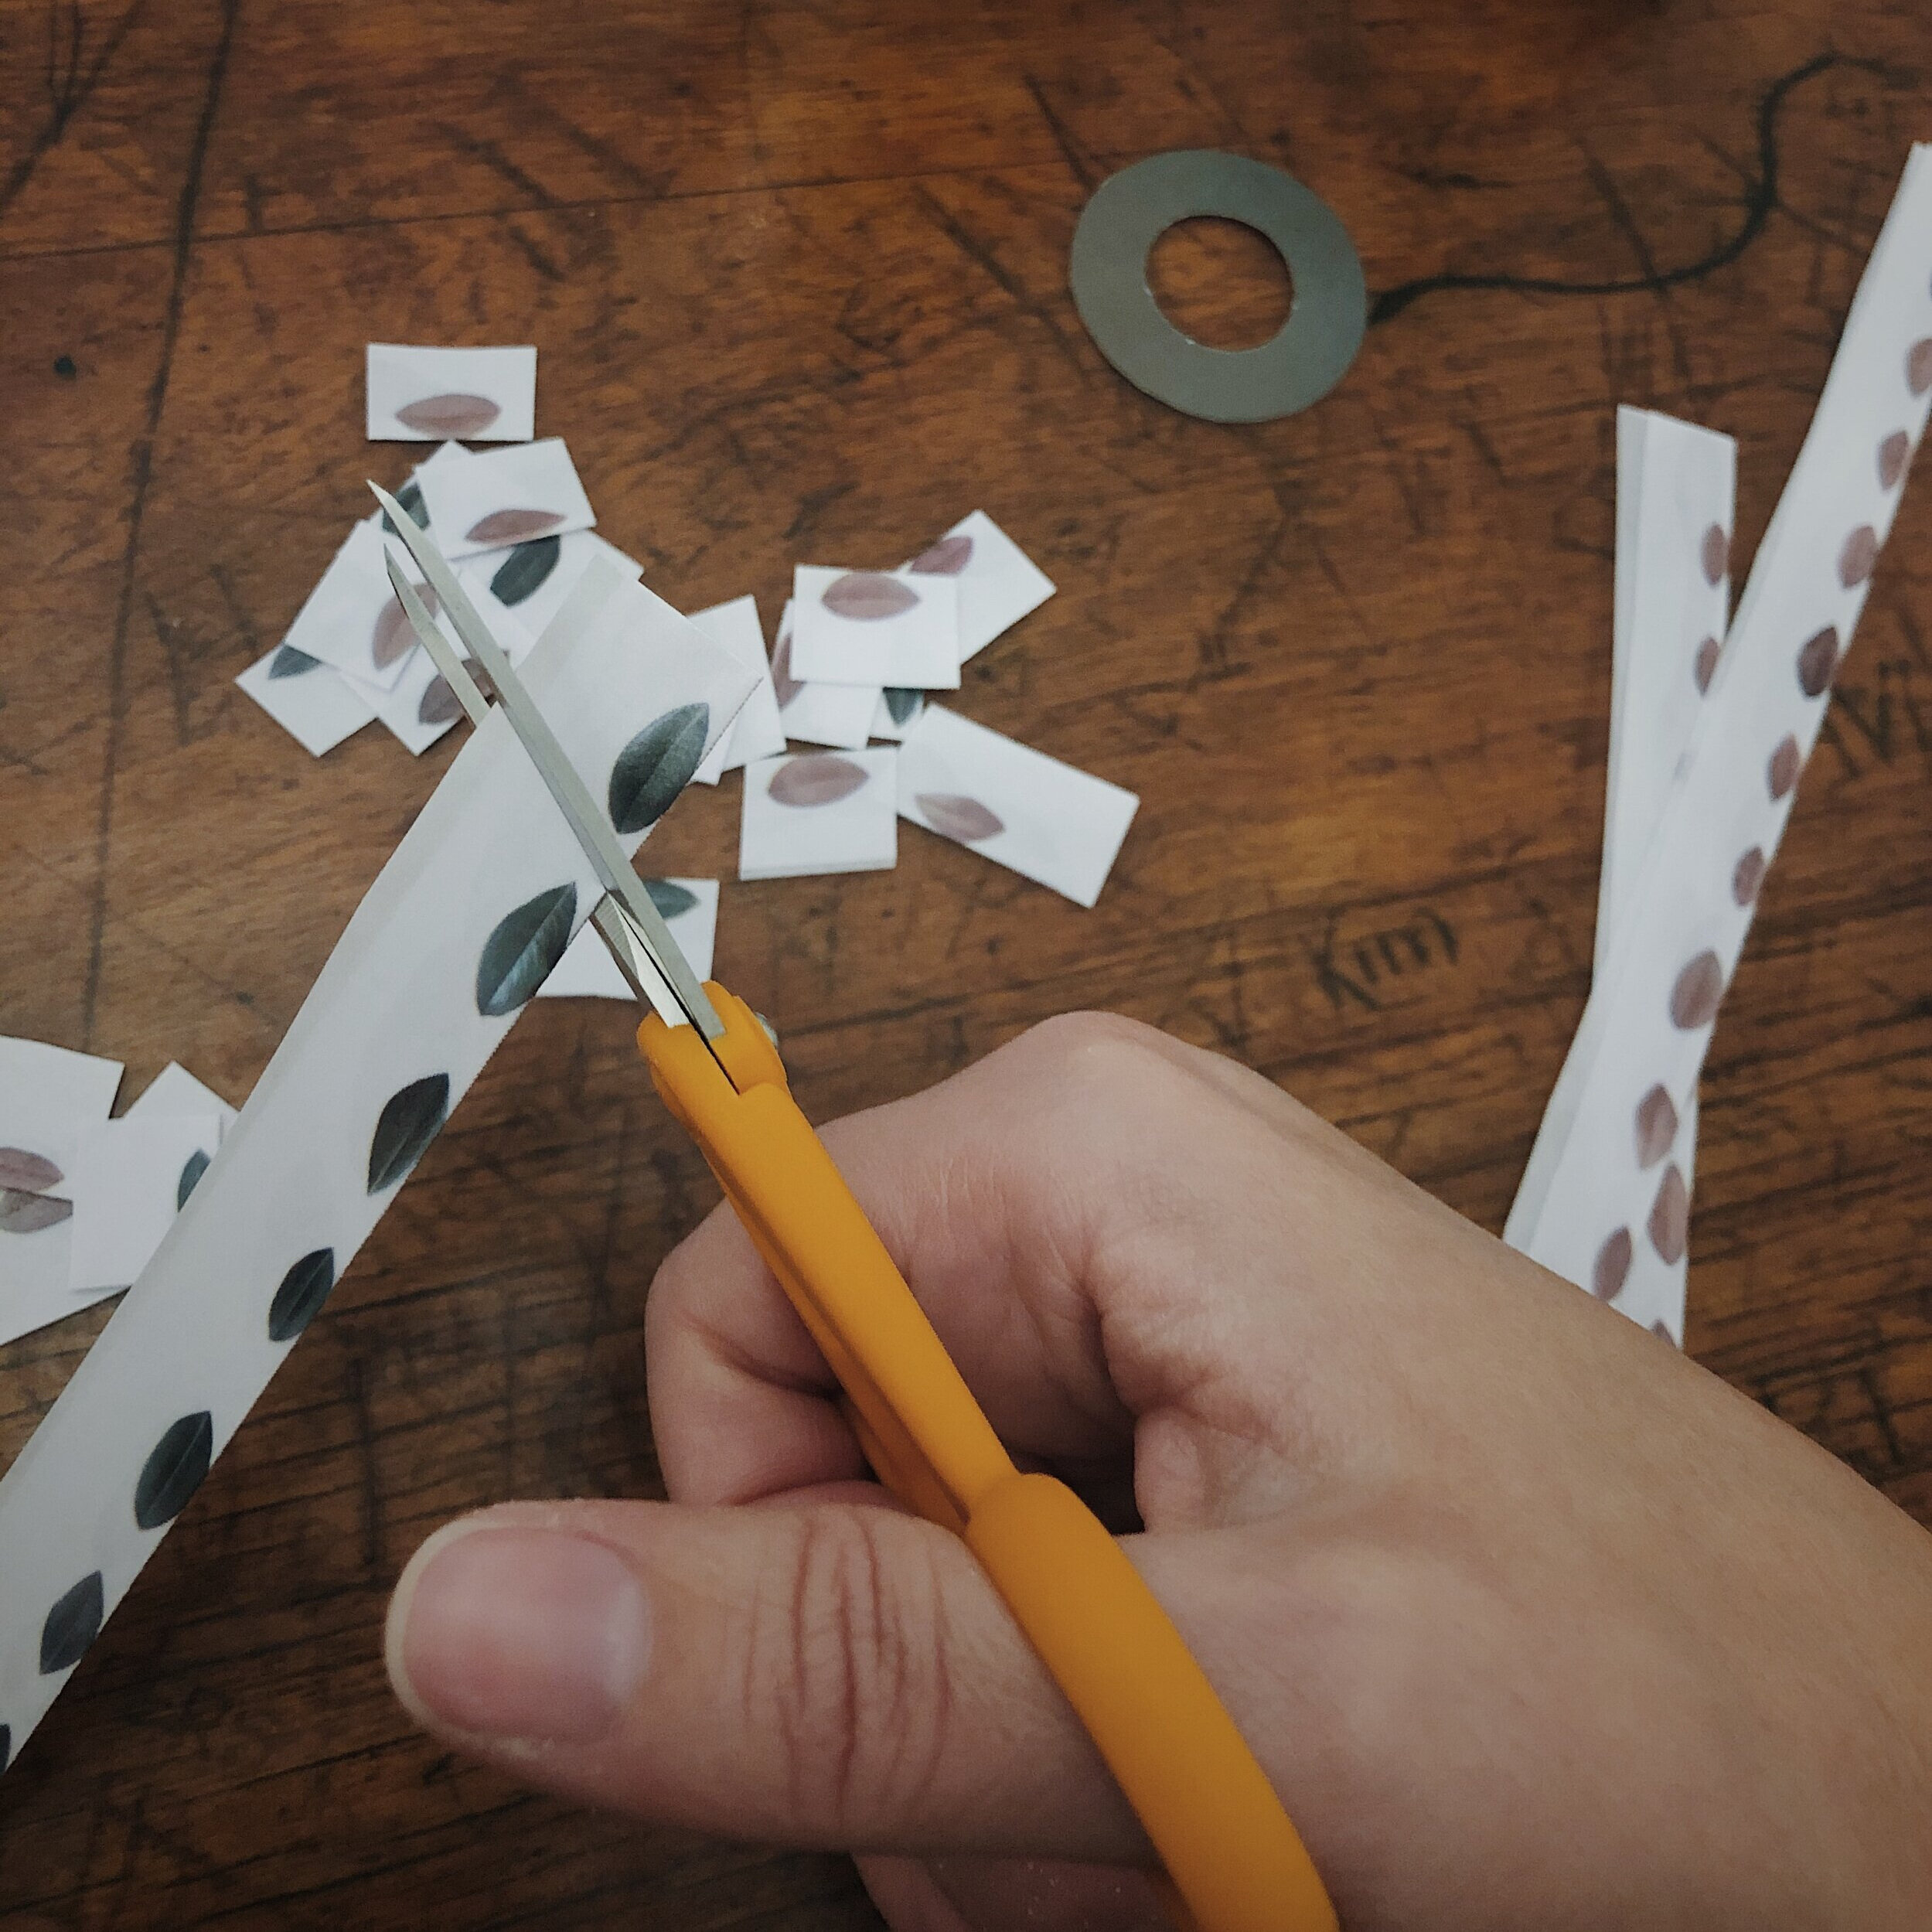
6.
Cut between each leaf. It will be easier to do the careful trimming if you don’t have the whole strip to contend with. Also, the little pile of squares is just kind of fun.

7.
Now comes the fun part—start trimming. Probably put on your favorite in the background. Trim from the top (the darker green side).
8.
At some point, you will have all of the little leaves cut out. Give yourself a fist bump.
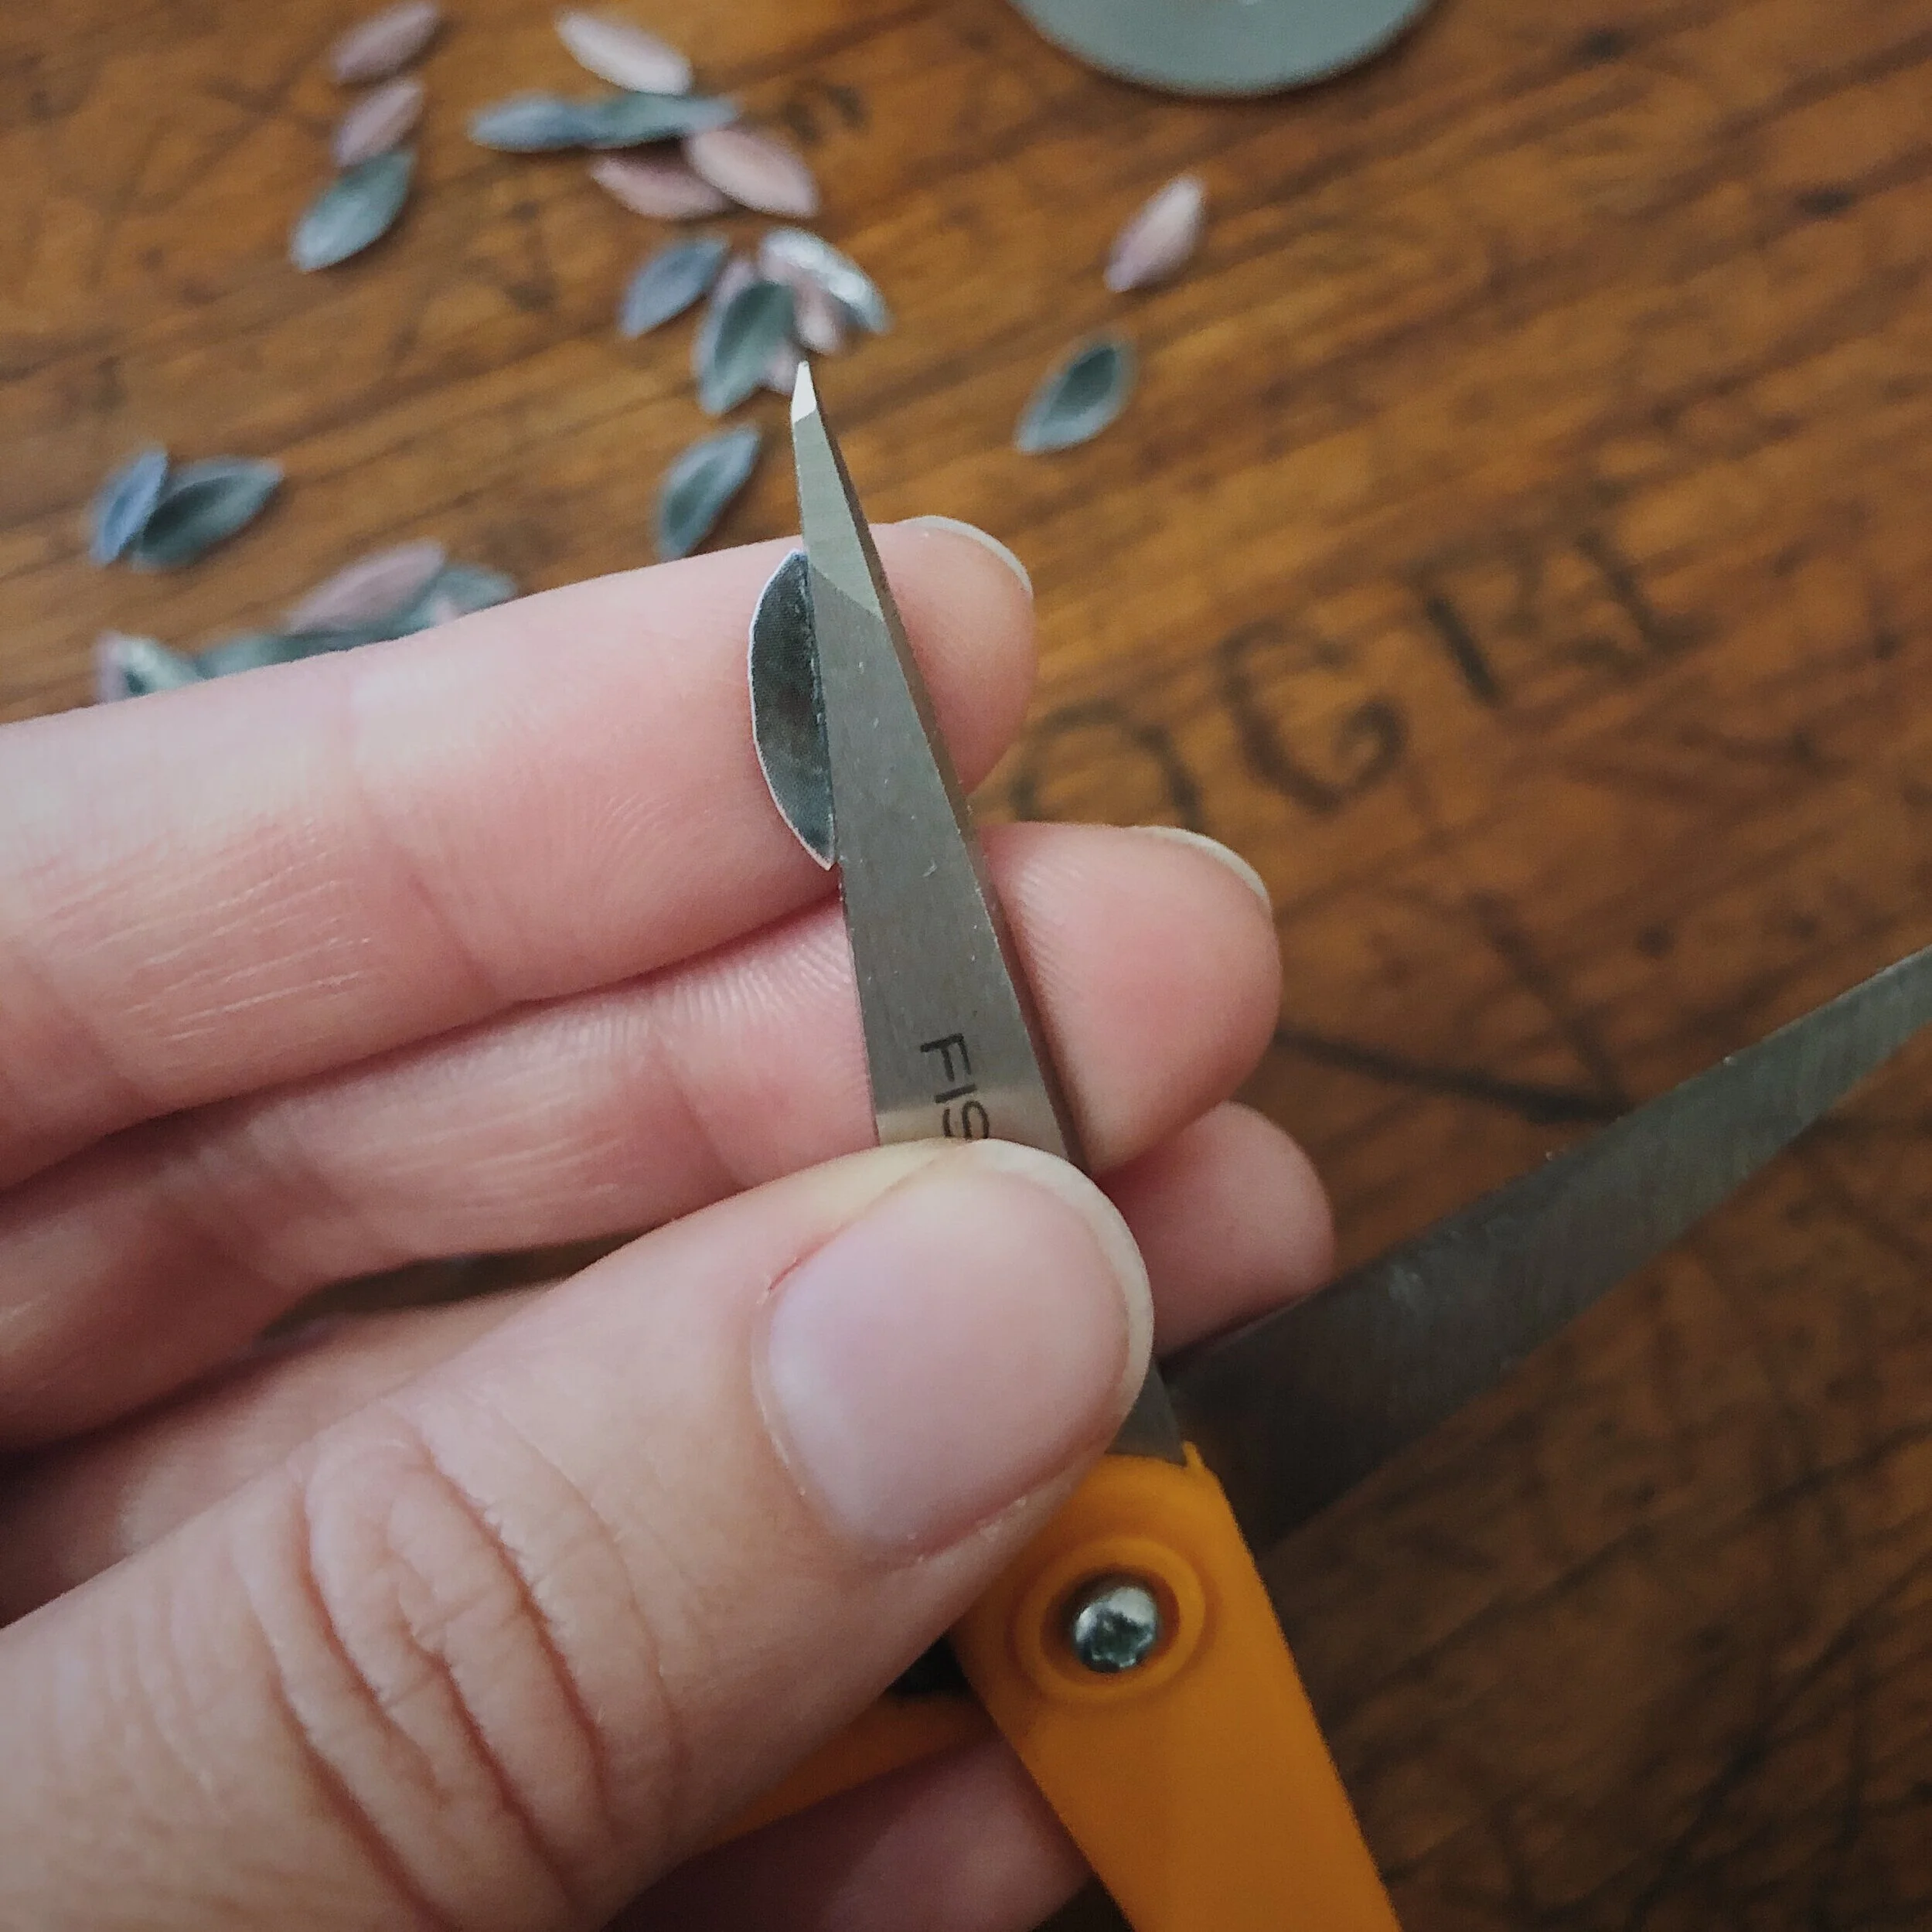
Now, for a little crease down the middle of each leaf. You can use anything with a hard edge. Because I’m lazy, I used the non-sharp edge of my scissors.
Fold most of them in on the dark green side, but do a handful of them on the gold side.
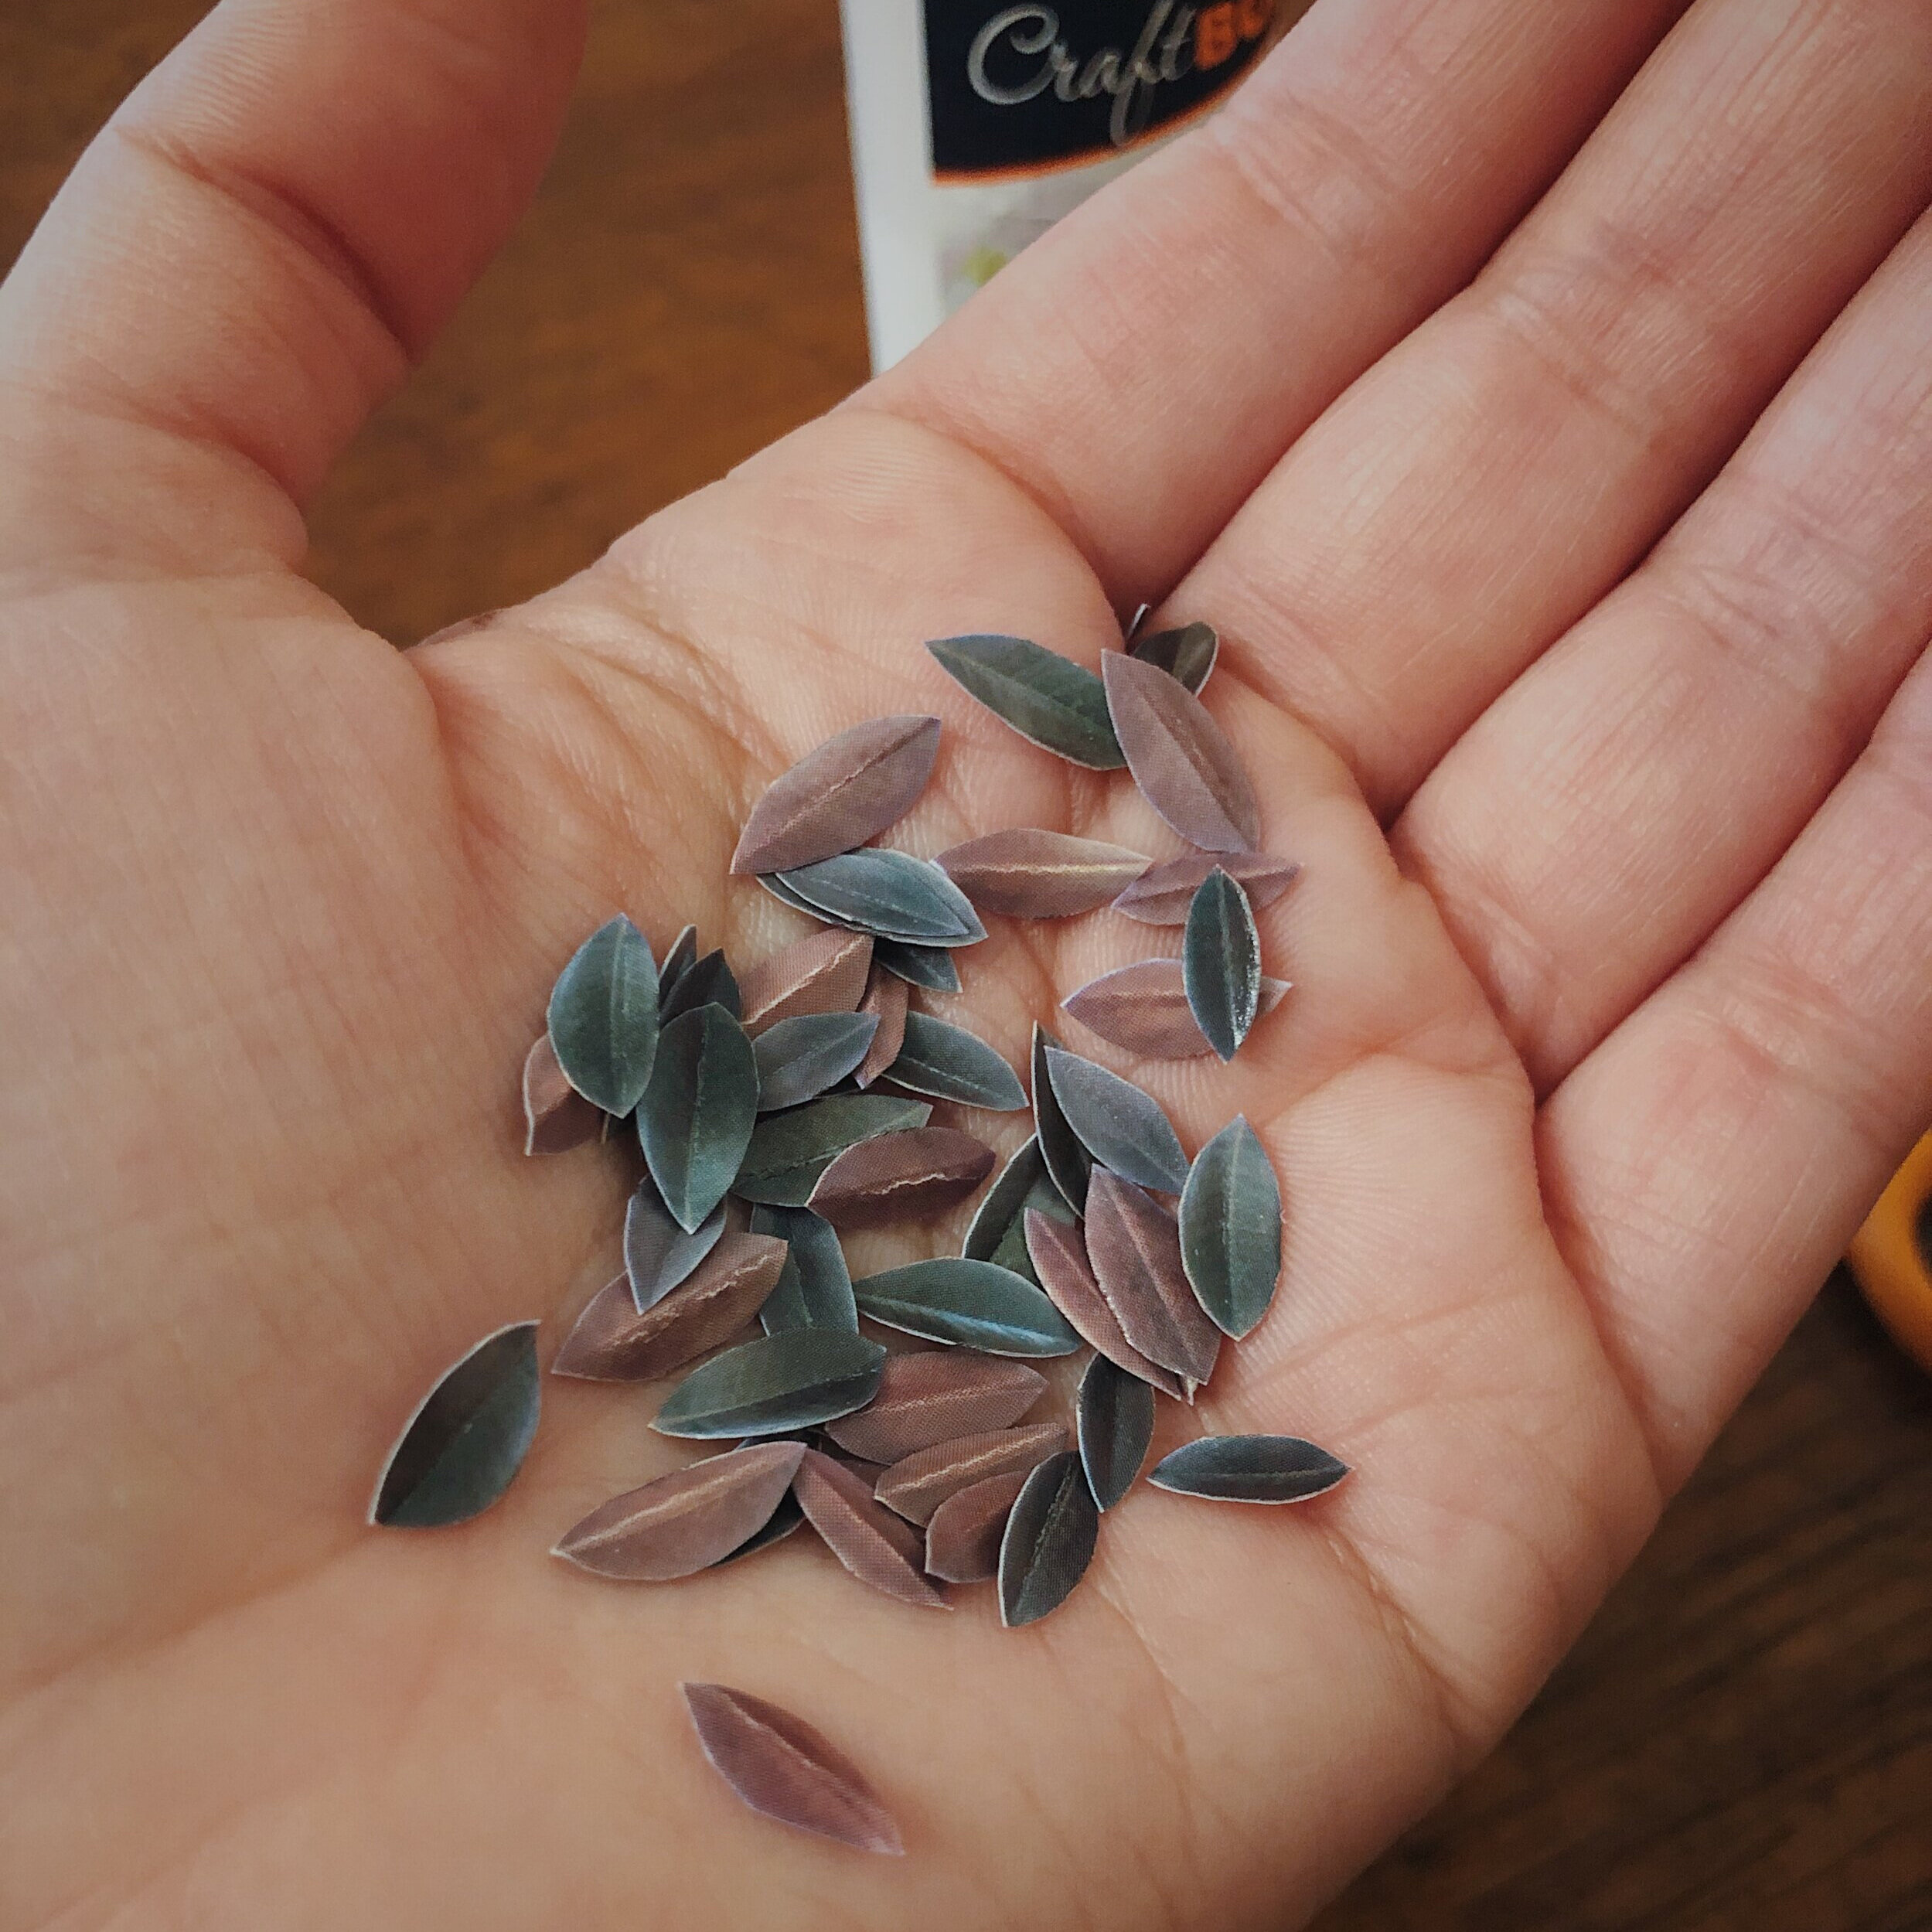
9.
Admire your work.

10.
Now let’s build a wreath! Pull out that little wreath template and trim. Glob on some glue.

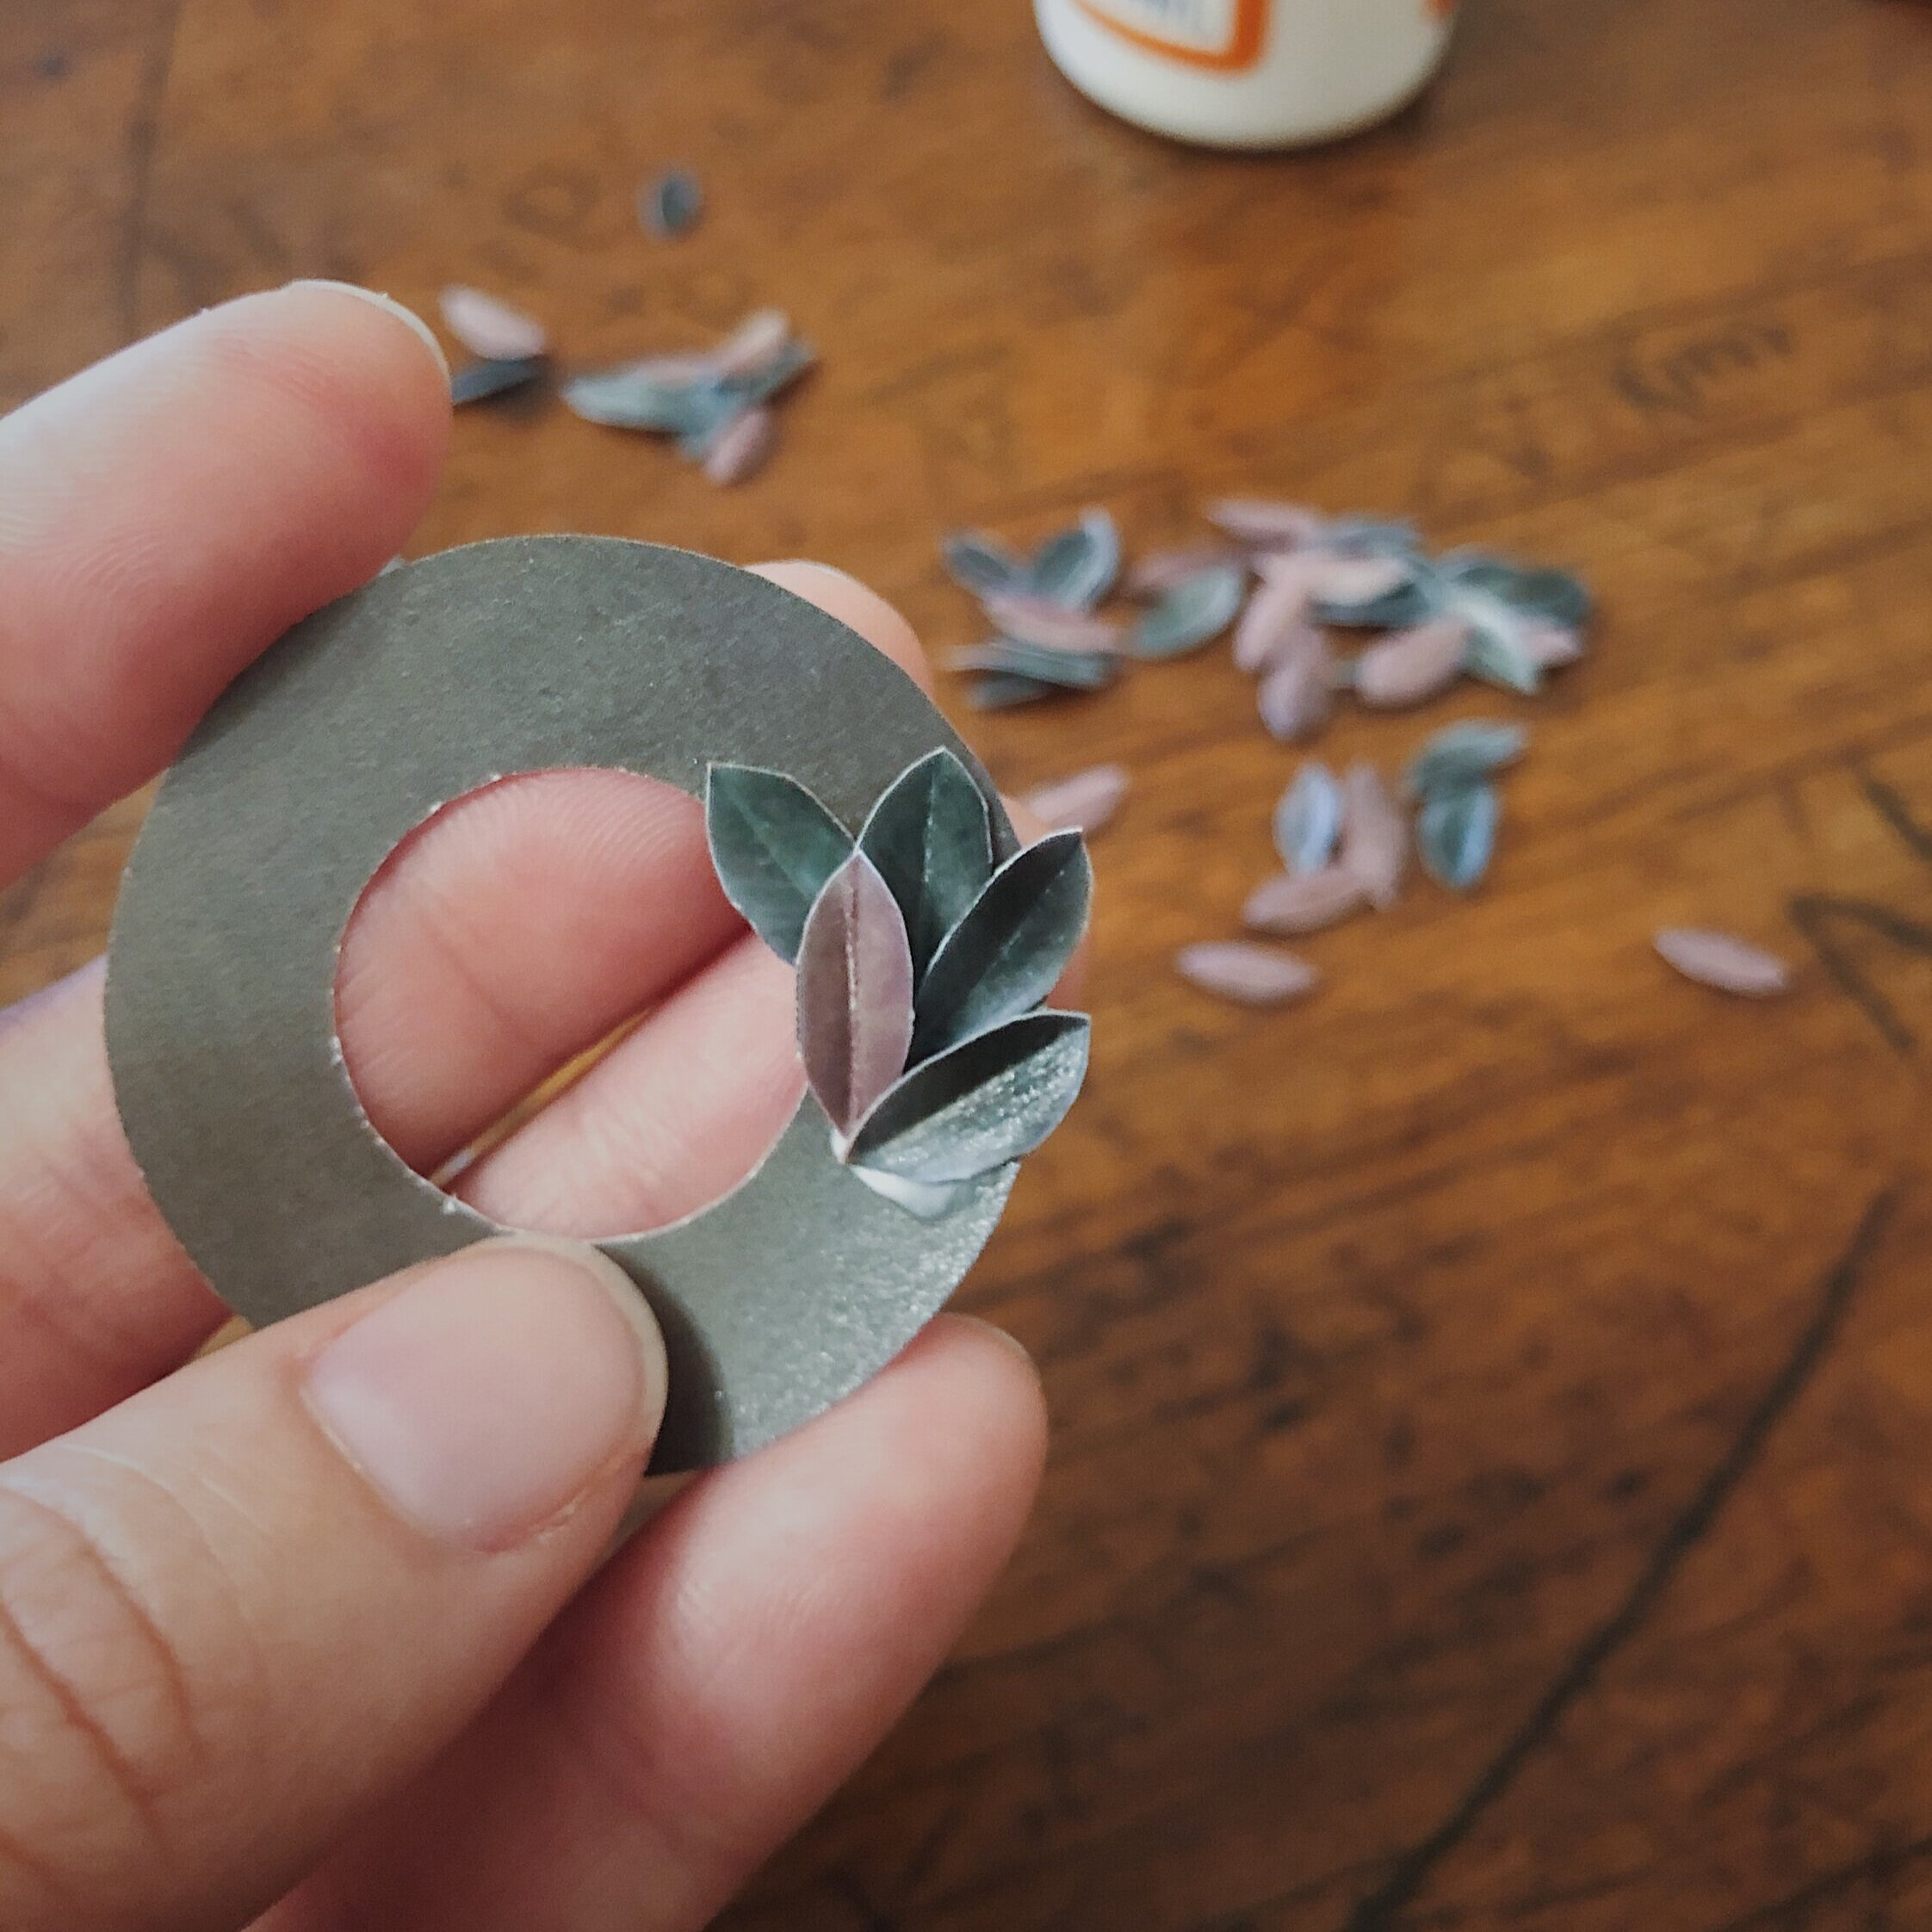
11.
I like to work in groups of three. Start with the center leaf and then add a leaf to either side.
12.
Add in a gold leaf from time to time. I’d say about one every other row of three.
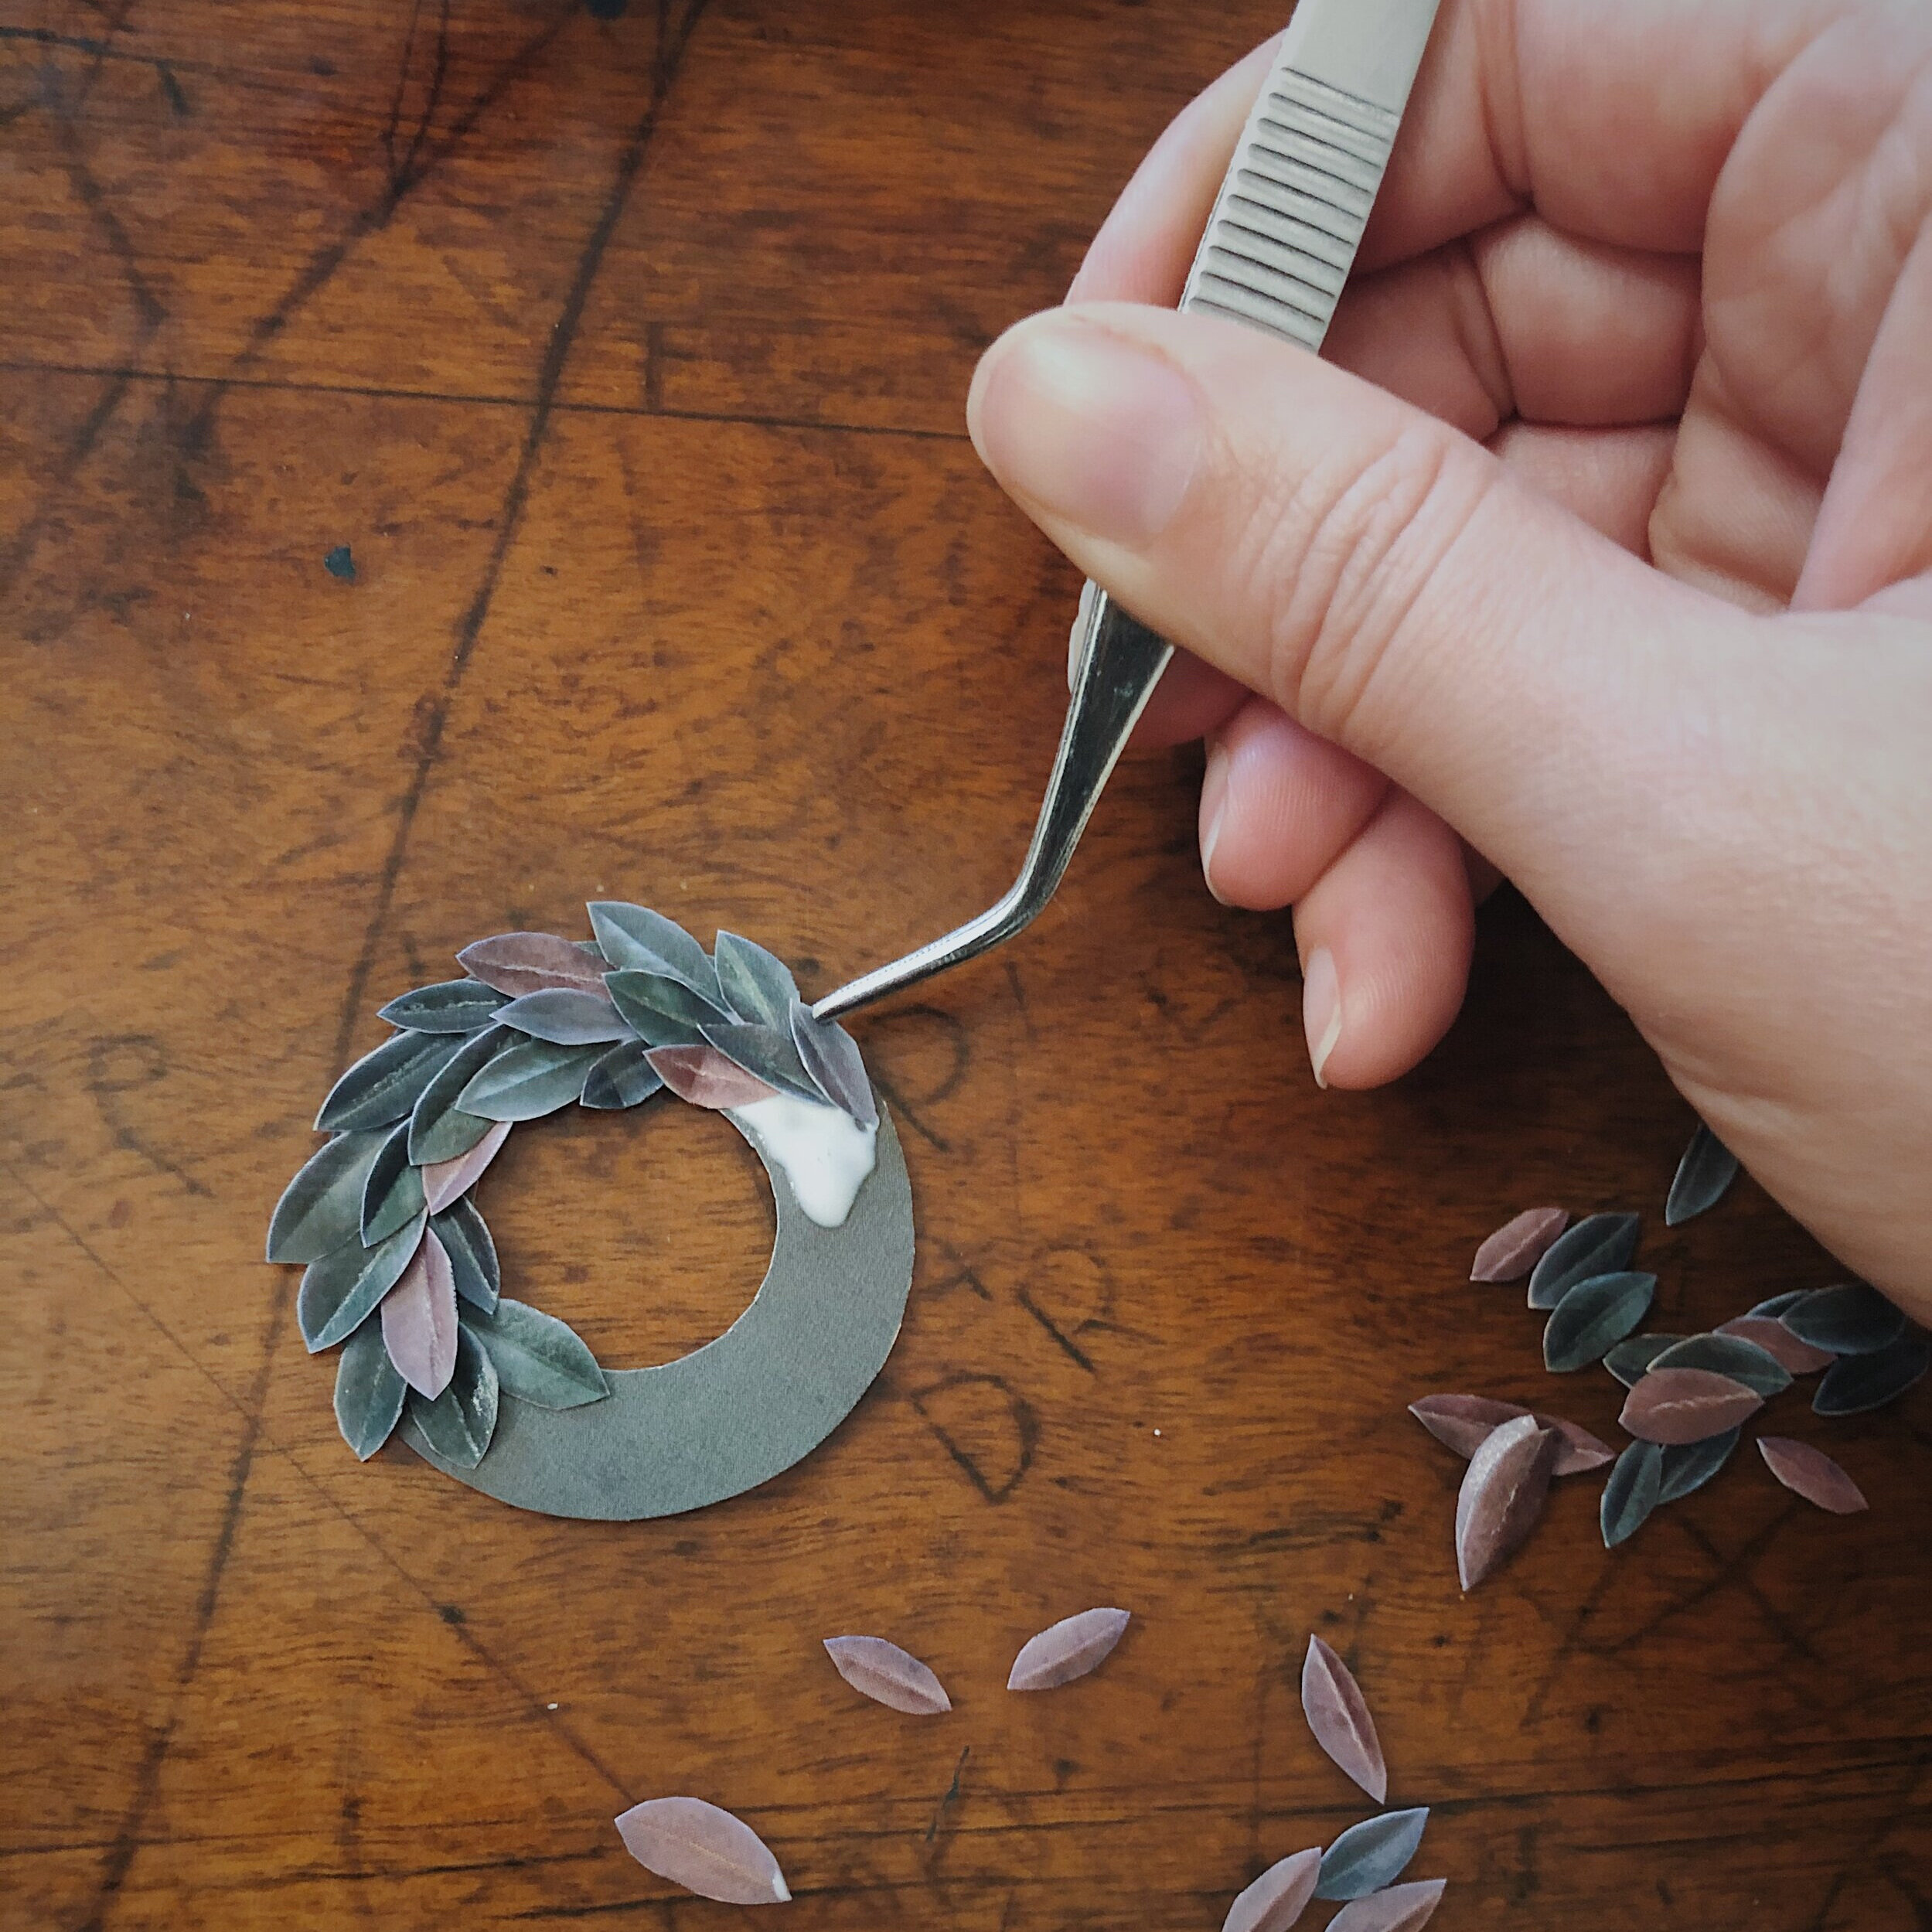
13.
Work your way around the wreath template, adding glue and leaves.
If you are clever, you’ve probably been using tweezers from the start. If you are like me though, you’ve just realized that you needed them.

That’s it!
Once you’ve worked around to your starting spot, tuck the final leaves under the first and you are set! If you have left over leaves, fill in any spots that look empty or uneven. Try to make sure none of the wreath template is left visible.
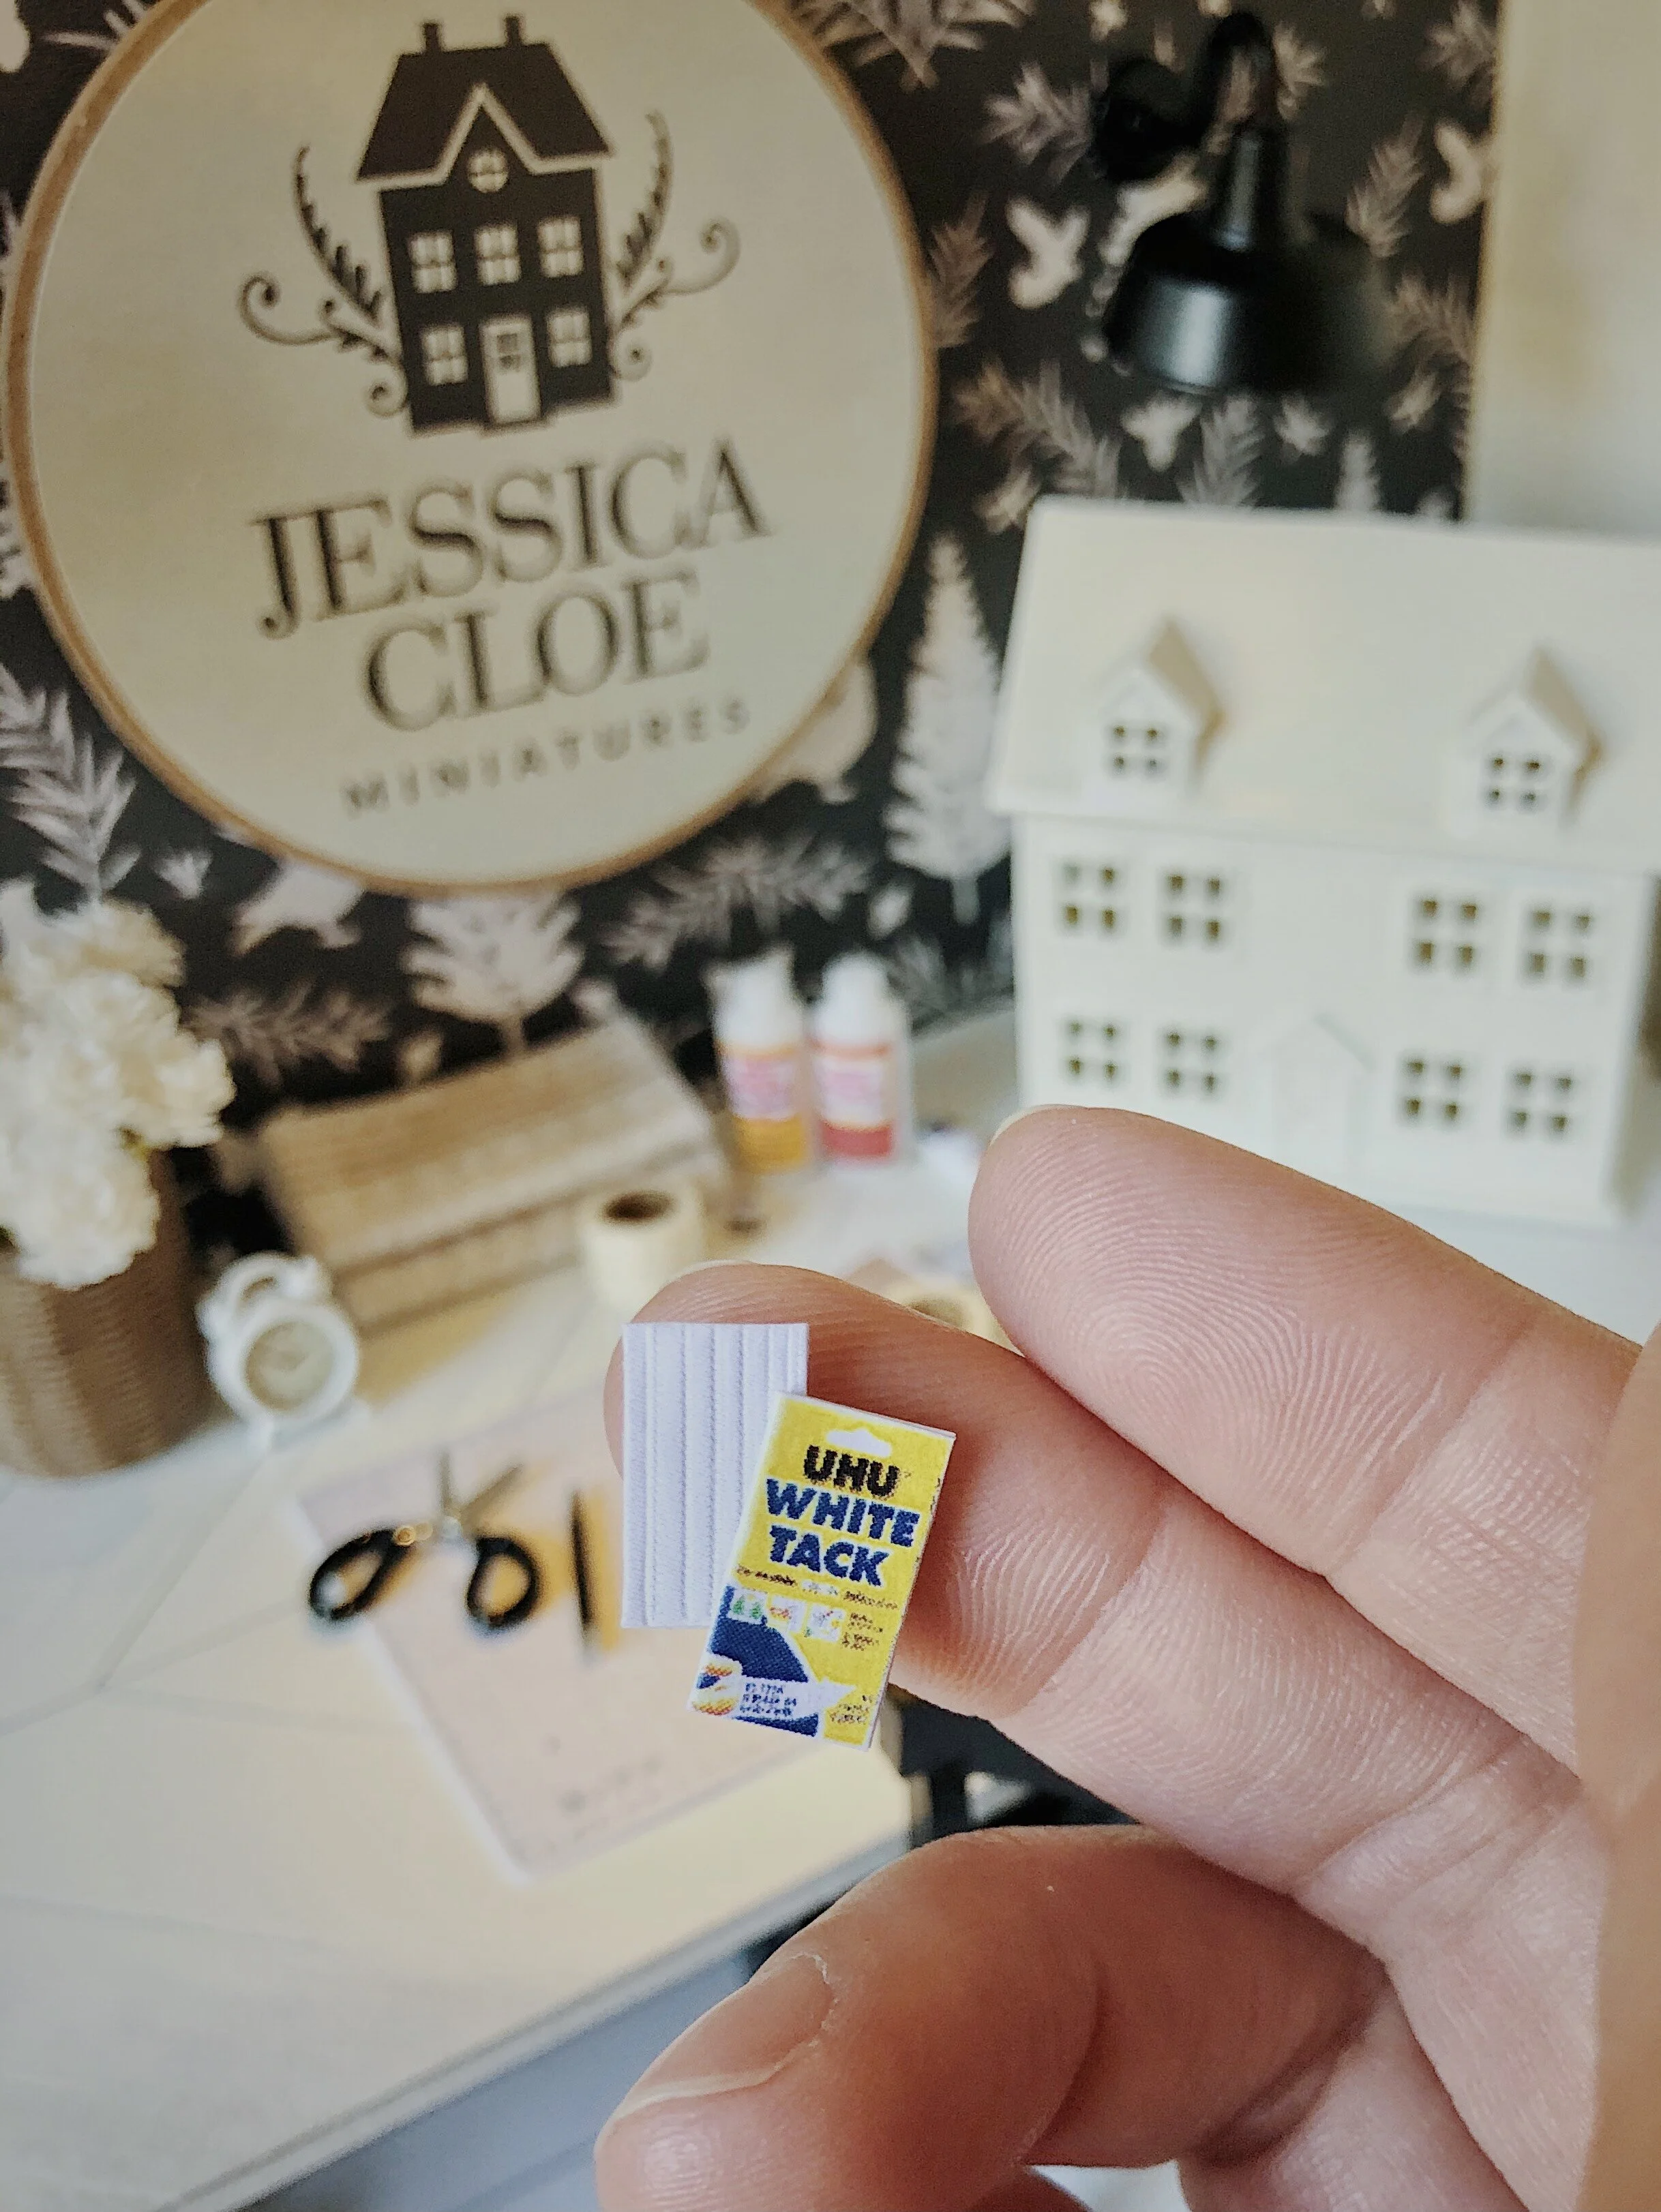
Let your wreath dry well and hang with a bit of white tack.


![[Featured] Home is where the heart is](https://images.squarespace-cdn.com/content/v1/595db0b044024313332d1ef8/4d709e00-3324-4310-8fc7-4e12c12235fc/westwind+1.jpg)


![[Featured] House Hunter—Mini Modern Farmhouse](https://images.squarespace-cdn.com/content/v1/595db0b044024313332d1ef8/1635368524954-RFDD3B7IPNN7OTRDWE6Y/Mini+Modern+Farmhouse+Interior+Furnished.jpg)


![[Featured] Meet the ‘cloffice’](https://images.squarespace-cdn.com/content/v1/595db0b044024313332d1ef8/1622420833320-T5FVUAYDEA0ING4B0DRO/Mini+Cloffice+Tall_Phone.jpg)


![[Featured] Making a home](https://images.squarespace-cdn.com/content/v1/595db0b044024313332d1ef8/1619784319429-U4GKIWXVW76OCOH9H4OM/Long+Farmhouse+Living+Room.JPG)

![[Featured] Instagram Identities: Jessica Cloe Miniatures](https://images.squarespace-cdn.com/content/v1/595db0b044024313332d1ef8/1619784478243-8KCI6MIDSXD6ADUM5R1T/Bayview+House+Interior.jpg)

