Free Moving Boxes Printable
Oh, moving. Isn't it just a barrel of laughs? And by laughs, I mean tears and backaches. Let's be real—moving out is about as fun as a root canal. But moving in? Now that's where the party's at. Nothing beats turning a blank canvas into your personal paradise and rediscovering all the junk—I mean, treasures—you forgot you owned. And you know what takes this circus from sideshow to main event? Decent boxes, people!
Now, for all you miniature enthusiasts who think real-life moving isn't chaotic enough, we've got a treat that'll knock your tiny socks off. Subscribers, prepare to lose your minds over our free printable digital download of miniature moving boxes! Because apparently, what the world needs now is itty-bitty cardboard chaos.

These 1:12 scale beauties are perfect for your dollhouse residents who've decided they're too good for their current shoebox mansion. We’ve included boxes in three sizes with options to print them on white or kraft brown paper. Whether you're crafting a minuscule moving mayhem or just adding a touch of "lived-in chic" to your tiny spaces, these boxes are the perfect way to procrastinate on your actual, life-sized move.
So go ahead, dive into the world of miniature moving. It's all the stress of relocating, minus the need for ibuprofen.

What You Will Need
Free Mail Pieces Printable
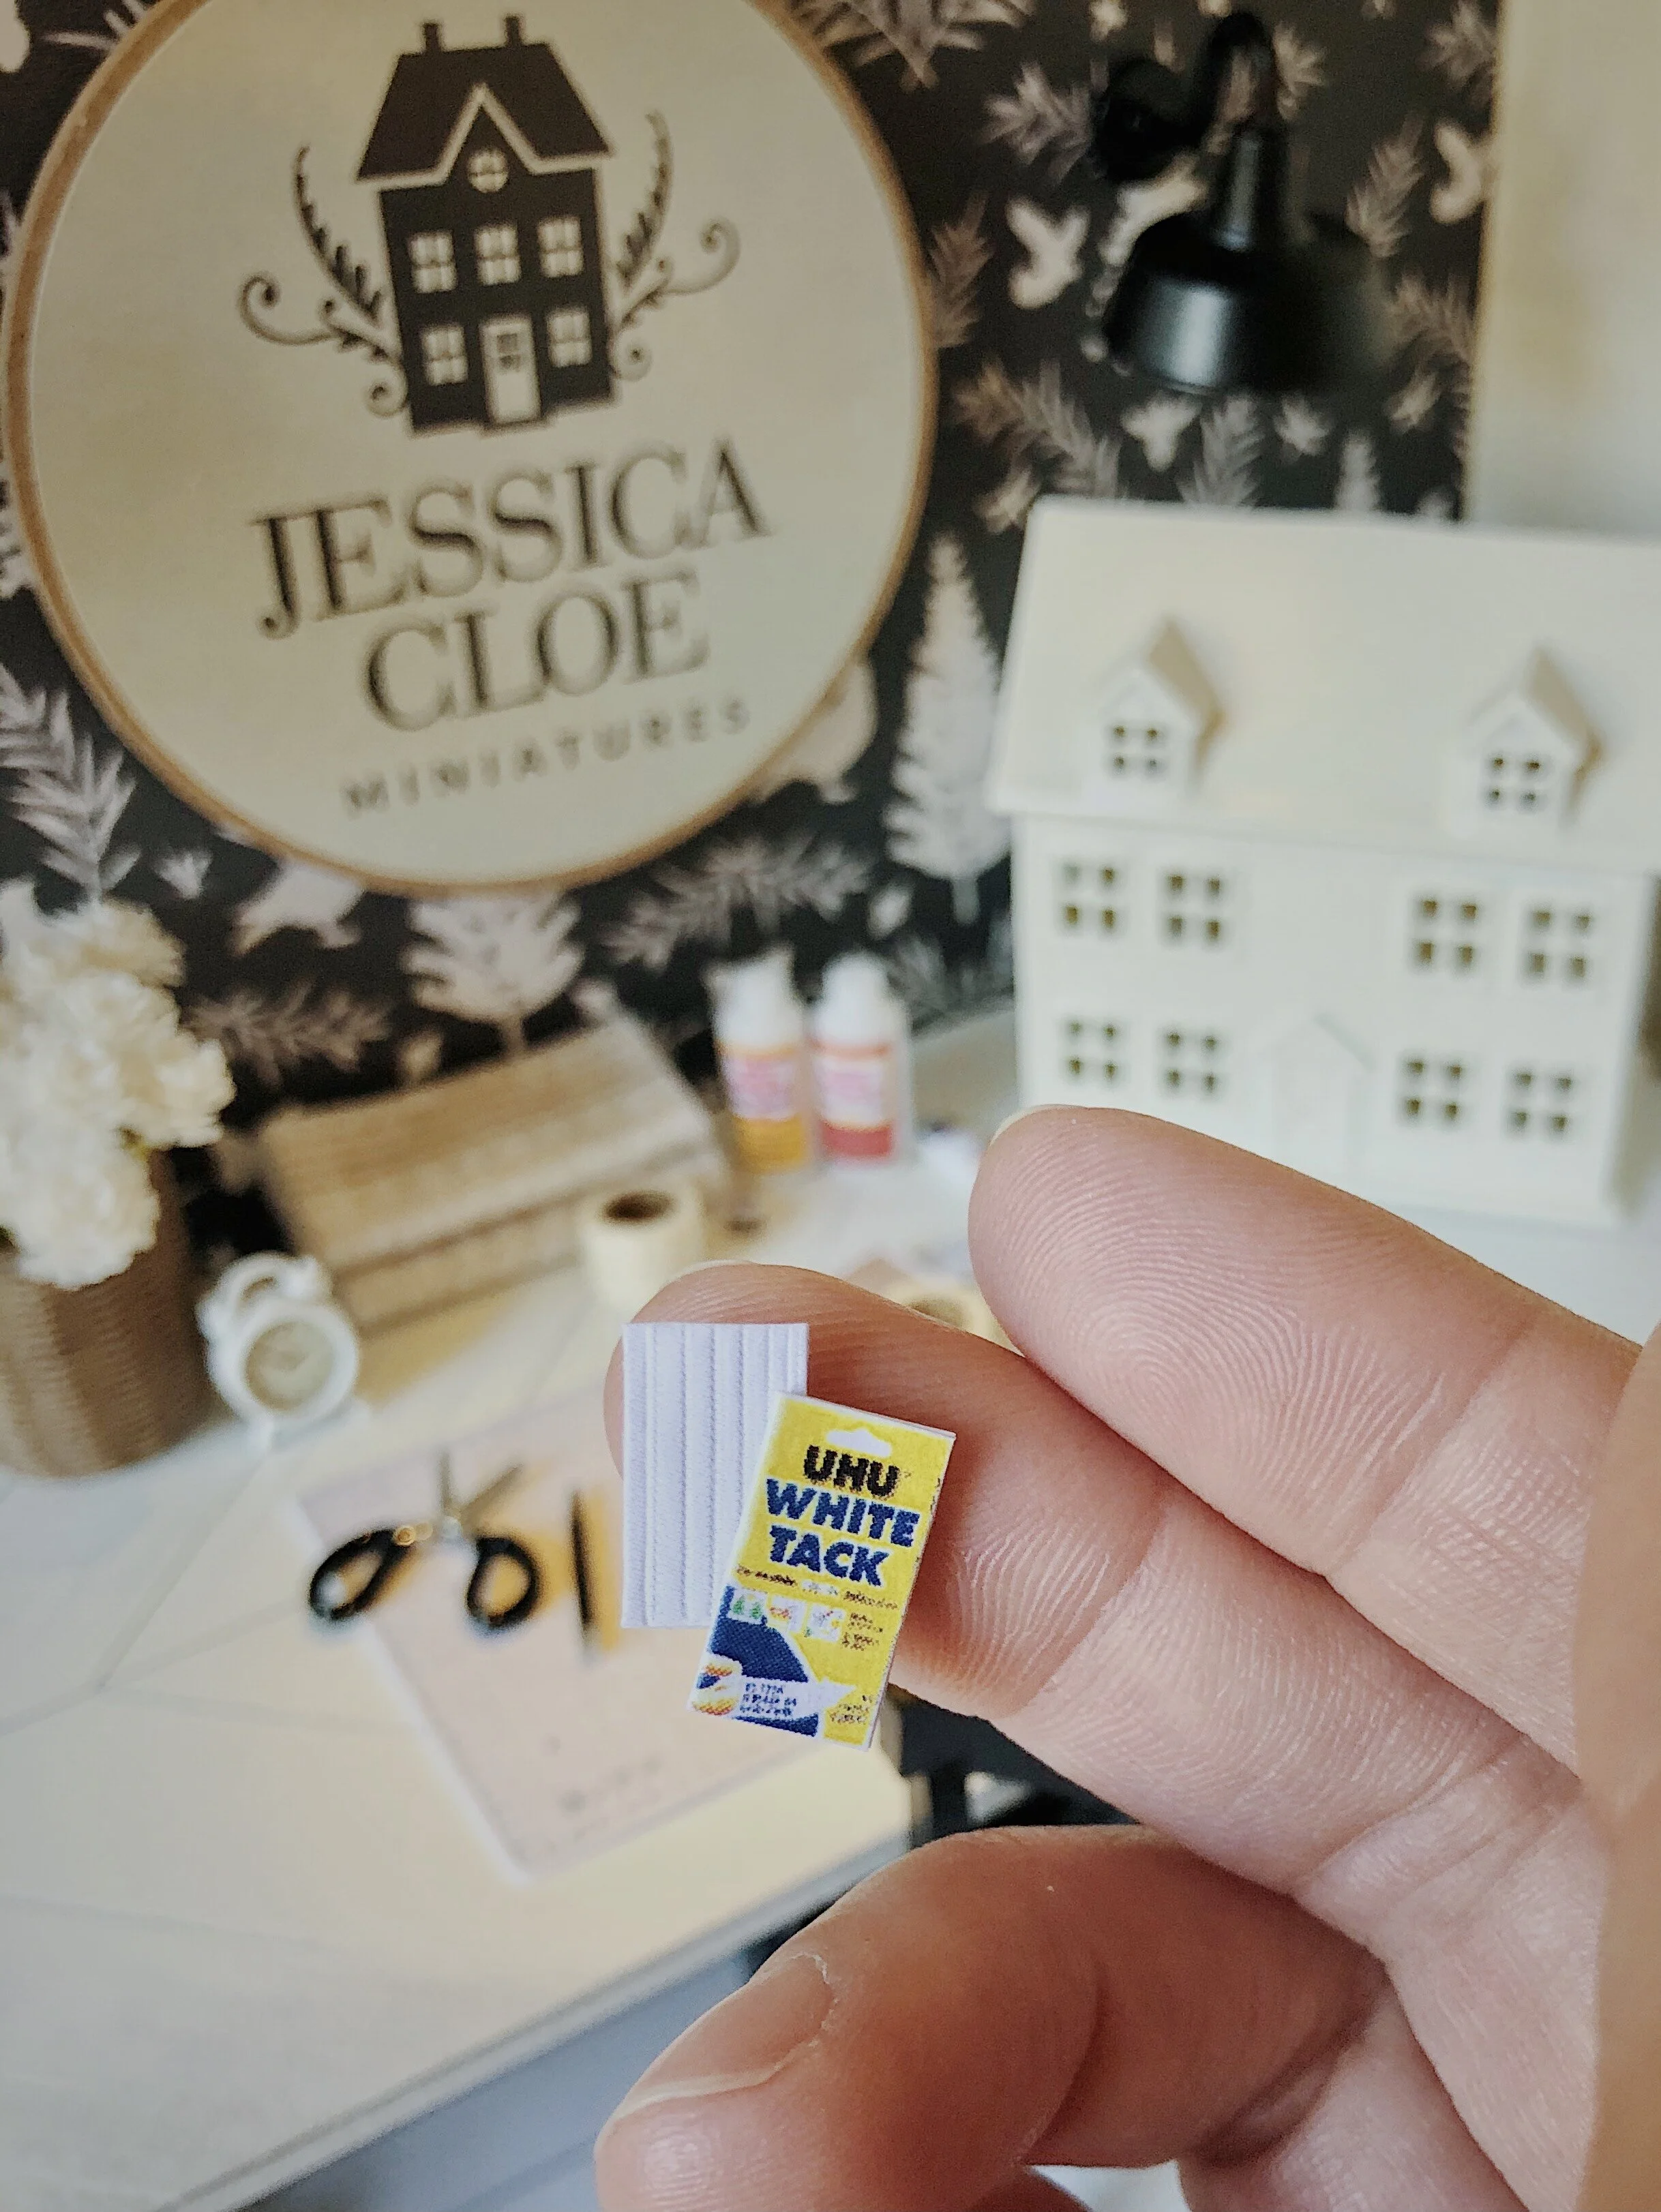
Paper (we used Kraft Printer Paper but you can also use plain white printer paper)
Scissors (We love these Fiskars Micro Tips)
Indentation Pen (from this 8-piece Folding Set)
Glue Stick (Elmers Purple Glue)

1.
This printable comes with two options so you can choose which kind of paper is best for you.
Kraft printer paper is ideal, as it allows for a uniform brown cardboard color throughout. You can find a great print paper option here.
However, if you prefer to print to standard white printer paper, we’ve provided an option for that as well.

2.
Trim around the outside of each box template.

3.
Using a score tool, crease along the tops of the flap lines.

4.
Using a score tool, crease along each of the box folds and the box flap.

5.
Using scissors with a very fine tip, cut along each flap line.

6.
Now fold the box in half along the center score line. Then again along the other box score lines. (Save the flap folds for later.)

7.
Unfold and flatten a bit. Now you’ll prep to glue the side flap into place.

8.
Fold side flap down and apply a generous amount of glue. (A glue stick is best for this project.)

9.
Press the two sides together for a moment to seal.

10.
Once side flap is glued in place, fold base flaps up, starting with the two shorter ones.

11.
Open up the longer flaps and apply a small amount of glue.

12.
Fold back the longer flaps and hold gently to glue in place.

13.
Repeat with second long flap.

14.
Fold top flaps down.

15.
You can leave them open or fill them up. You can glue the tops down or add thin strips of tape too.

That’s it!
If we feel a bit braver, we might try a fine-point sharpie and label a few of them. Fingers crossed.


![[Featured] Home is where the heart is](https://images.squarespace-cdn.com/content/v1/595db0b044024313332d1ef8/4d709e00-3324-4310-8fc7-4e12c12235fc/westwind+1.jpg)


![[Featured] House Hunter—Mini Modern Farmhouse](https://images.squarespace-cdn.com/content/v1/595db0b044024313332d1ef8/1635368524954-RFDD3B7IPNN7OTRDWE6Y/Mini+Modern+Farmhouse+Interior+Furnished.jpg)


![[Featured] Meet the ‘cloffice’](https://images.squarespace-cdn.com/content/v1/595db0b044024313332d1ef8/1622420833320-T5FVUAYDEA0ING4B0DRO/Mini+Cloffice+Tall_Phone.jpg)


![[Featured] Making a home](https://images.squarespace-cdn.com/content/v1/595db0b044024313332d1ef8/1619784319429-U4GKIWXVW76OCOH9H4OM/Long+Farmhouse+Living+Room.JPG)

![[Featured] Instagram Identities: Jessica Cloe Miniatures](https://images.squarespace-cdn.com/content/v1/595db0b044024313332d1ef8/1619784478243-8KCI6MIDSXD6ADUM5R1T/Bayview+House+Interior.jpg)

