Easy Dollhouse Board and Batten
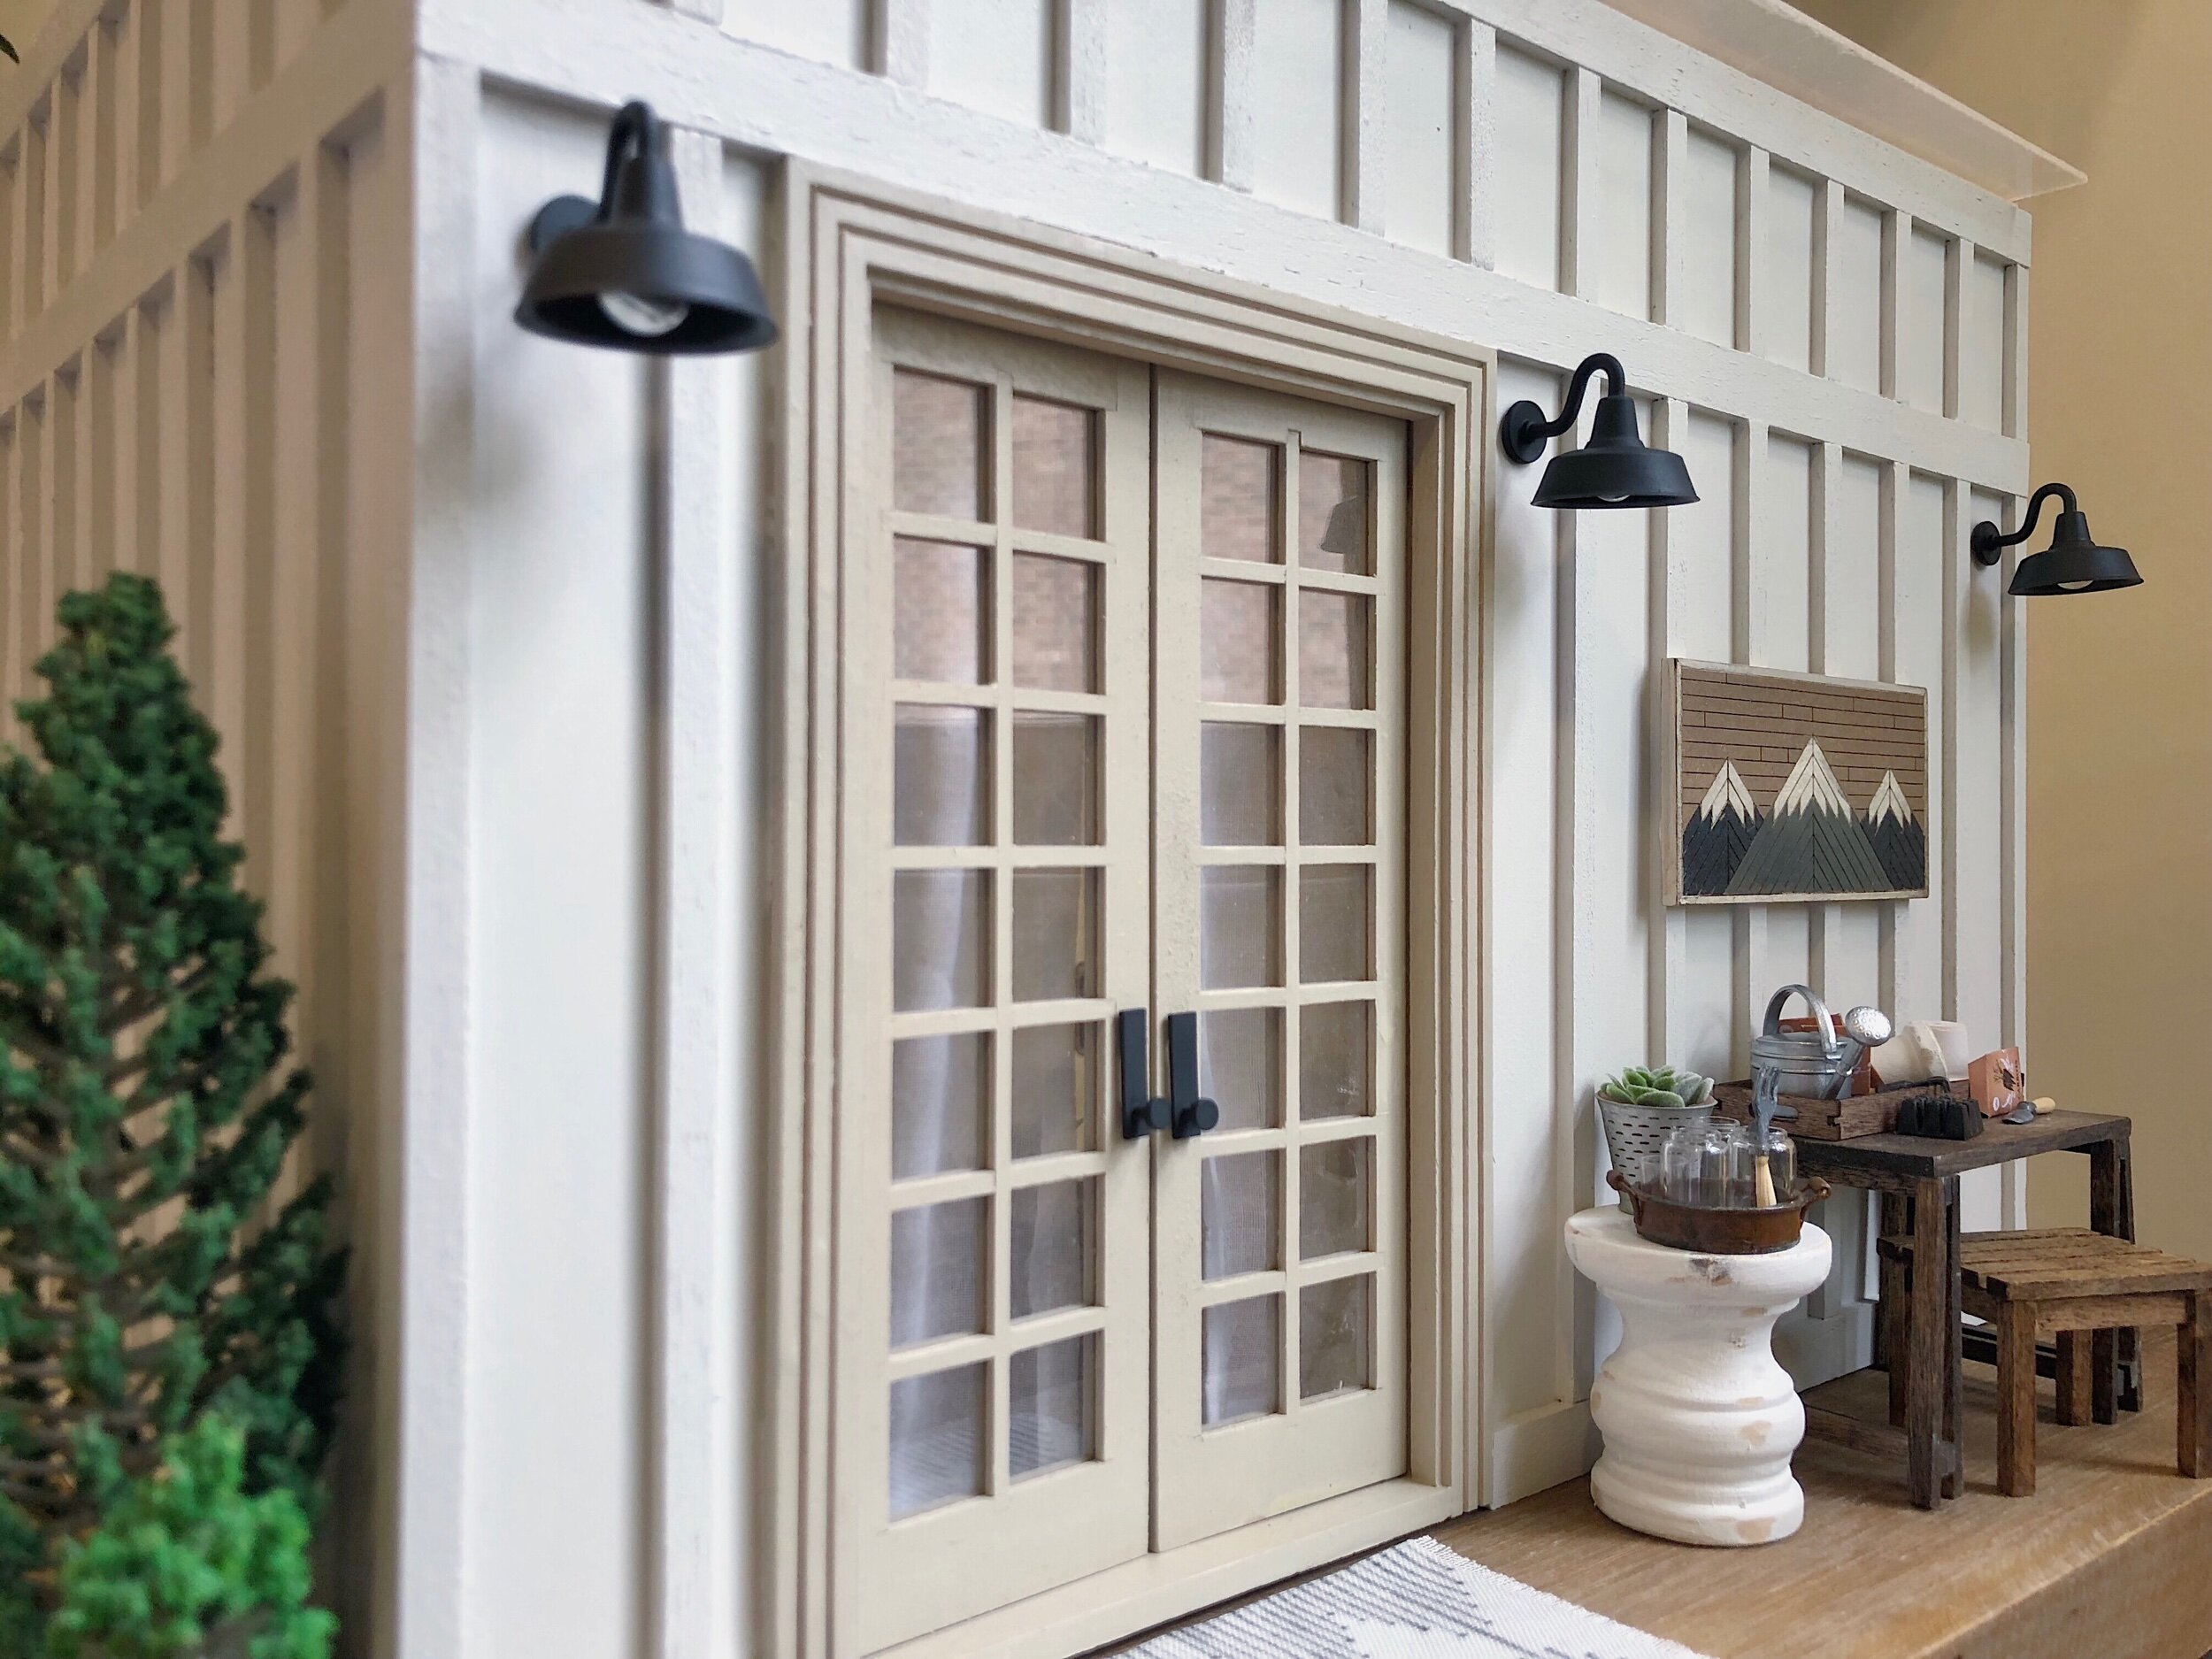
If you’ve been looking for an alternative to basic mini wood siding, there is good news. And yes, we’re talking about board and batten. Historically, board and batten exterior siding goes way back—think right after log cabins. They can be placed either vertically or horizontally or a mix of both and are great for covering seams.
Guys, this is easy. For reals, just take your time, err on the side of slightly longer cuts then sand down if necessary. (Though, to be honest, if you are a bit short, you will probably be able to make up the difference with a good coat of paint.) And don’t be afraid to adjust the design to suit your mini needs.
What You Will Need
Sanding Block
A sharp pencil
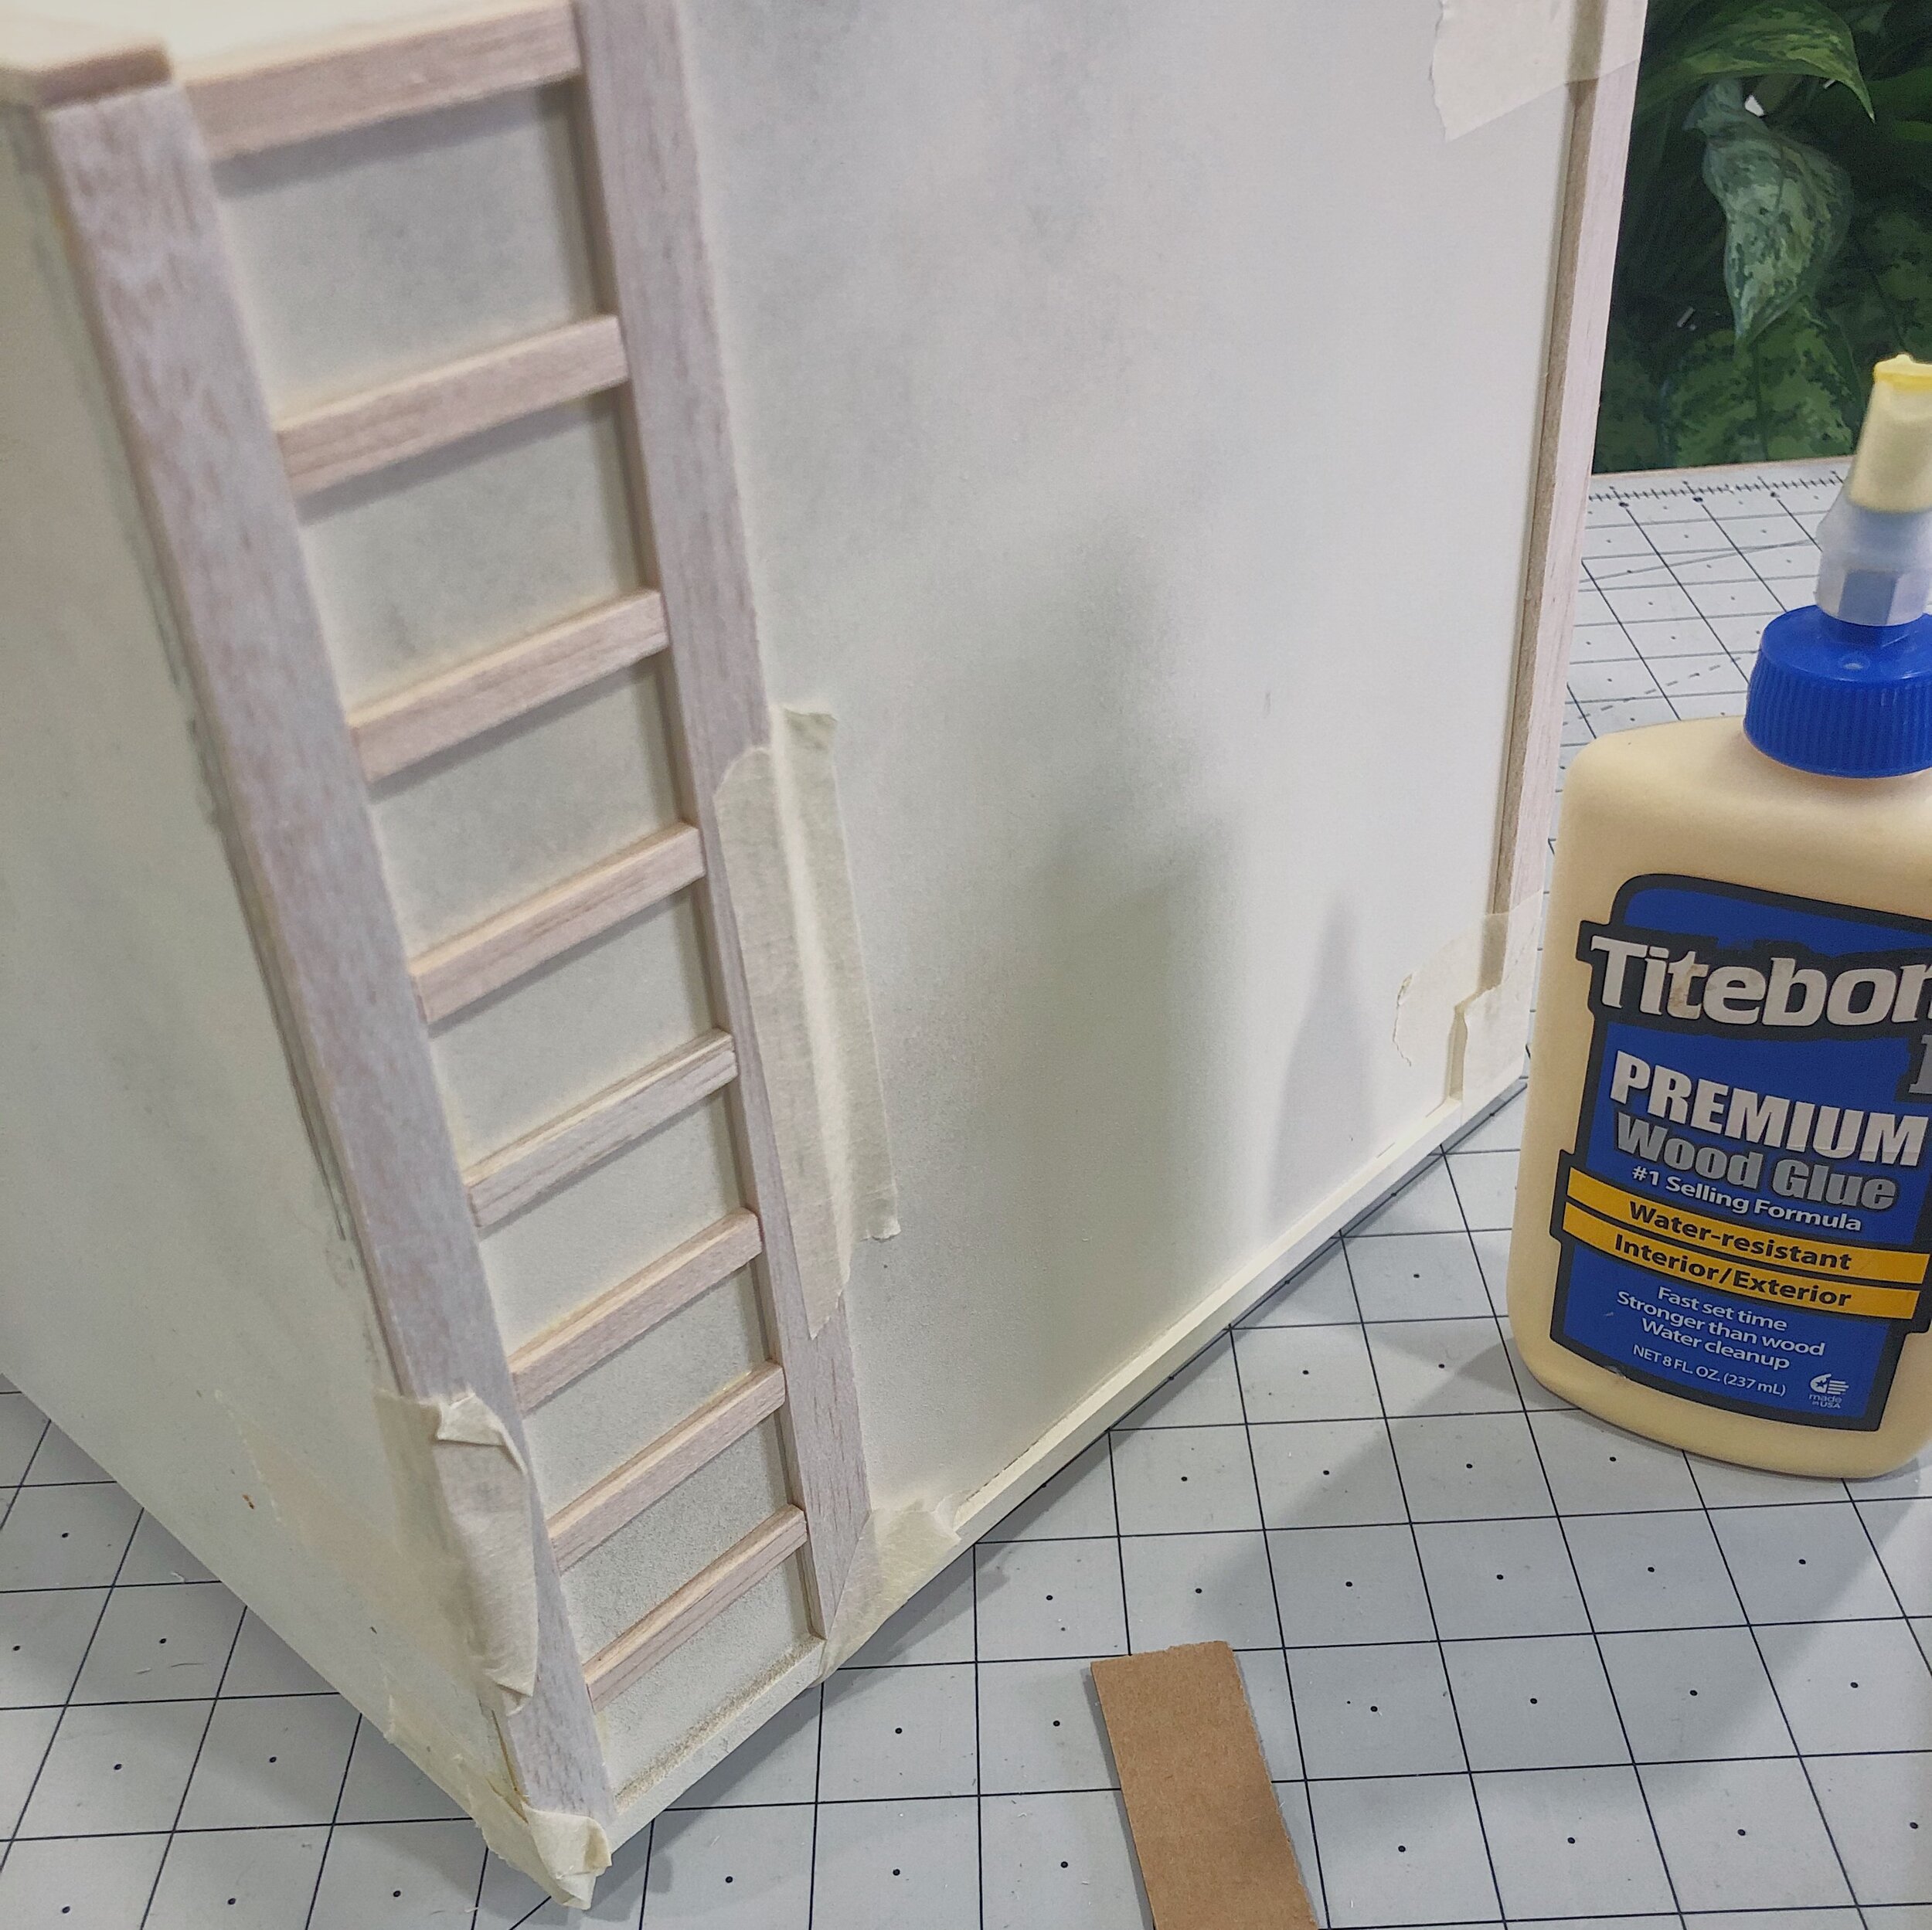
Wood Glue (Titebond II works well)
1/8” x 1/2” Balsa (or Basswood)
1/8” x 1/4” Balsa (or Basswood)
Masking Tape
Mini Miter Saw (Okay, technically, you don’t need a mini saw, but it is SO much fun. You can make your cuts with a ruler and blade or Miter Shears too.)
Finally, your surface! (We’re covering the outside of a room box. It has already been primed with a coat of paint.)
(Not pictured) a bag of M&Ms. Seriously. Good crafting deserves treats.
1.
You’ll want to start with your wider, 1/2” Balsa strips. We’ll use these to trim out the bases and tops of the walls.
2.
Since we’ll be covering three adjoining walls, it’s important to take a moment and choose which walls will be more visually important. (We’ll be starting with the sides and then working on the front.)
Lay the first wider strip in place against the side base.
3.
Using a sharp pencil, mark your cut line, flush with the edge of the wall.
4.
Here’s where it gets fun! We couldn’t resist this mini miter saw. Not only is it super cute and fun to use, it makes gorgeous cuts without smashing the delicate Balsa.
Let’s be clear, you certainly don’t need a power saw to make these cuts. You can do just fine with a ruler and blade, or miter snips. (Then again, you don’t need to work through a bag of M&Ms while you complete your project either. But would it really be as fun without them?)
5.
Turn the screw gently to hold the strip in place and check the blade position before turning it on. When everything looks aligned, switch it on and make your cut. Enjoy and M&M.
6.
No matter what method you are using to make cuts, a very light sanding is always a great idea.
7.
You are ready to glue your first trim piece in place. A small amount of masking tape is great for holding pieces in place while they set.
8.
Add glue to the back of your trim piece. Wood glue is great. Your favorite craft glue will probably be fine as well.
9.
Now gently attach it in place. If you get any glue smears, just wipe them up before moving on. And yes, I always have glue smears.
10.
Affix a small amount of masking tape and double check trim placement. Yay! The first piece is in place. This definitely calls for more M&Ms.
11.
Once your base trim is in place on both sides, you can add base trim to the front. Mark your cut line at the outside edge of the side trim.
12.
You might use a little extra masking tape to firmly join the corners.
13.
With your base trim in place, you can repeat the steps to add top trim.
14.
Again, start with the sides and finish with the front.
15.
Now, this is completely optional, but we decided to add an extra trim piece just above the door level. Same process as before, start with the sides and finish with the front.
16.
Make sure everything is taped up and let it set for awhile. For Titebond II, unstressed joints need at least half an hour to one full hour. Enjoy some M&Ms.
17.
Now you’re ready for the battens! So grab your narrower, 1/4” Balsa strips.
18.
Pull your tape and get ready for the big impact part.
19.
We’re starting with the smaller battens above the door. Which, if you are being picky, is the wrong order, but here we are.
20.
Just like before, start with the side corner. Align the first batten with the front edge and glue in place.
21.
And now, presumably, math. Ha ha ha. Good luck.
Typically, we prefer battens that are spaced around 1 inch apart. You can cut out several and dry fit them to get an idea of the spacing that you prefer.
Once you determine how much space to put between each batten, a cardboard spacer can make the rest of the project go much easier.
22.
Now, it’s just a matter of spacing, gluing and waiting.
23.
These shorter battens don’t even require taping!
24.
Finish gluing your upper battens in place on both sides.
25.
Now you can move on to the front battens!
26.
Keep your spacing even as you glue your front top battens in place.
27.
At last, the long battens. As before, start with the corners.
28.
Taping the two corner battens together is a good idea.
At this point, you can keep using your spacer, but also do a visual check to make sure that the top battens are lining up with the base battens.
29.
And, just because we’re impatient, we end up gluing battens in place from the outside edges in, and doing four at a time. When those four have dried for long enough, we do four more until finished.
30.
Once everything has dried, give it all a good coat or two of paint and you are done!





![[Featured] Home is where the heart is](https://images.squarespace-cdn.com/content/v1/595db0b044024313332d1ef8/4d709e00-3324-4310-8fc7-4e12c12235fc/westwind+1.jpg)


![[Featured] House Hunter—Mini Modern Farmhouse](https://images.squarespace-cdn.com/content/v1/595db0b044024313332d1ef8/1635368524954-RFDD3B7IPNN7OTRDWE6Y/Mini+Modern+Farmhouse+Interior+Furnished.jpg)


![[Featured] Meet the ‘cloffice’](https://images.squarespace-cdn.com/content/v1/595db0b044024313332d1ef8/1622420833320-T5FVUAYDEA0ING4B0DRO/Mini+Cloffice+Tall_Phone.jpg)


![[Featured] Making a home](https://images.squarespace-cdn.com/content/v1/595db0b044024313332d1ef8/1619784319429-U4GKIWXVW76OCOH9H4OM/Long+Farmhouse+Living+Room.JPG)


![[Featured] Instagram Identities: Jessica Cloe Miniatures](https://images.squarespace-cdn.com/content/v1/595db0b044024313332d1ef8/1619784478243-8KCI6MIDSXD6ADUM5R1T/Bayview+House+Interior.jpg)


