
Kid's Single Cabin Bed Kit Build
Once upon a time, Robb built a cabin bed for our little one. Eventually, we modified it into a triple bunk bed for all three kiddos. It probably worked it’s way into several of their core memories.
We created this kit in miniature to look as authentic as possible while being simple to assemble.

What You Will Need

1. Affix Front Panel
(For best results, lightly sand all pieces before assembly.)
Affix front panel to base at two base tabs.
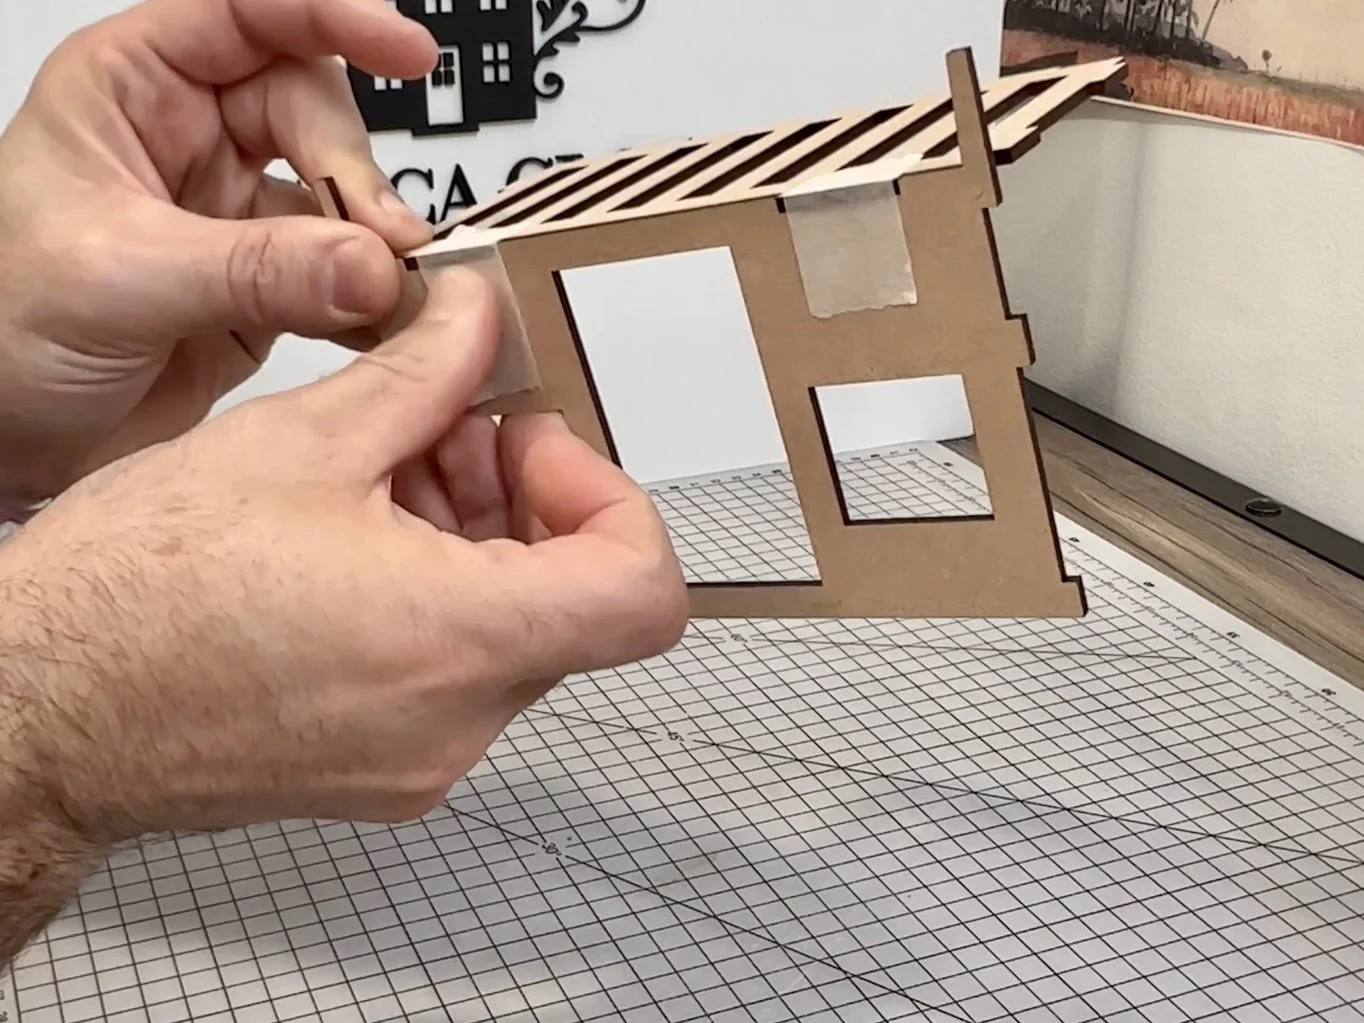
2. Tape
Secure with masking tape.

3. Add side panels
Add both side panels and secure with masking tape.

4. Glue back panel
Glue back panel and secure with masking tape.

5. Attach back bar
Attach back bar to side notches in side panels.

6. Attach roof bar
Finally, attach roof bar in top notches. Secure with masking tape and set aside to dry.

7. Attach side corner trim
When glue has dried, remove masking tape.
Attach all four side corner trim pieces with a thin layer of craft glue to each edge of side panels.

8. Affix side trim
Affix both side upper trim and side lower trim to side panels and secure with masking tape. Set aside to dry.

9. Add front trim
When glue has dried, remove masking tape.
Add front left trim and front right trim and secure with masking tape.

10. Glue back corner trim
Glue both back corner trim at sides of back panel.

11. Attach back trim
Attach first back trim at base of back panel, second back trim at top of back panel, and third back trim over back panel and secure with masking tape.

12. Glue roof
Apply a thin line of glue to the top edge of roof back and lightly attach to back of roof front. Lightly secure with masking tape.

13. Set roof to dry
Drape over roof and readjust masking tape as needed to match angle of roof.
Allow to dry fully.

14. Finish
Lightly sand and paint as desired.

And done!
Add mattress and bedding and place into your mini scene.


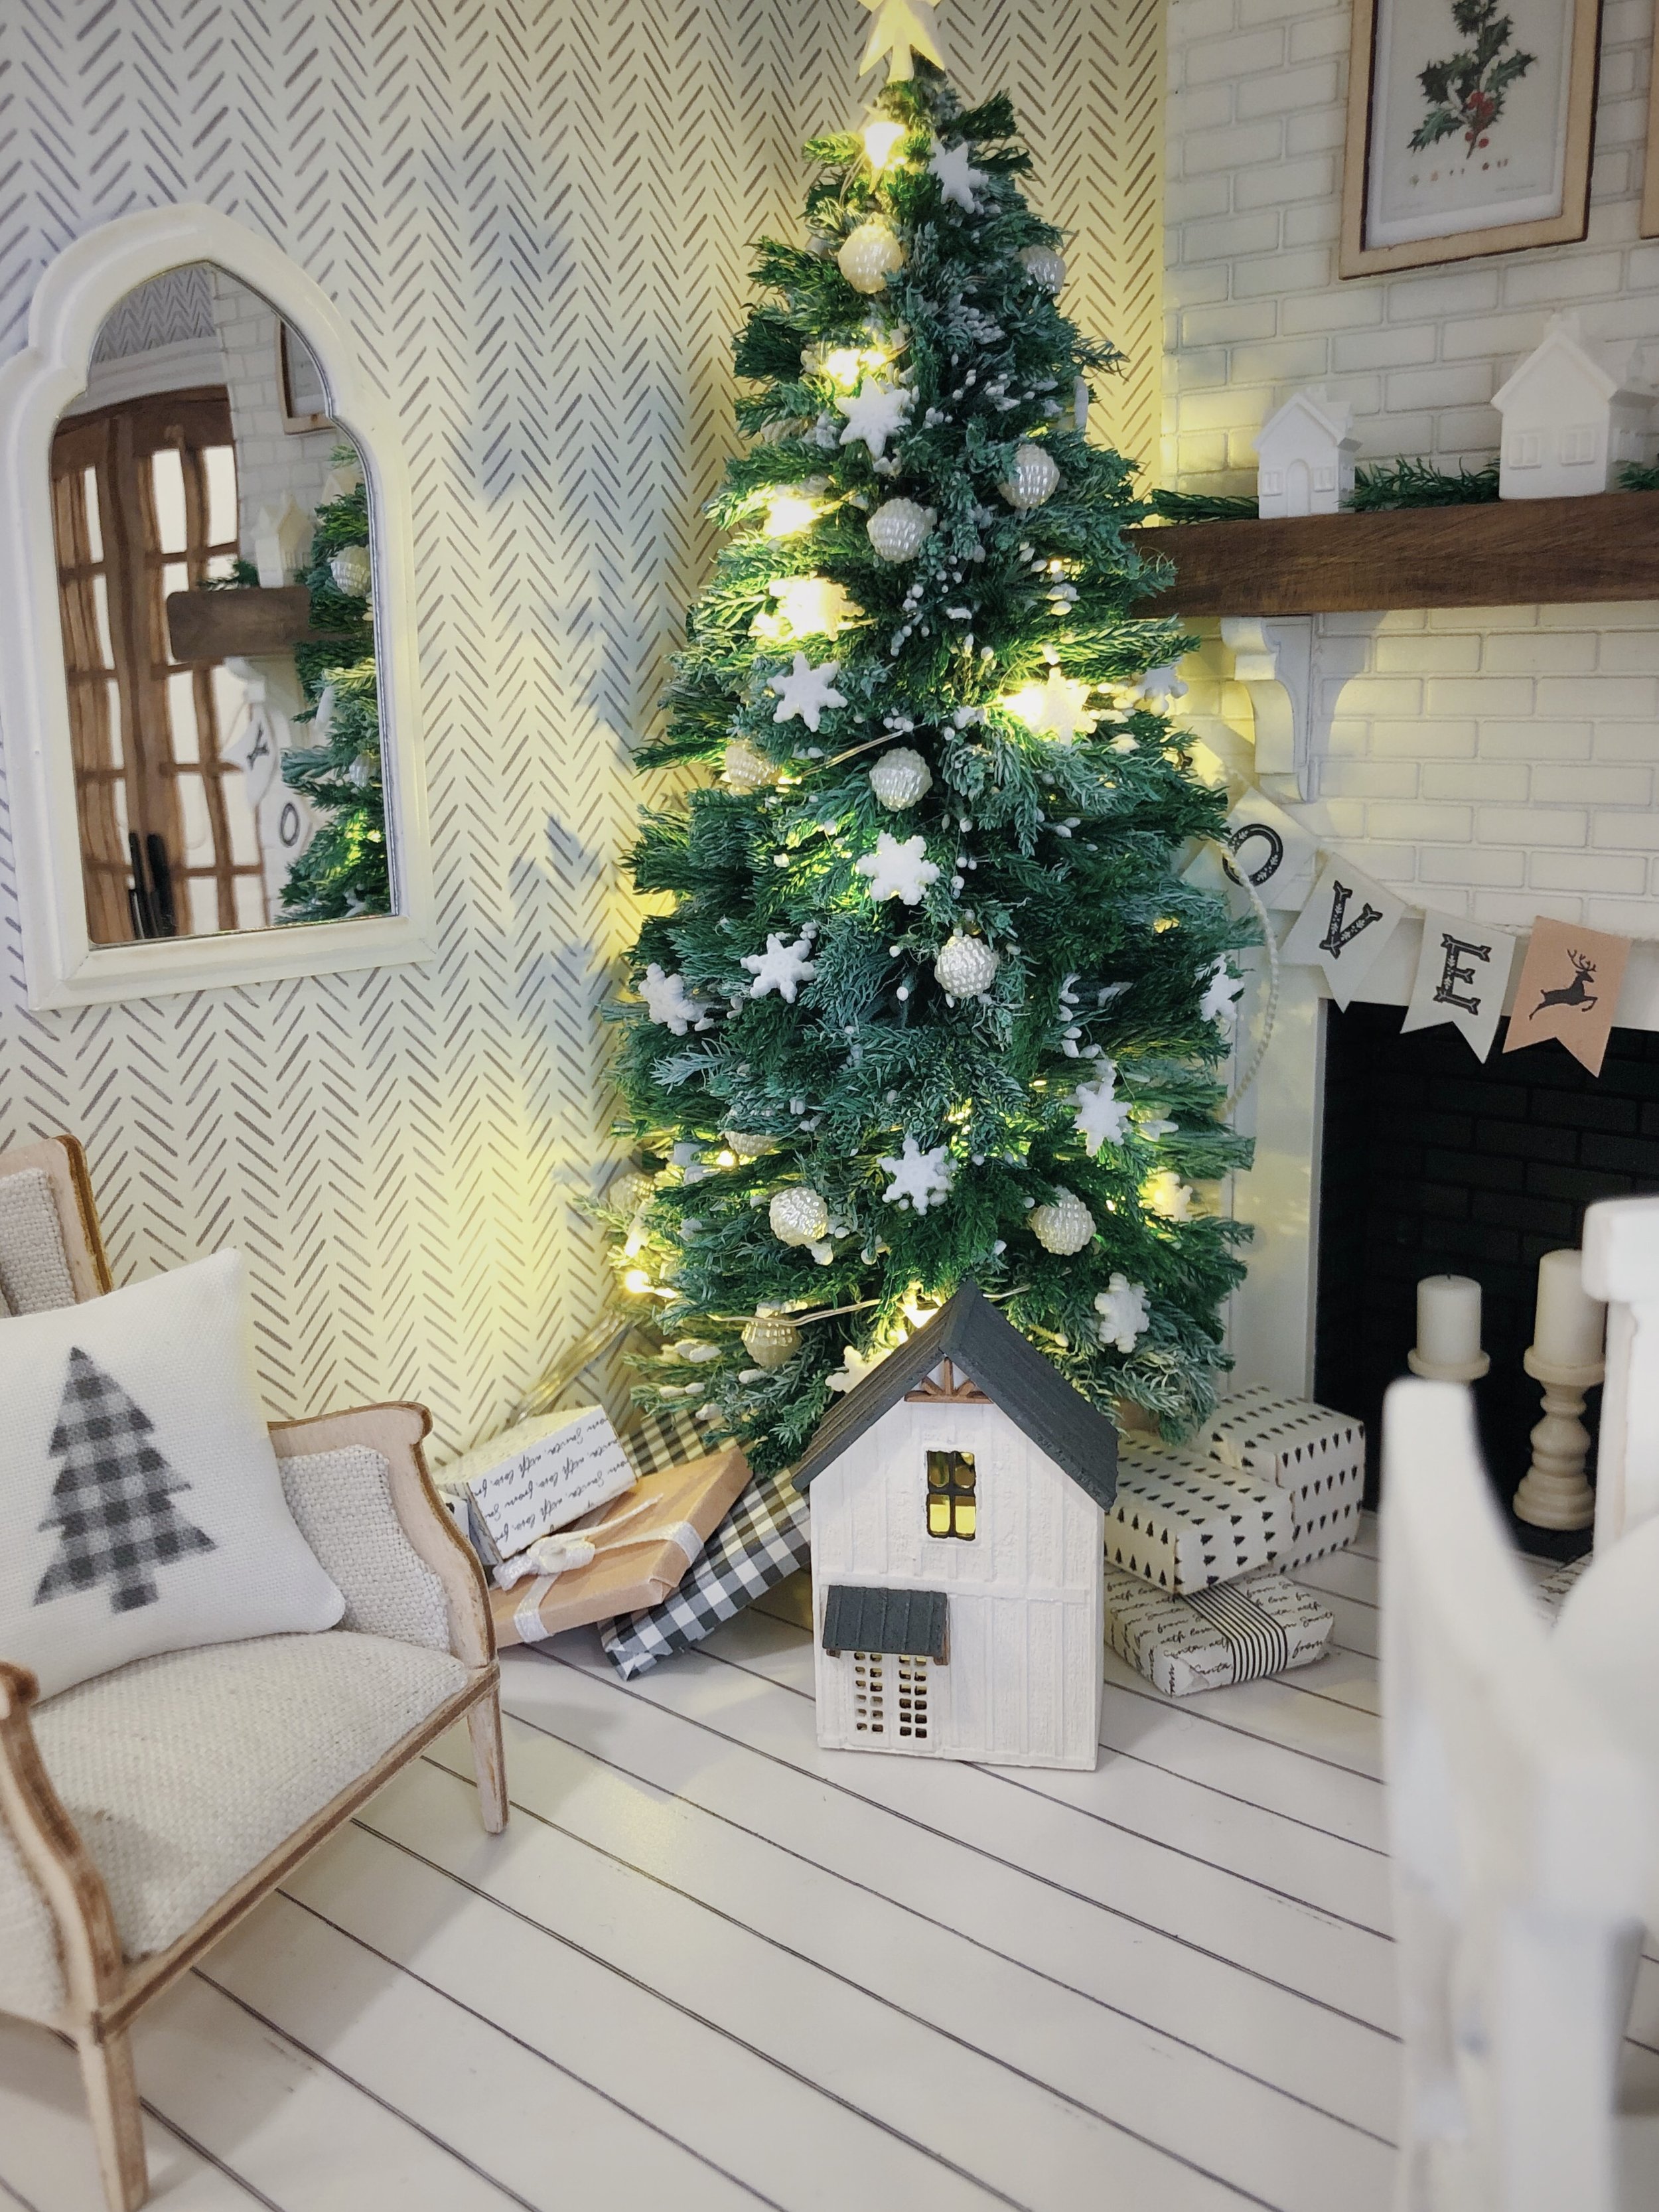
![[Featured] Home is where the heart is](https://images.squarespace-cdn.com/content/v1/595db0b044024313332d1ef8/4d709e00-3324-4310-8fc7-4e12c12235fc/westwind+1.jpg)


![[Featured] House Hunter—Mini Modern Farmhouse](https://images.squarespace-cdn.com/content/v1/595db0b044024313332d1ef8/1635368524954-RFDD3B7IPNN7OTRDWE6Y/Mini+Modern+Farmhouse+Interior+Furnished.jpg)


![[Featured] Meet the ‘cloffice’](https://images.squarespace-cdn.com/content/v1/595db0b044024313332d1ef8/1622420833320-T5FVUAYDEA0ING4B0DRO/Mini+Cloffice+Tall_Phone.jpg)


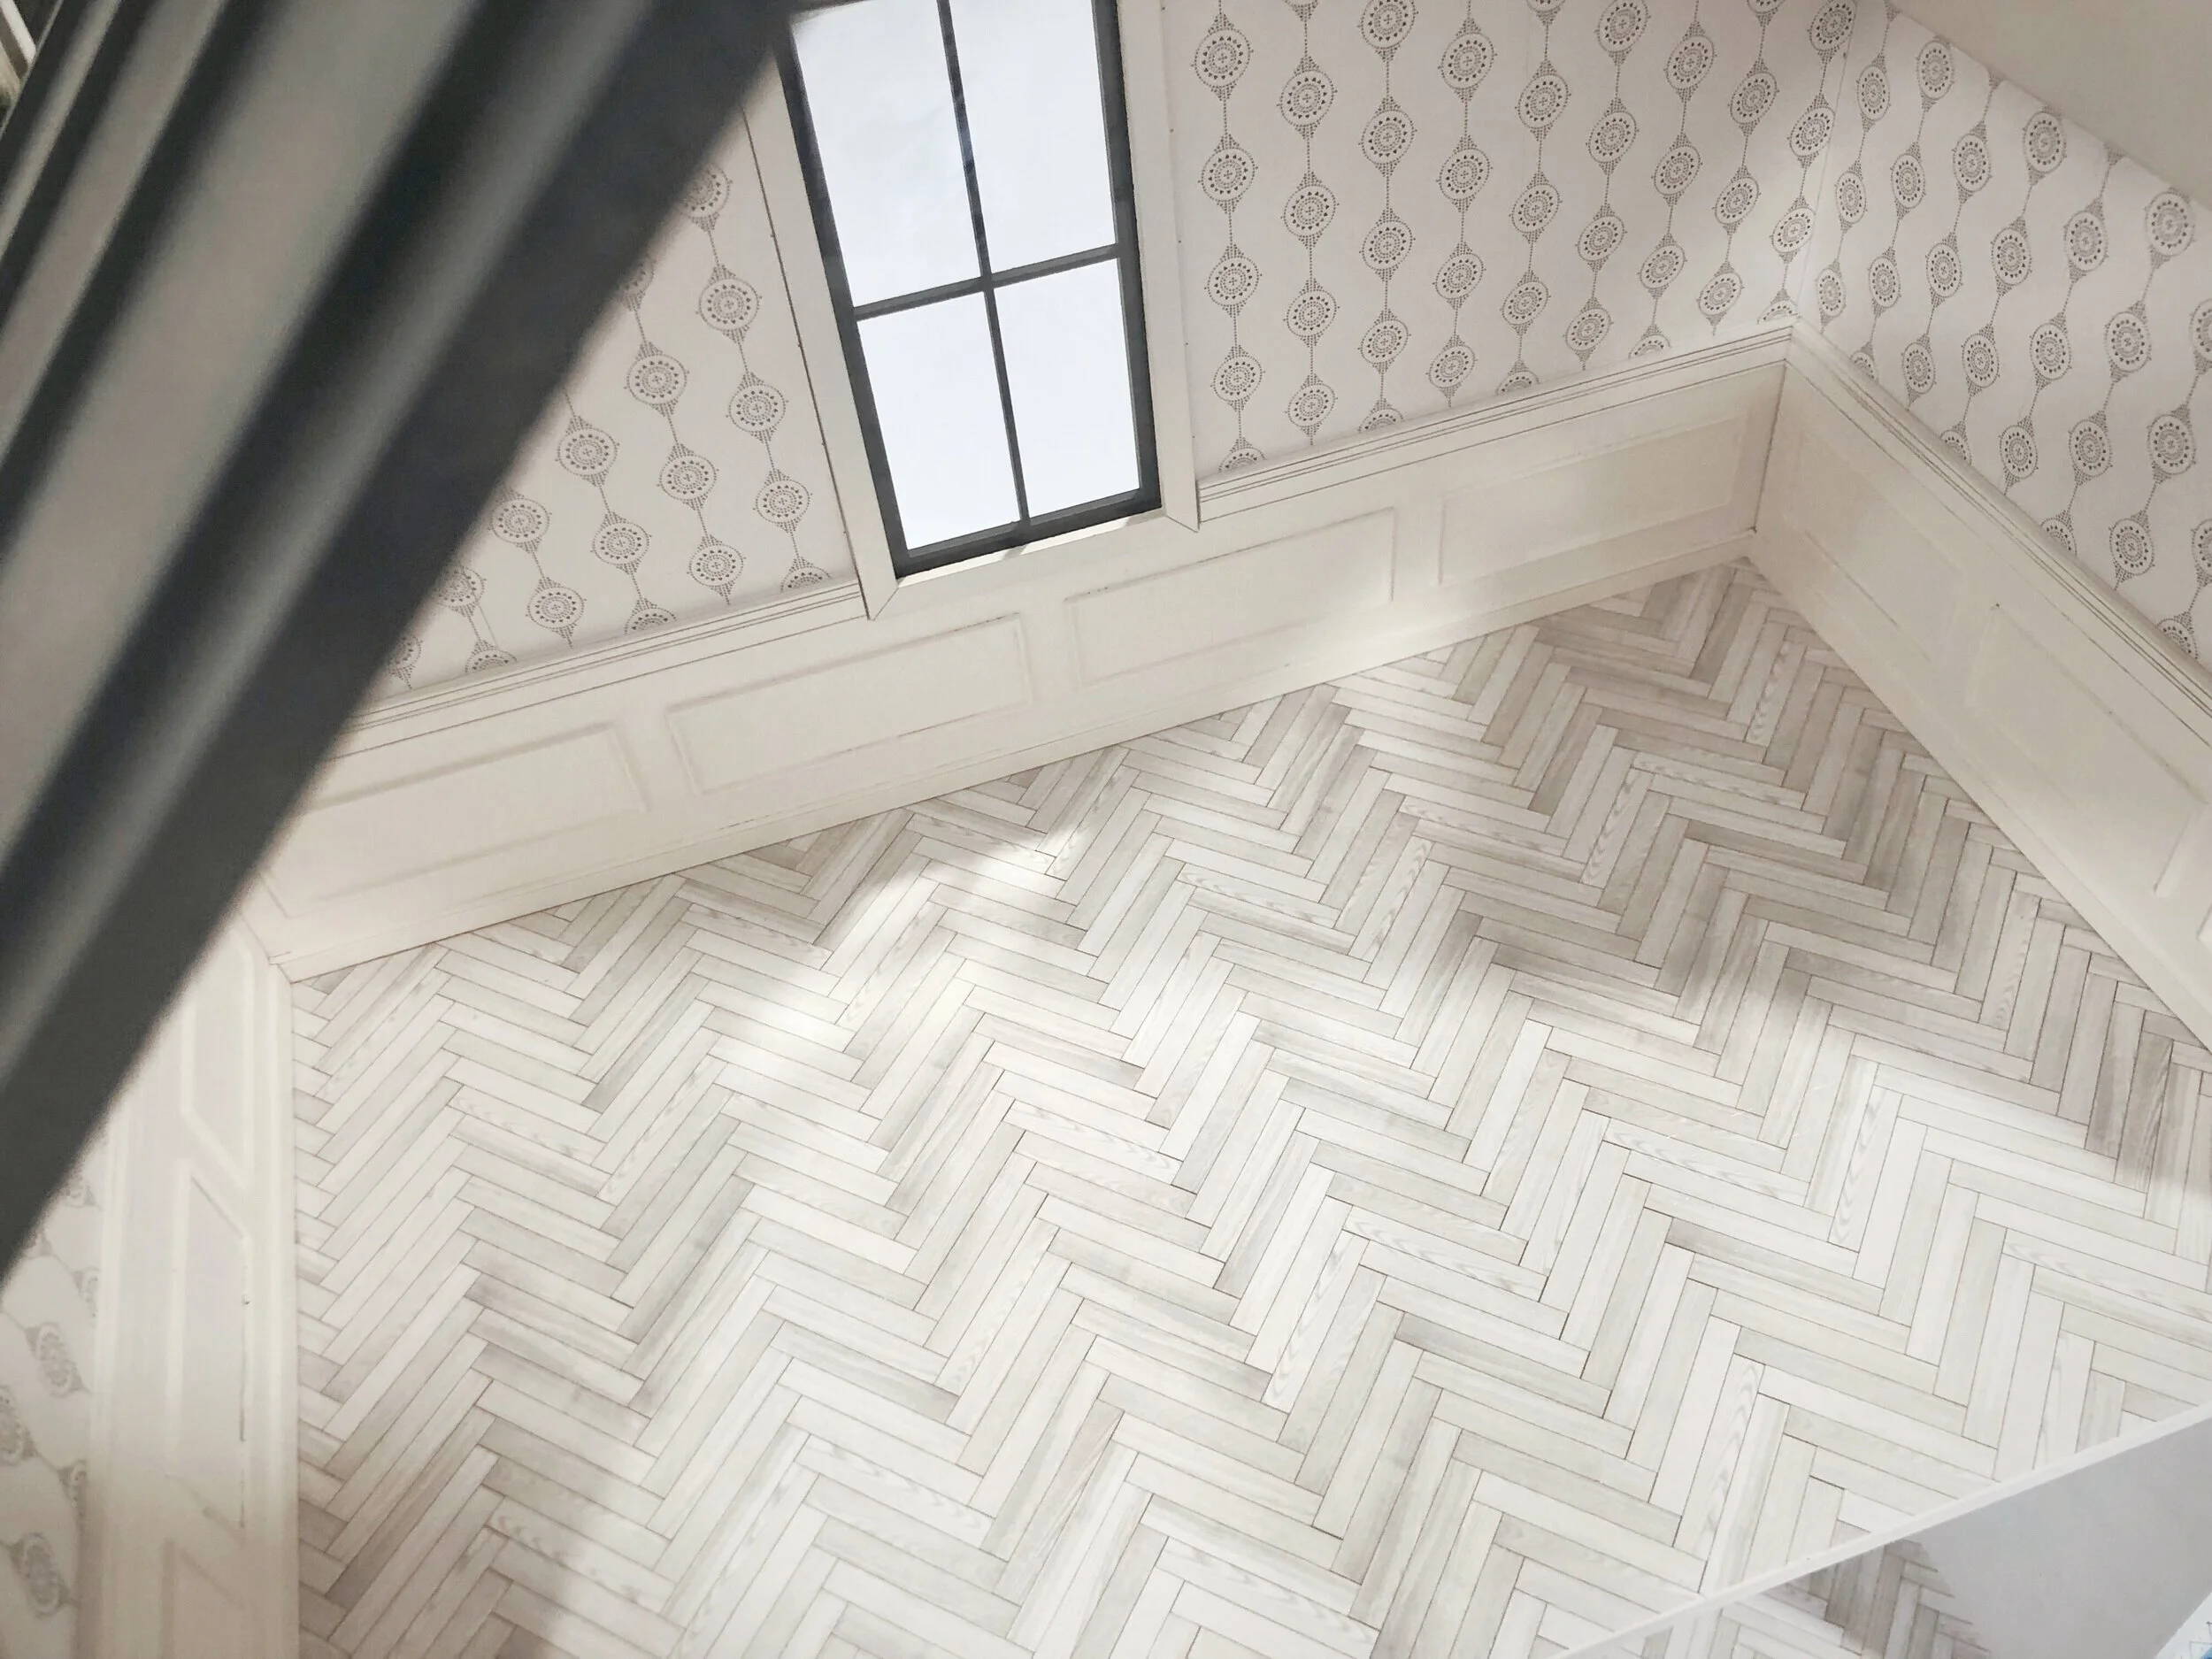
![[Featured] Making a home](https://images.squarespace-cdn.com/content/v1/595db0b044024313332d1ef8/1619784319429-U4GKIWXVW76OCOH9H4OM/Long+Farmhouse+Living+Room.JPG)

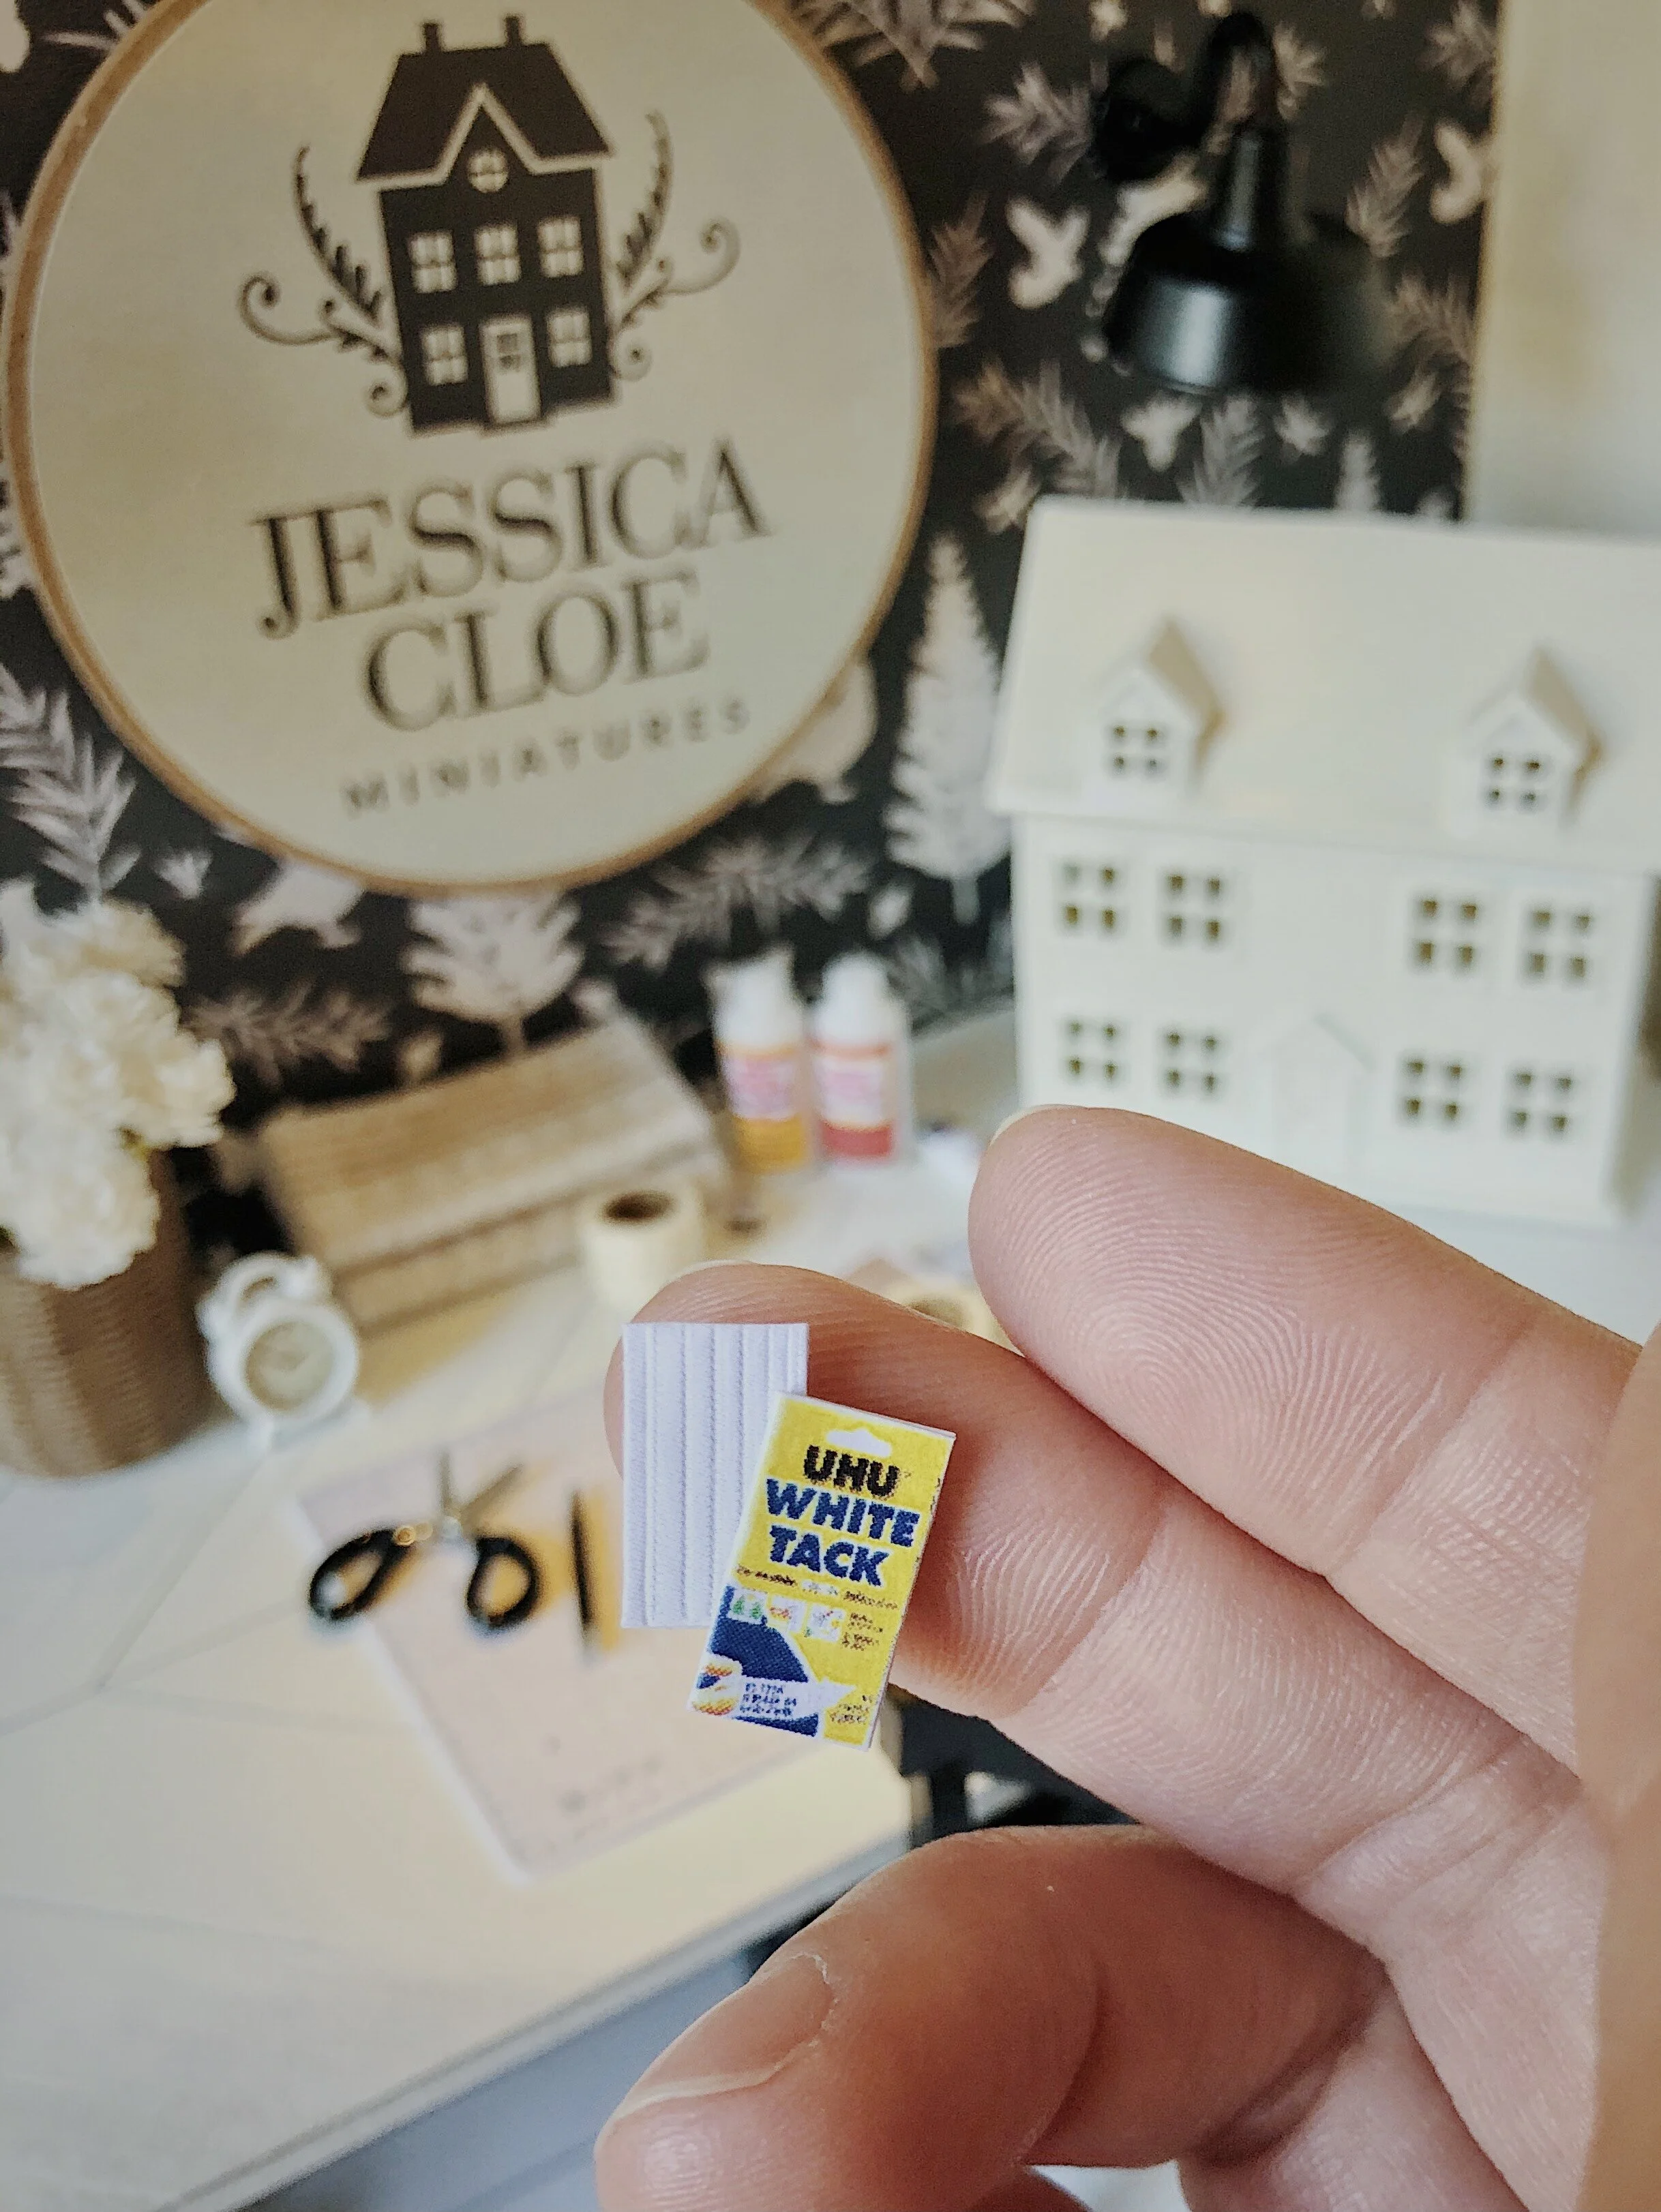
![[Featured] Instagram Identities: Jessica Cloe Miniatures](https://images.squarespace-cdn.com/content/v1/595db0b044024313332d1ef8/1619784478243-8KCI6MIDSXD6ADUM5R1T/Bayview+House+Interior.jpg)

